A fair number of Polaroid 110’s where converted to packfilm or fujifilm instant film. However the lack of film has also directed these to the shelfs of ancient and great cameras which are obsolete due to lack of film..

However you can bring it back to life as a 4×5 Point & shoot rangefinder with this conversion.
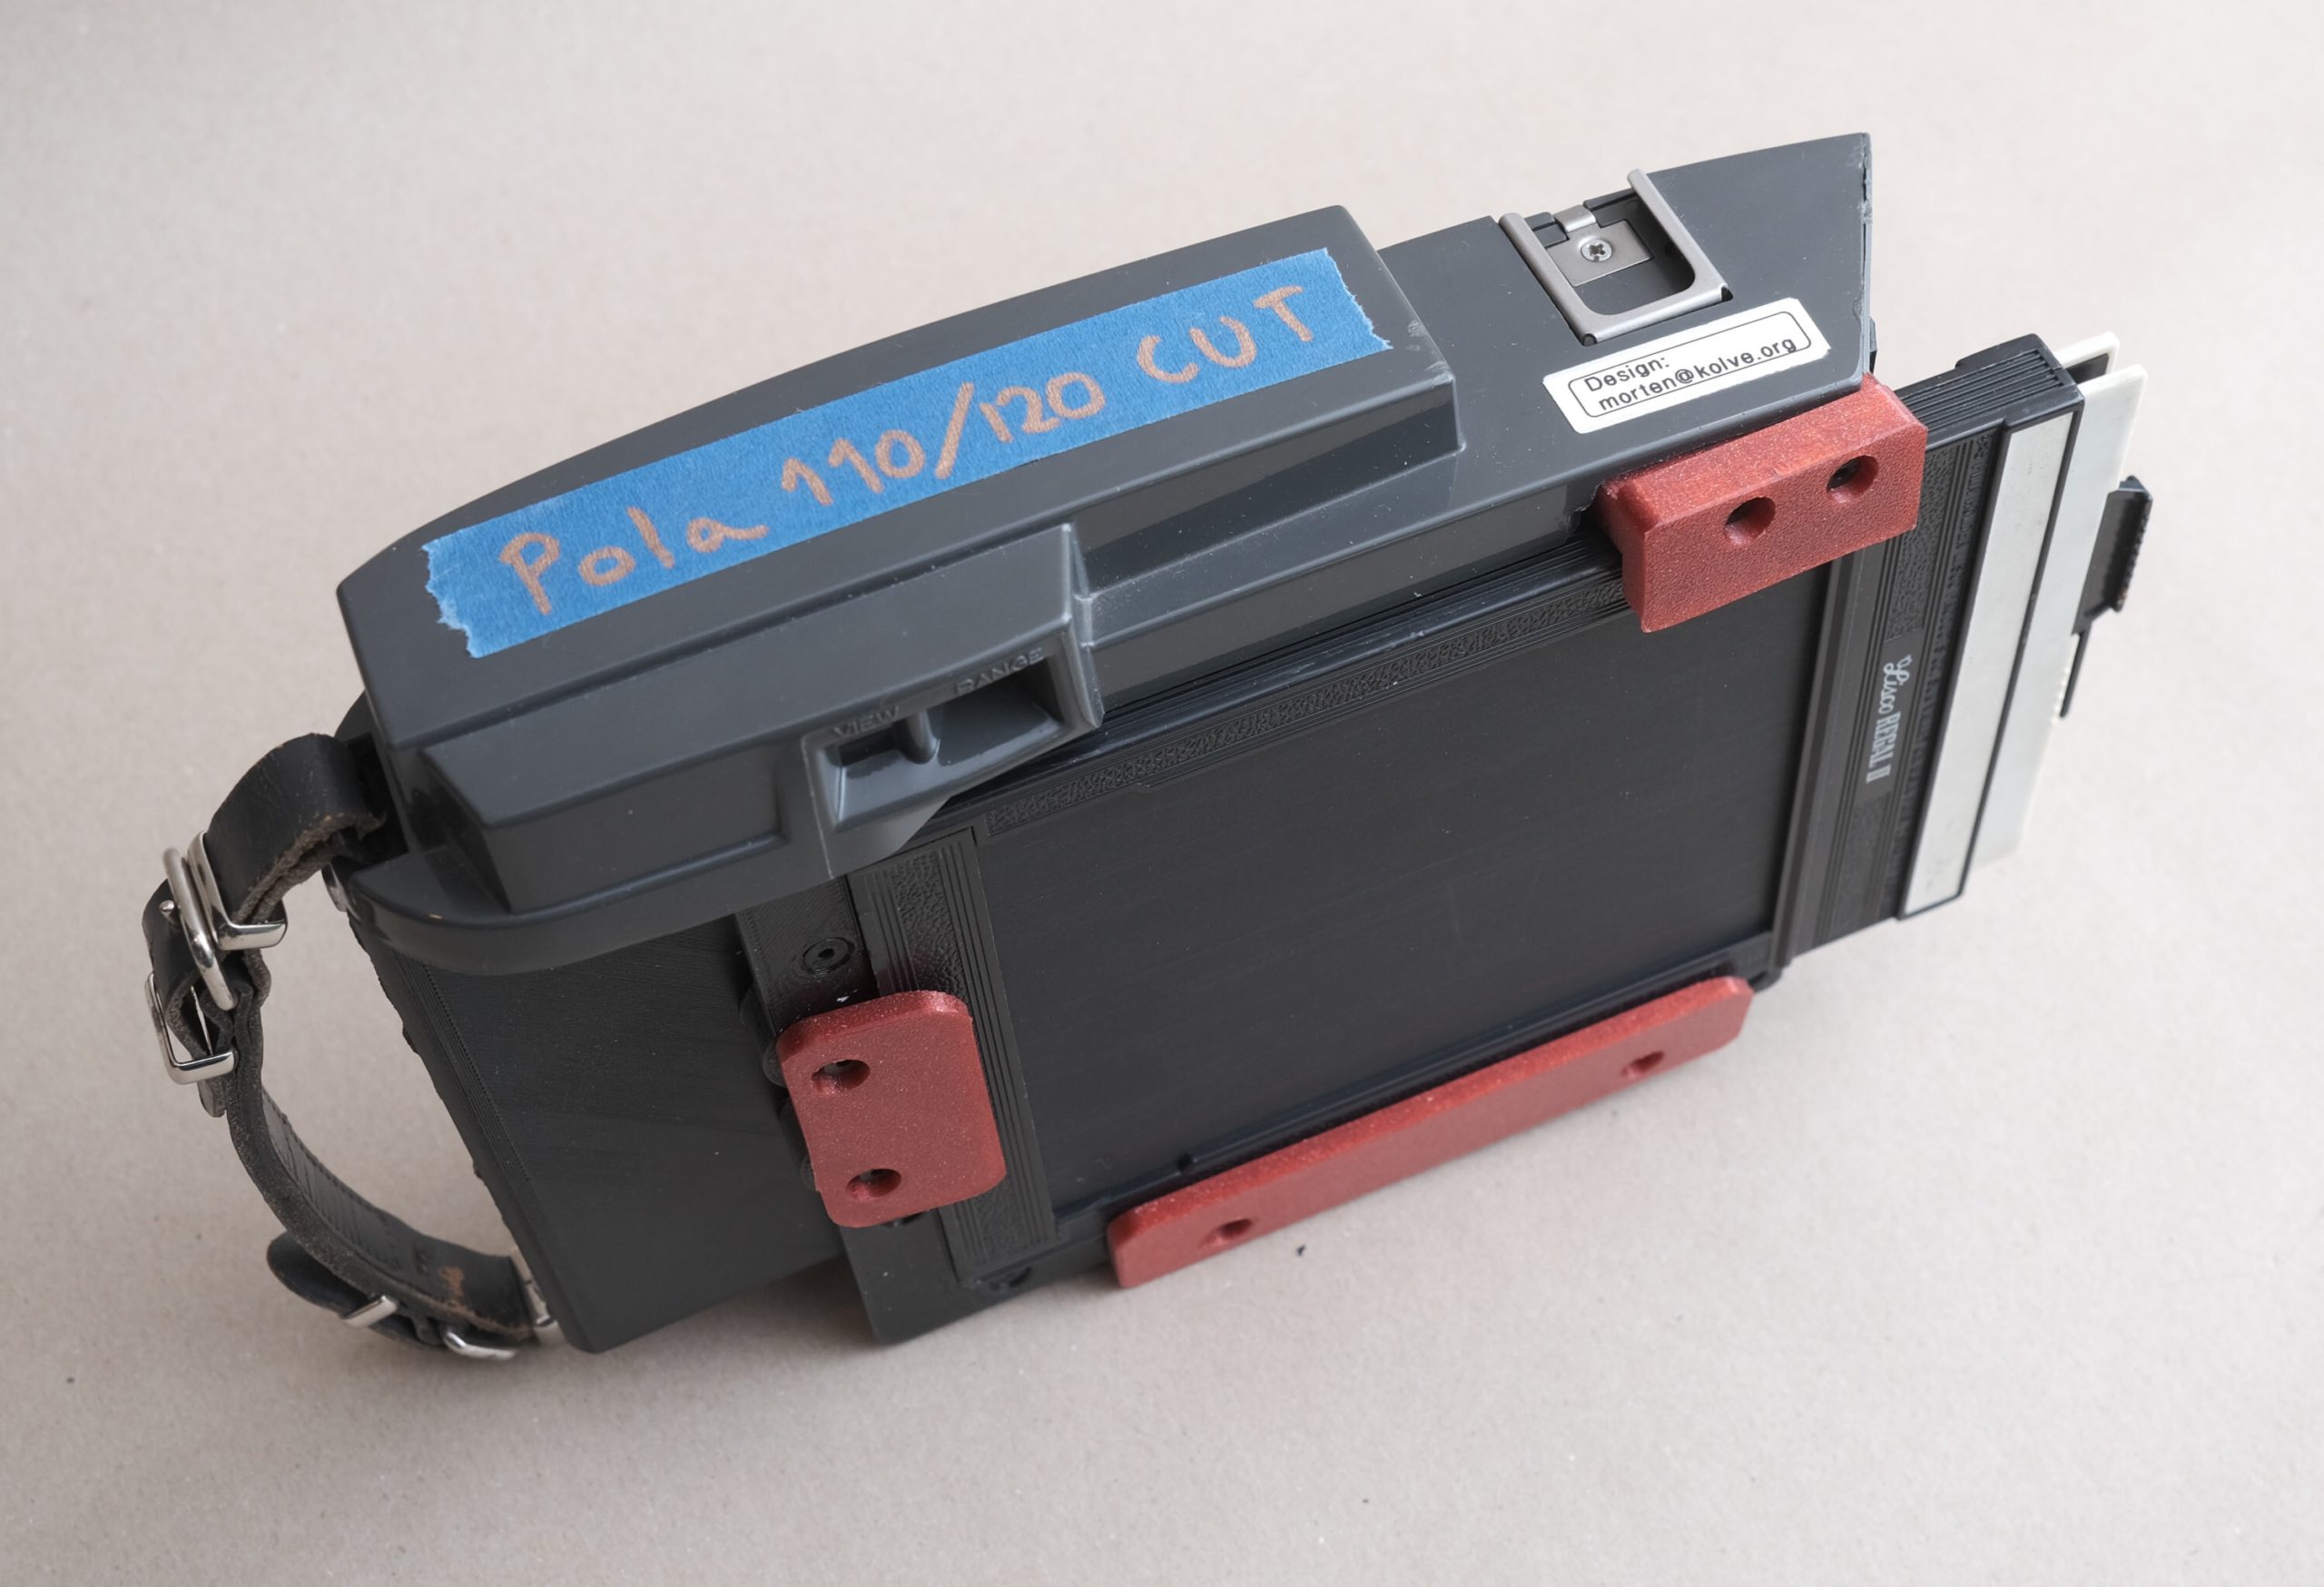
You can obtain the required parts directly from me, as a kit on ebay or 3d printing the parts you’re self and source the non printable parts. See my contact information.
Re Conversion
This is a brief description of the re conversion, more specific details below. The re conversion is derived from my standard Polaroid 110 4×5 conversion whilst taking into account the specifics of the packfilm converted Polaroid body, the primary change is modified camera back. Maximum reuse of both parts and conversion process was my objective.
The conversion for the re conversion follows the basic steps of the standard conversion, thus read that description first.
Filmback preparation

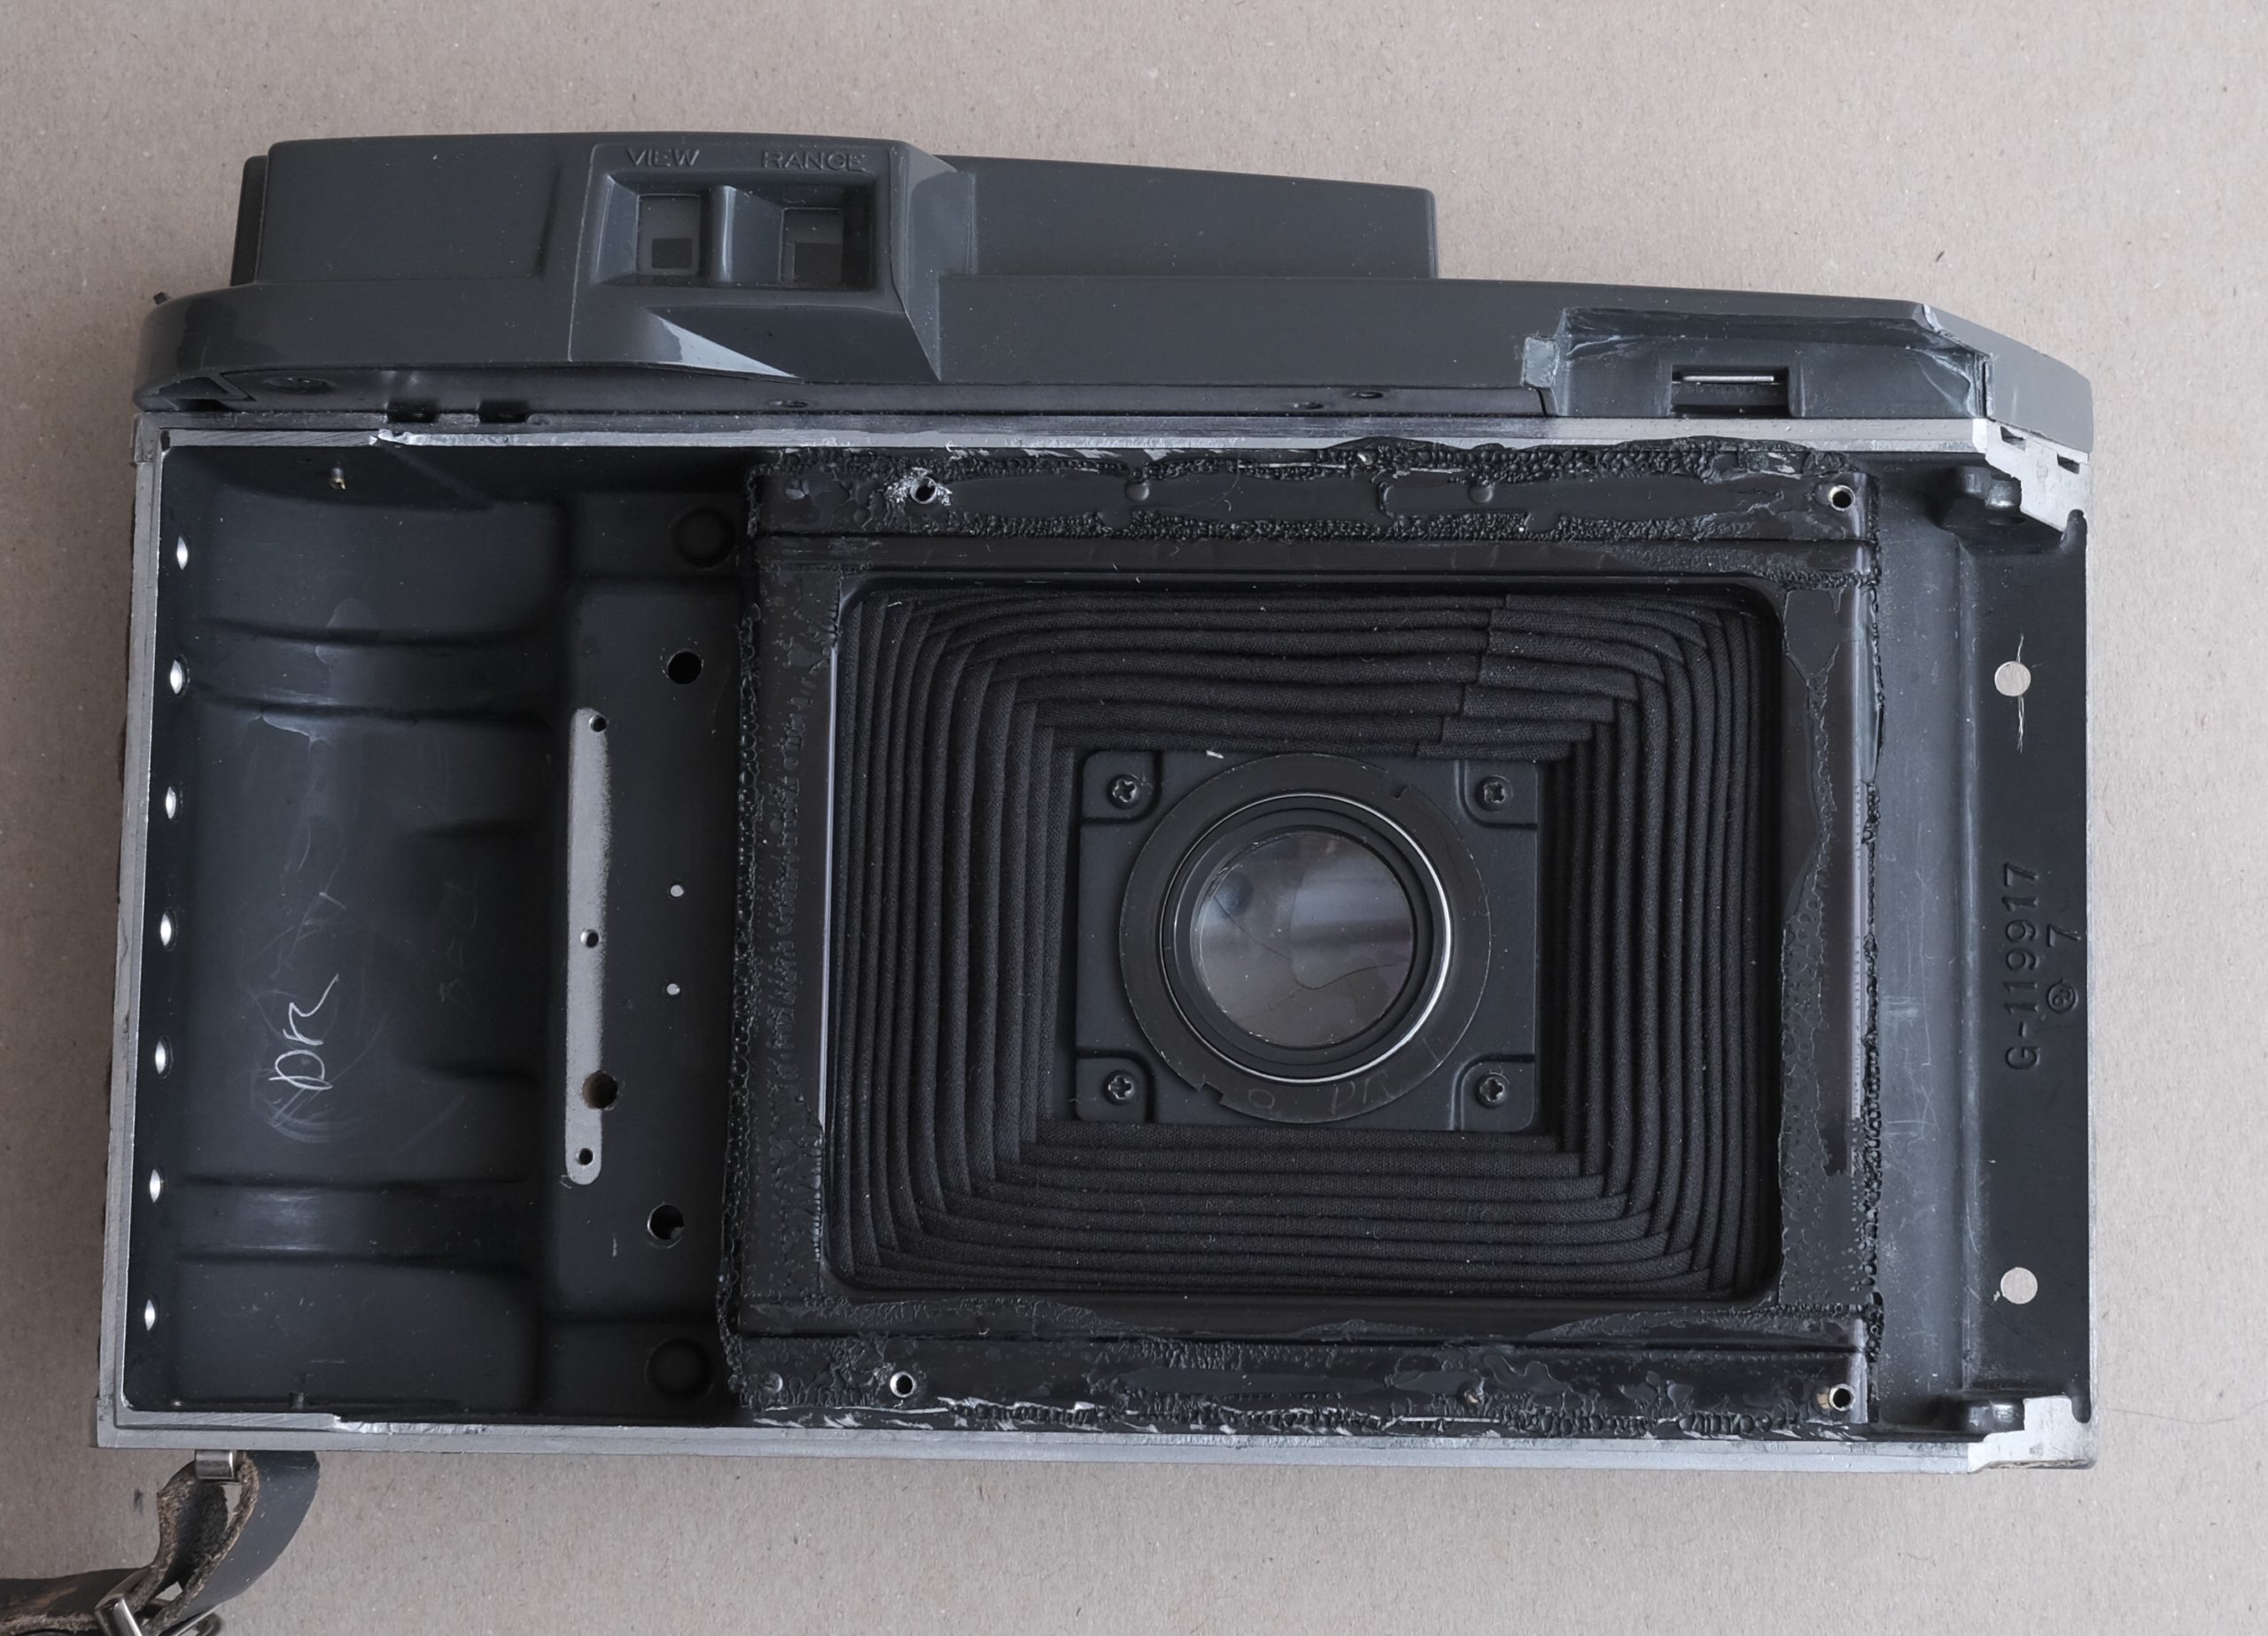
Remove the four screws. Then remove the packfilm holder. It may be glued in place and might need some physical encouragement. Try to find a good spot to pry it loose with perhaps a flat wide screwdriver.
Once the packfilm holder is removed you should be able to follow the the standard instructions for preparation of the camera back. I.e. the left side and placement of the holes. Note that the standard drill template is also used here. Once completed this how your back should look.
Rangefinder calibration
Before you start this, it’s a good time to check and if needed adjust the rangefinder calibration.
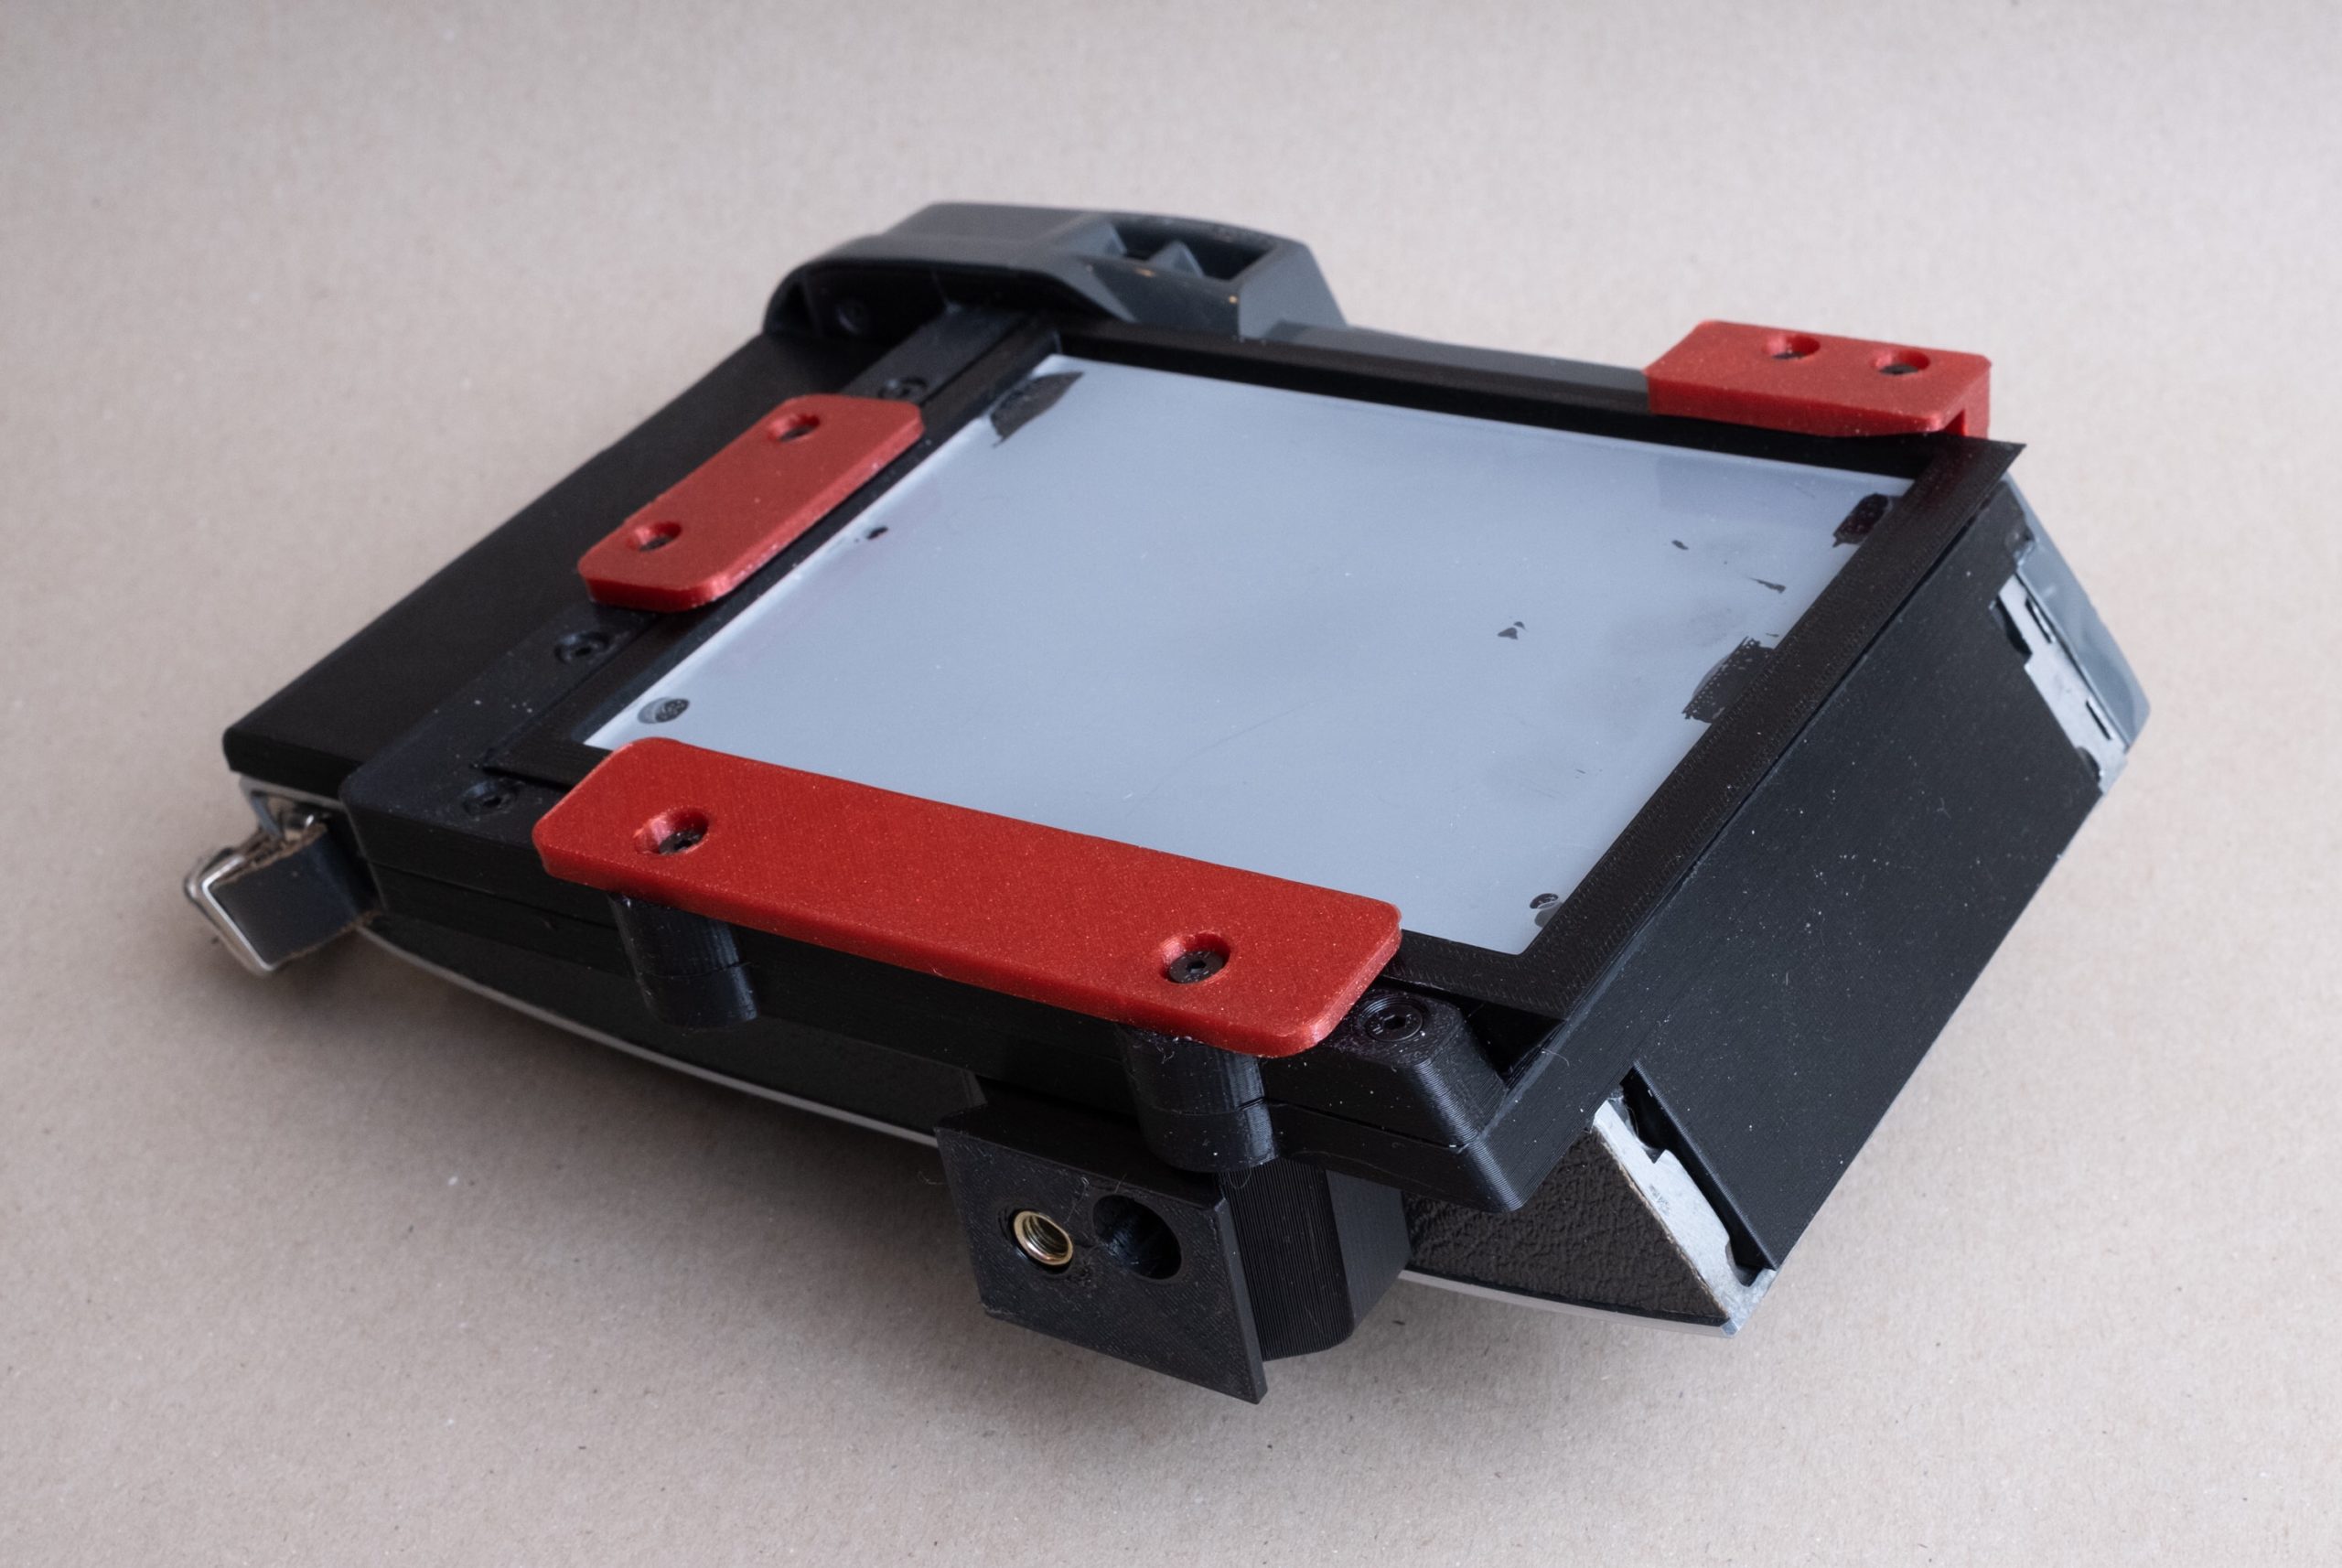
Filmback assembly
The filmback assembly is basically the same the standard procedure, with some key changes due to the nature of the previously packfilm conversion changes to the Polaroid 110 body.

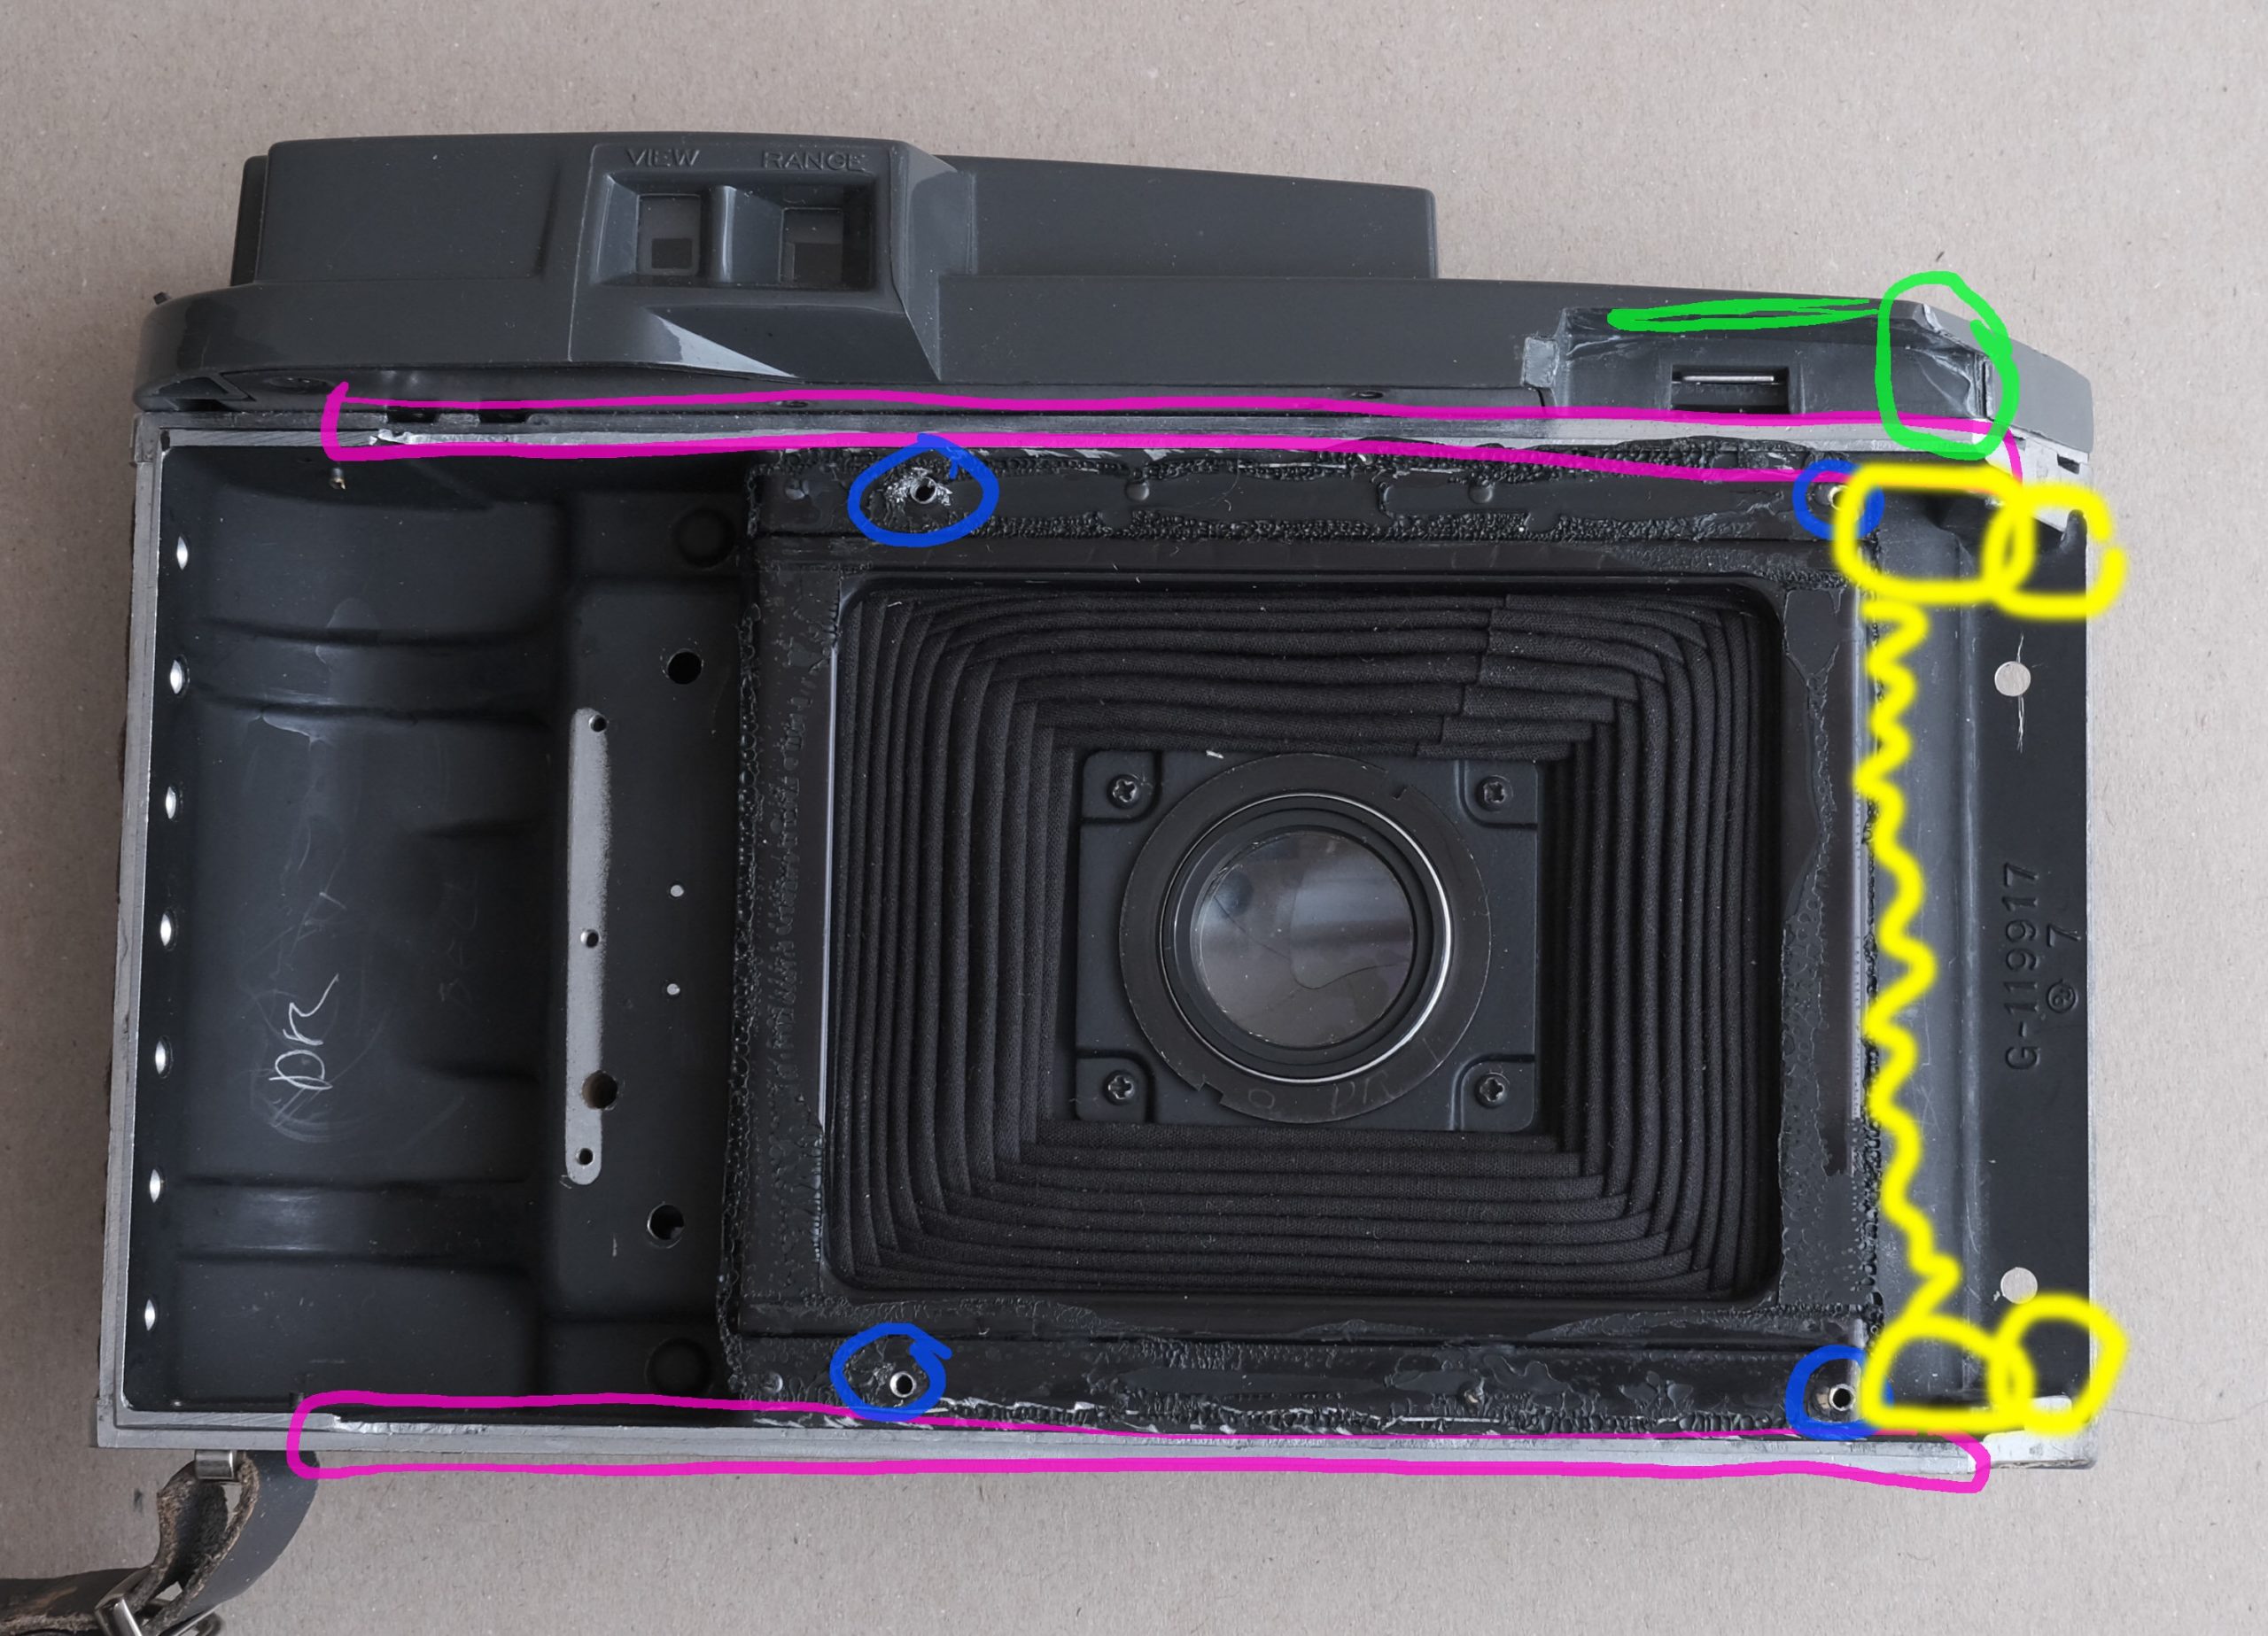
Modifications on the Polaroid 110 body that needs to be addressed:
– removed edge (marked with pink) needs to be padded with light sealing foam to ensure proper light sealing.
– screw holes (marked with blue) needs to be covered with a small patch of light sealing foam. As a extra precaution also put a small patch over the screw holes in the lens well. I.e. other side of the hole.
-trim of needed plastic on the rangefinder (marked with green). This is already trimmed.
– you might also need some light sealing foam at the end (right side) to ensure complete light seal when the 3d printed back is mounted. See below. (Yellow marks)
Mounting of the filmholder frame and clamps are the same as the standard procedure.
You should now be ready for adjusting the the infinity stop for rangefinder to work correctly.
Done! ?
Questions? Email me at morten@kolve.org