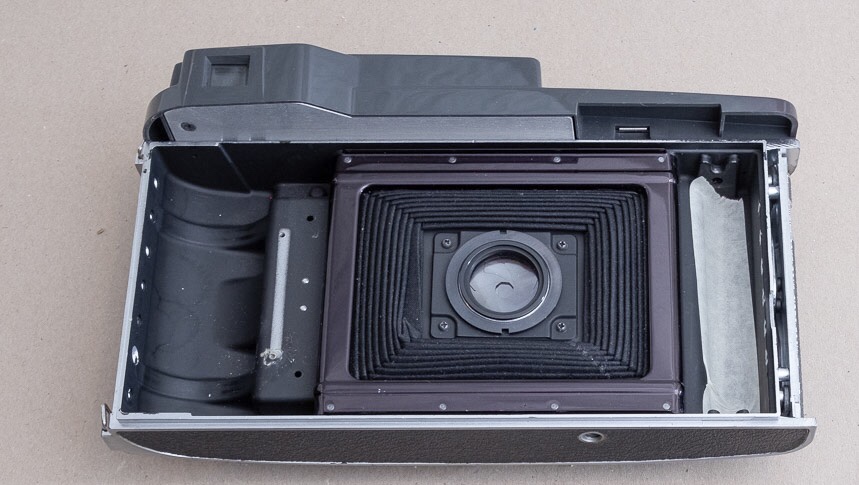
Your Polaroid 110 back should now look like the picture below.

Now we need ensure that the camera body has the required holes to fix the 3d printed filmback in place. This will require holes for 4 3mm screws, each hole genty tapered with a 10mm drill bit. Nb make sure you don’t drill to far! 🙂 don’t ask why I know this!
First two holes in lensboard well, in the holes from where the rivets where removed in the preparation stage. Drill first two 3mm holes, then taper them lightly with a 8-10mm drillbit.

Now on the other side of the camera body we need to drill two new holes. First put a pice of painters masking tape, then using the 3d printed template tool to mark the hole locations. (The tool has printed instructions on location and orientation)


With the 4 holes in place we are ready to mount the filmback. First place in gently in place towards the underside of the rangefinder house, and press it against the camera body. Ensuring that in snaps in place correctly all the way around the back of the camera body. Then mount the 4 screws. Ensure that they are all entered and flush with the camera body before starting to tighten (lightly) them down. Nb do not over tighten, they “only” holds the filmback flush against the camera body!
In order to make the 3d printed film back fit correctly you may have to bend the previous film guide out towards the edge using a plier. See image below.

Then the film holder frame, put it in place and screw tight with the 5 x yy mm screws.


Then it’s the film holder clamps. Give the glide surfaces a light lick with a wax candle, also the outer surface of round parts which goes into the film holder frame.

Now put the clamps into place, then the springs and lastly the screws. Screw them down to the point shown in the picture. Also ensure that they are able to move freely under spring tension.
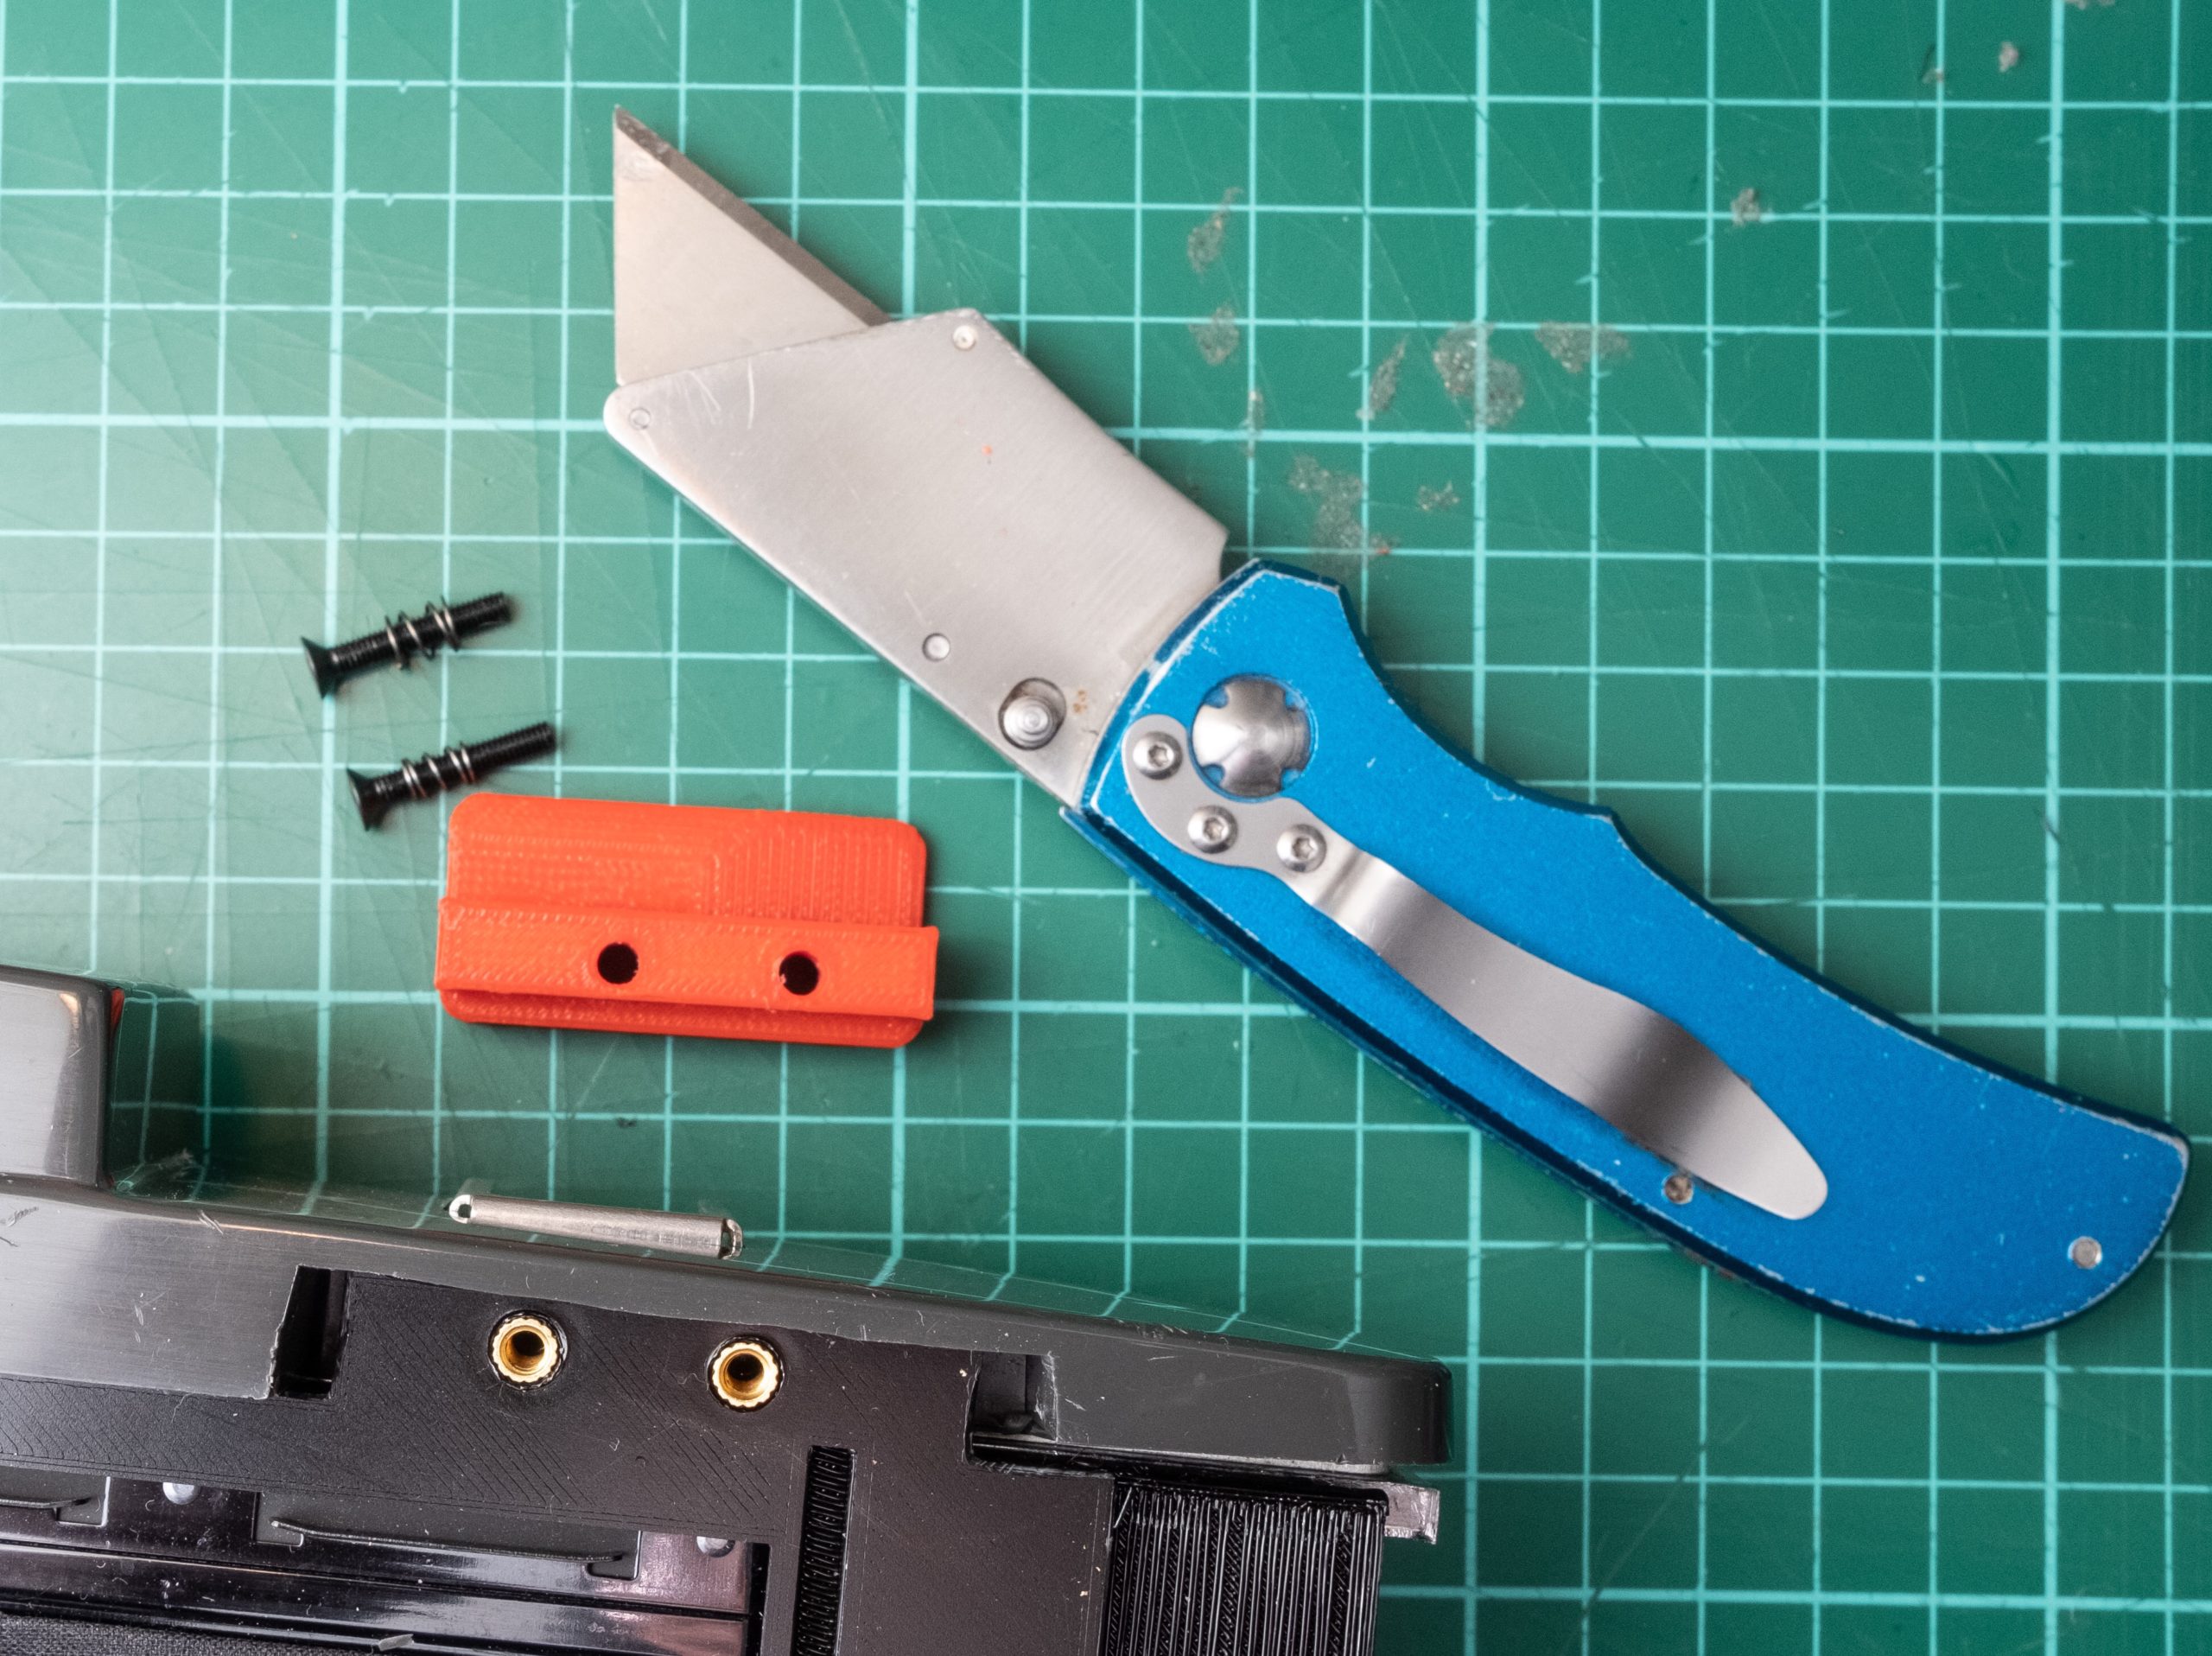
New topclamp (January 20) requires that you cut away approx 2-3mm of the grey top cover with a hobby knife


Film back is then done! Insert the ground glass and move on!
Any comments or questions? Please contact me on email morten@kolve.org