Instructions on how to mount and use the M65 helicoid focus mount on your WillTravel camera.

The M65 helicoid allows for focusing i.e. extending the lens distance from the filmplane in a linear non rotating in-out motion. As opposed to the rotating standard 3d printed frontcap. Both work fine although the M65 is very convenient when the lens allows for it. This as there’s lenses that don’t fit the M65 due to large rear lens elements. Like the Nikkor SW 120 or super angulon 120/8, or lenses with Copal 3 shutters. Also note some (wide angle) lenses have a large rear element only allowing for small amount of extension of the M65 helicoid, however this will still be sufficient for focusing from infinity to close “enough”. This has for me been the 90mm super Angulons (f5.6, XL and f8) and the 121 Super Angulon f8.
Mounting instructions
See list of instructions and then the images below.
- Ensure that you have the necessary parts and tools.
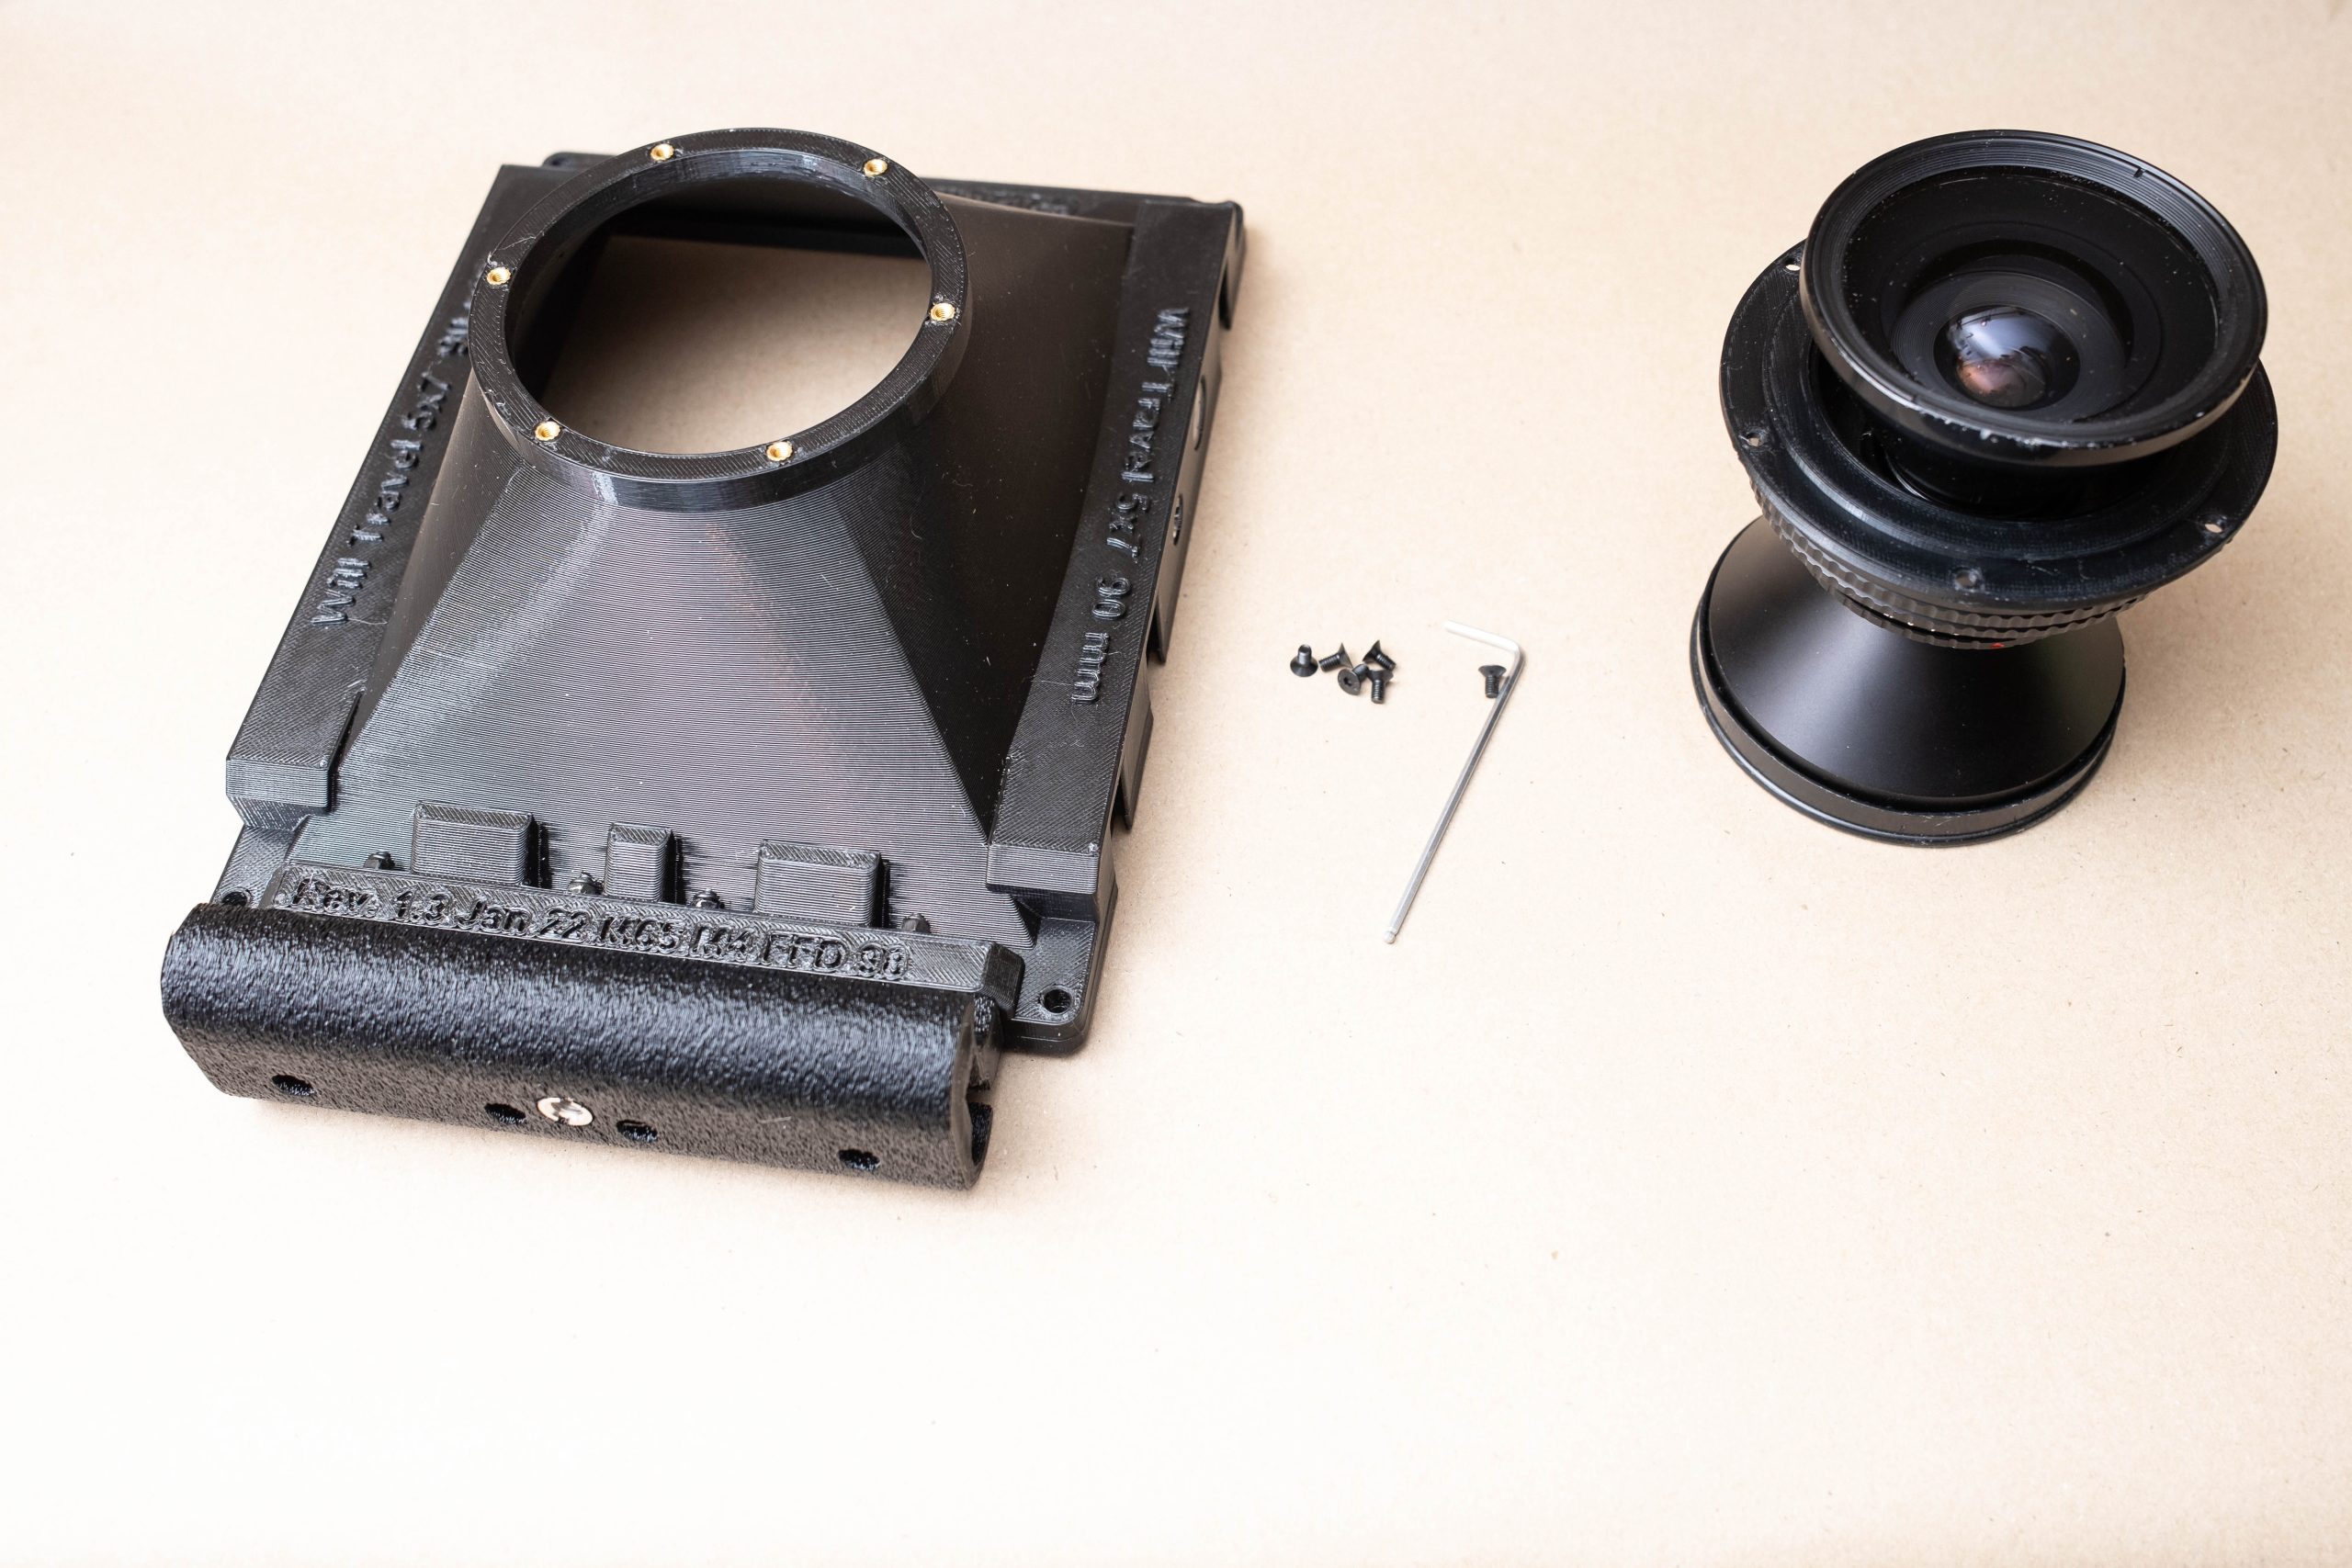
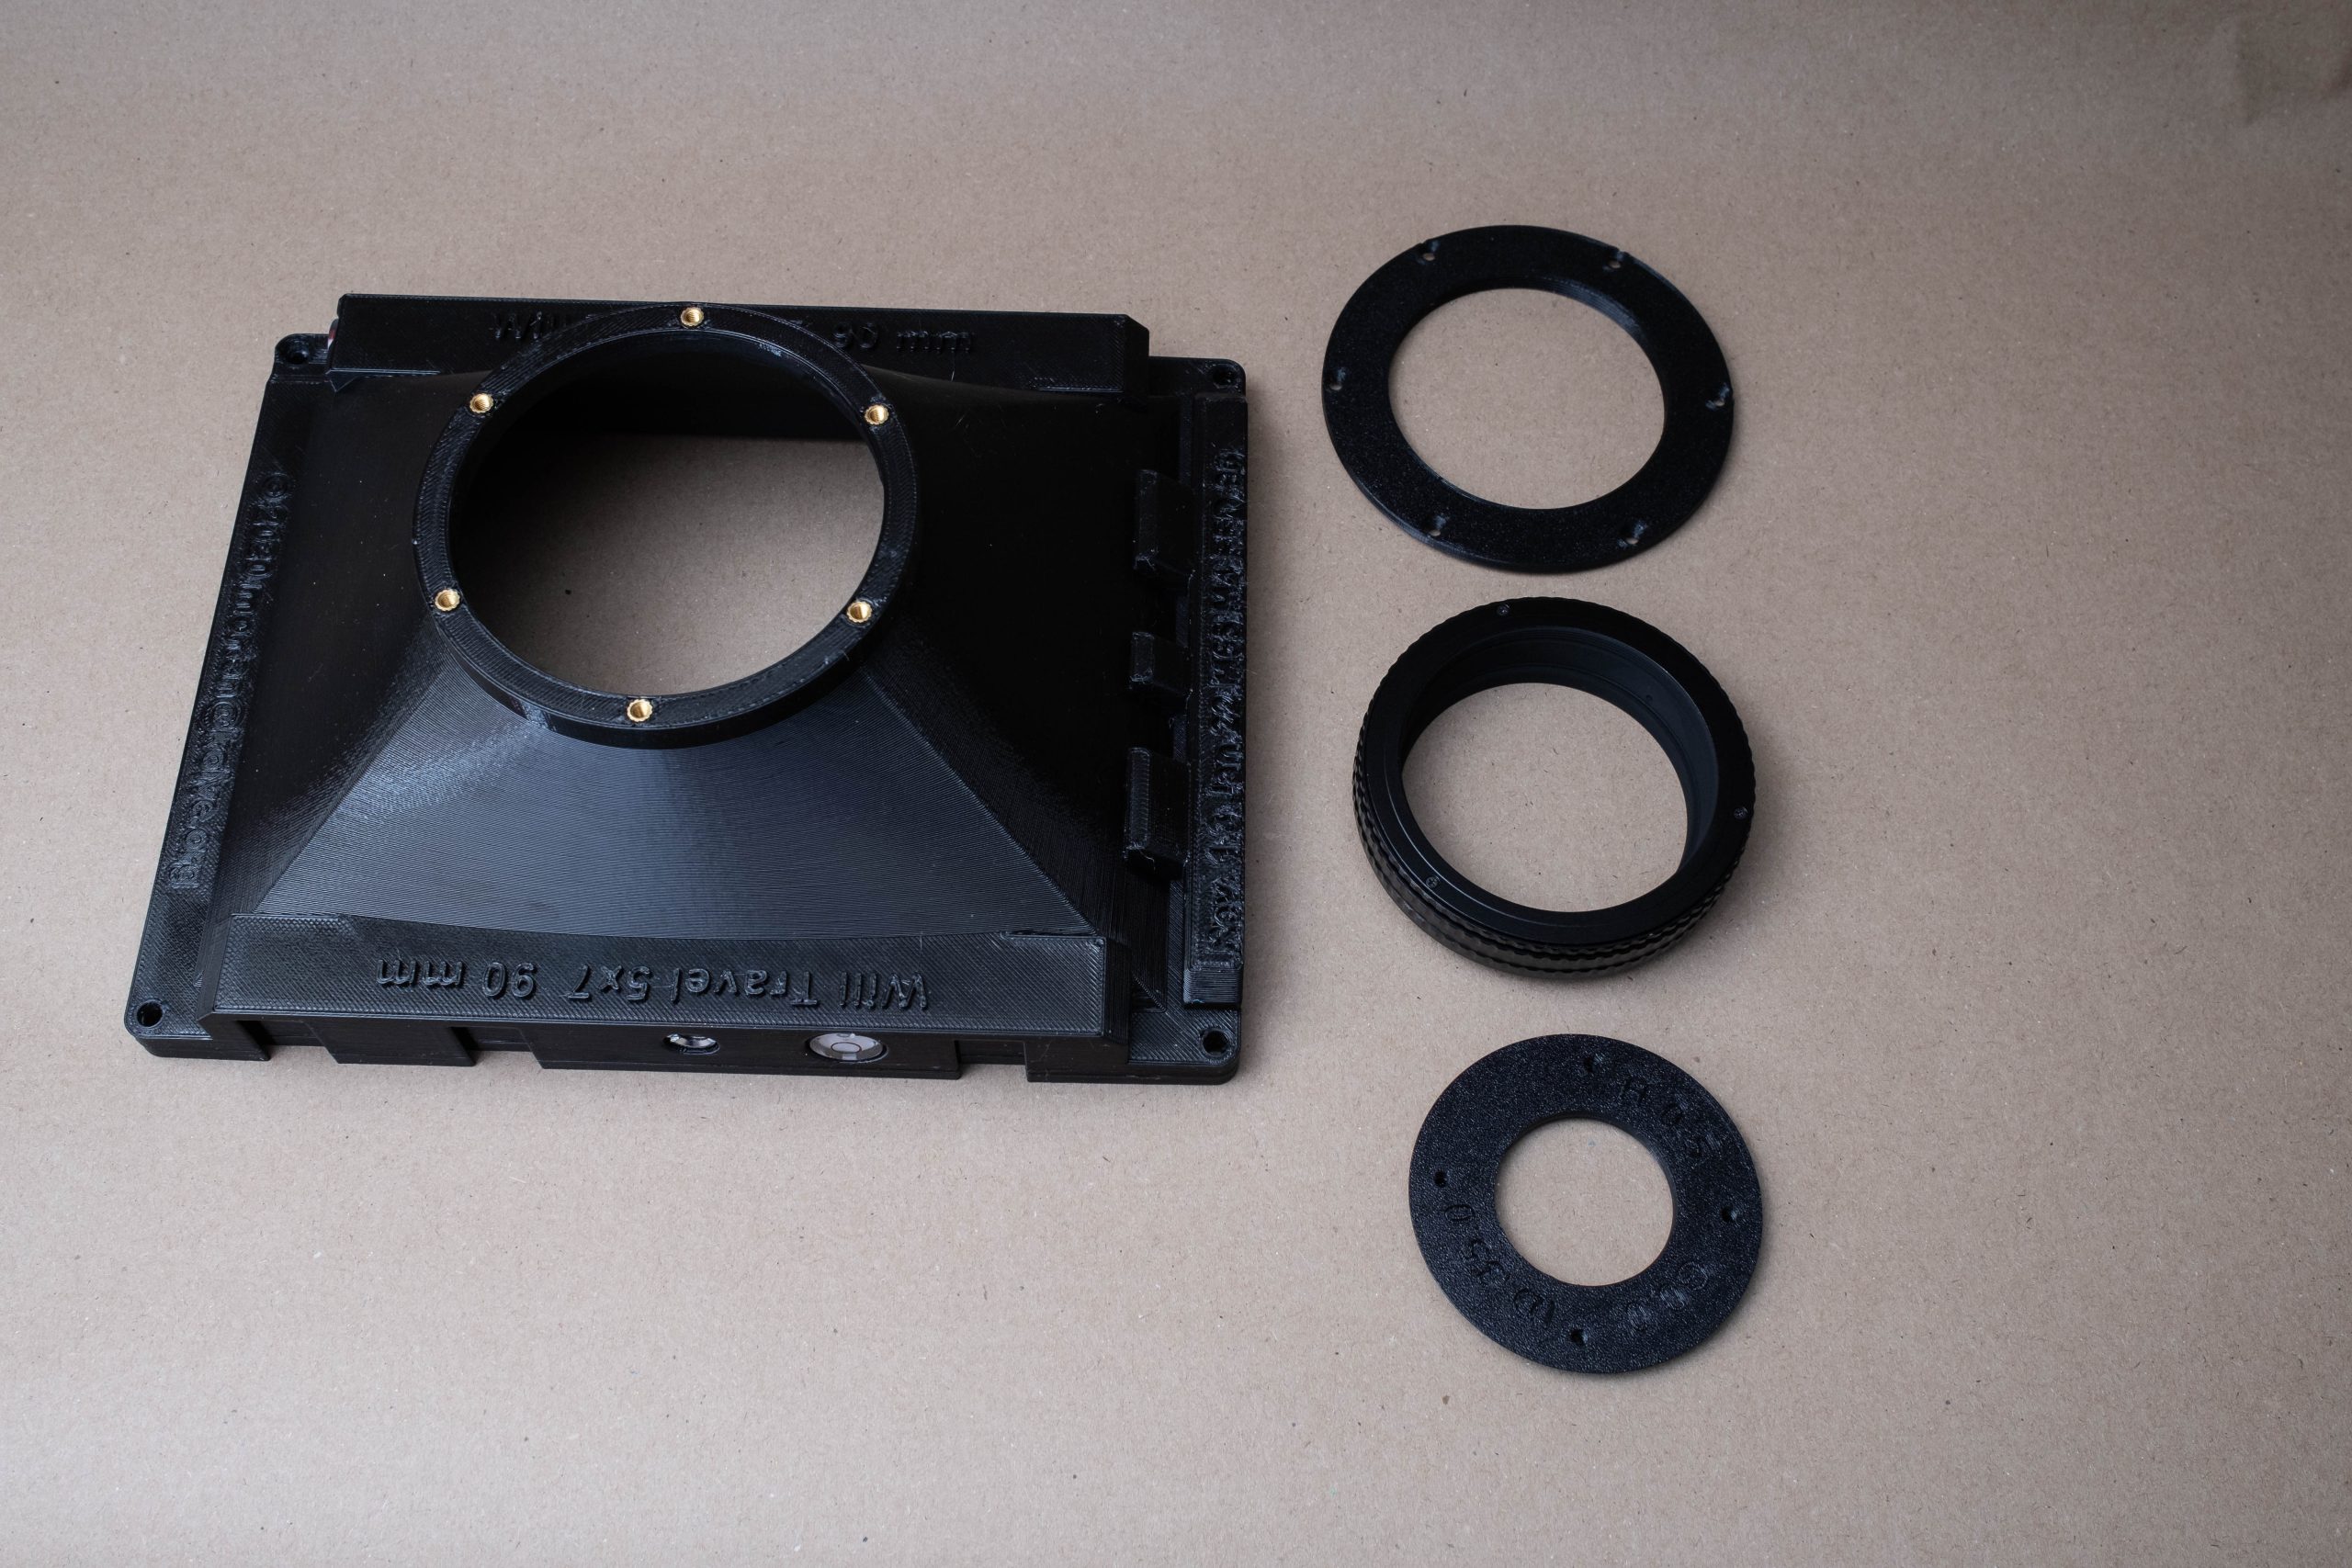
- Parts : M65 ready WillTravel camera body, M65 flange, M65 helicoid, M65 lens board for your shutter size, 6 M3 2mm counter sunk hex screws. (Other M3 screws will work as well)
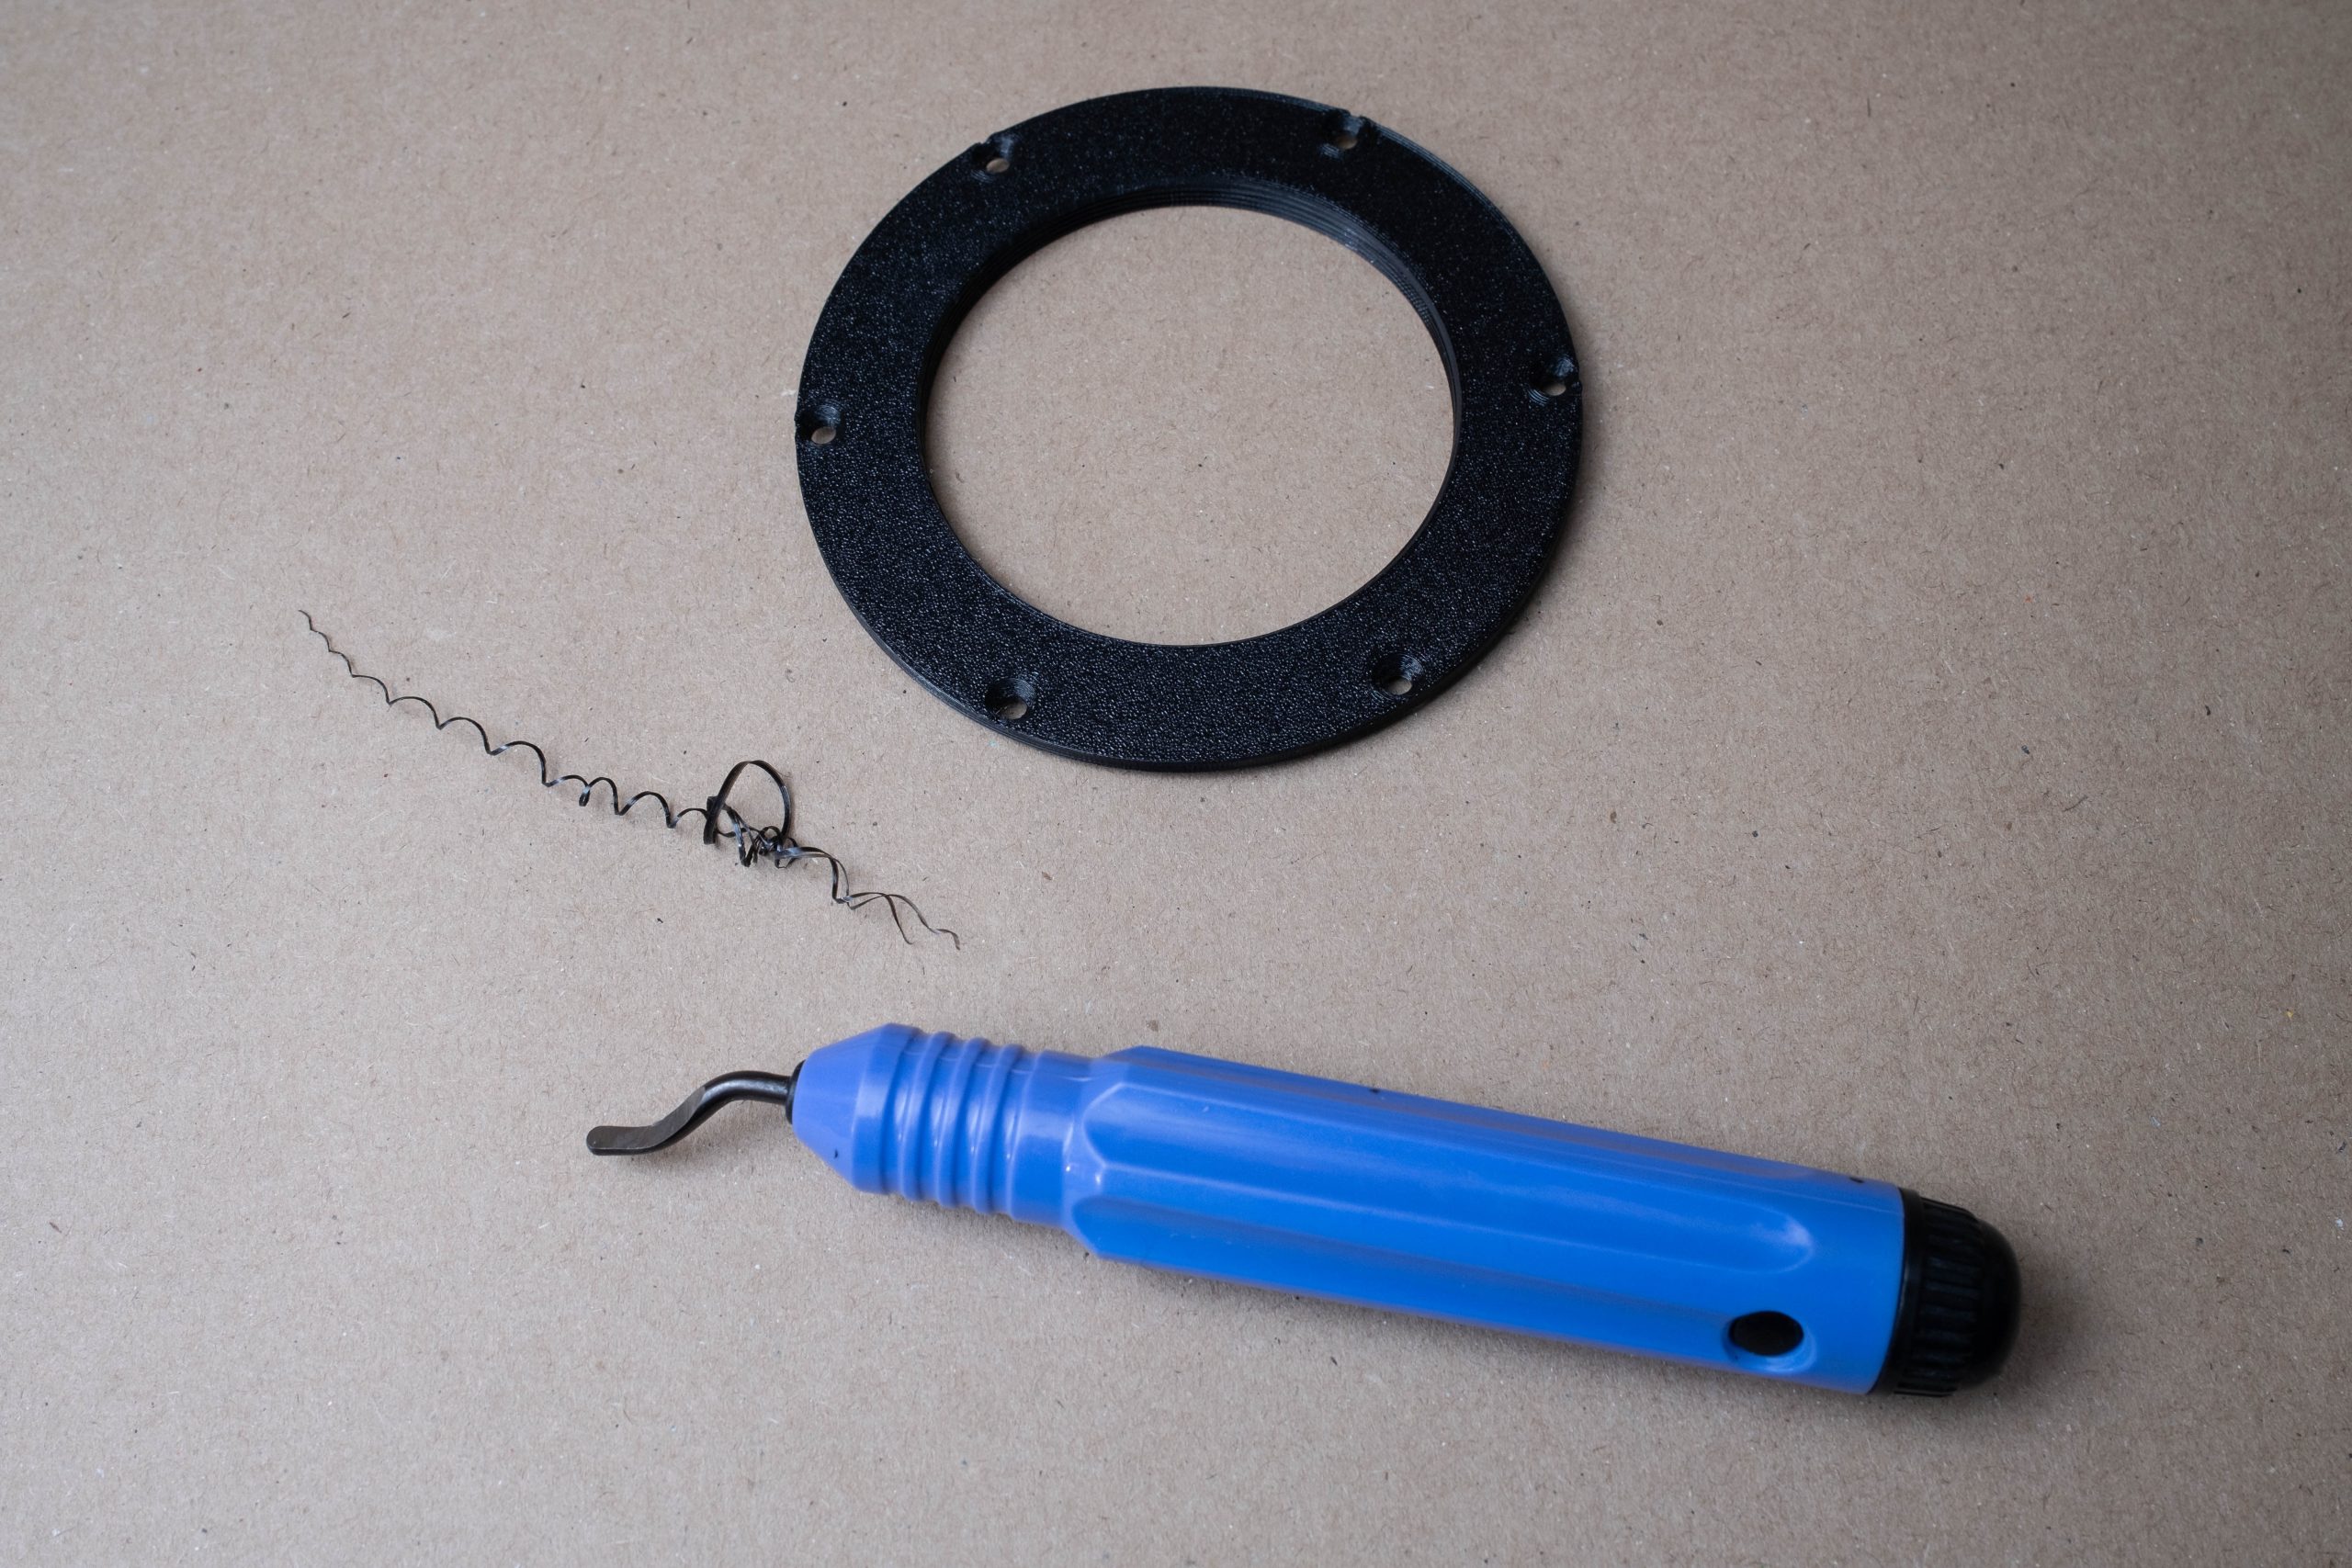
- Tools: 2mm hex key, lens wrench for lens retaining nut and deburring tool if necessary.
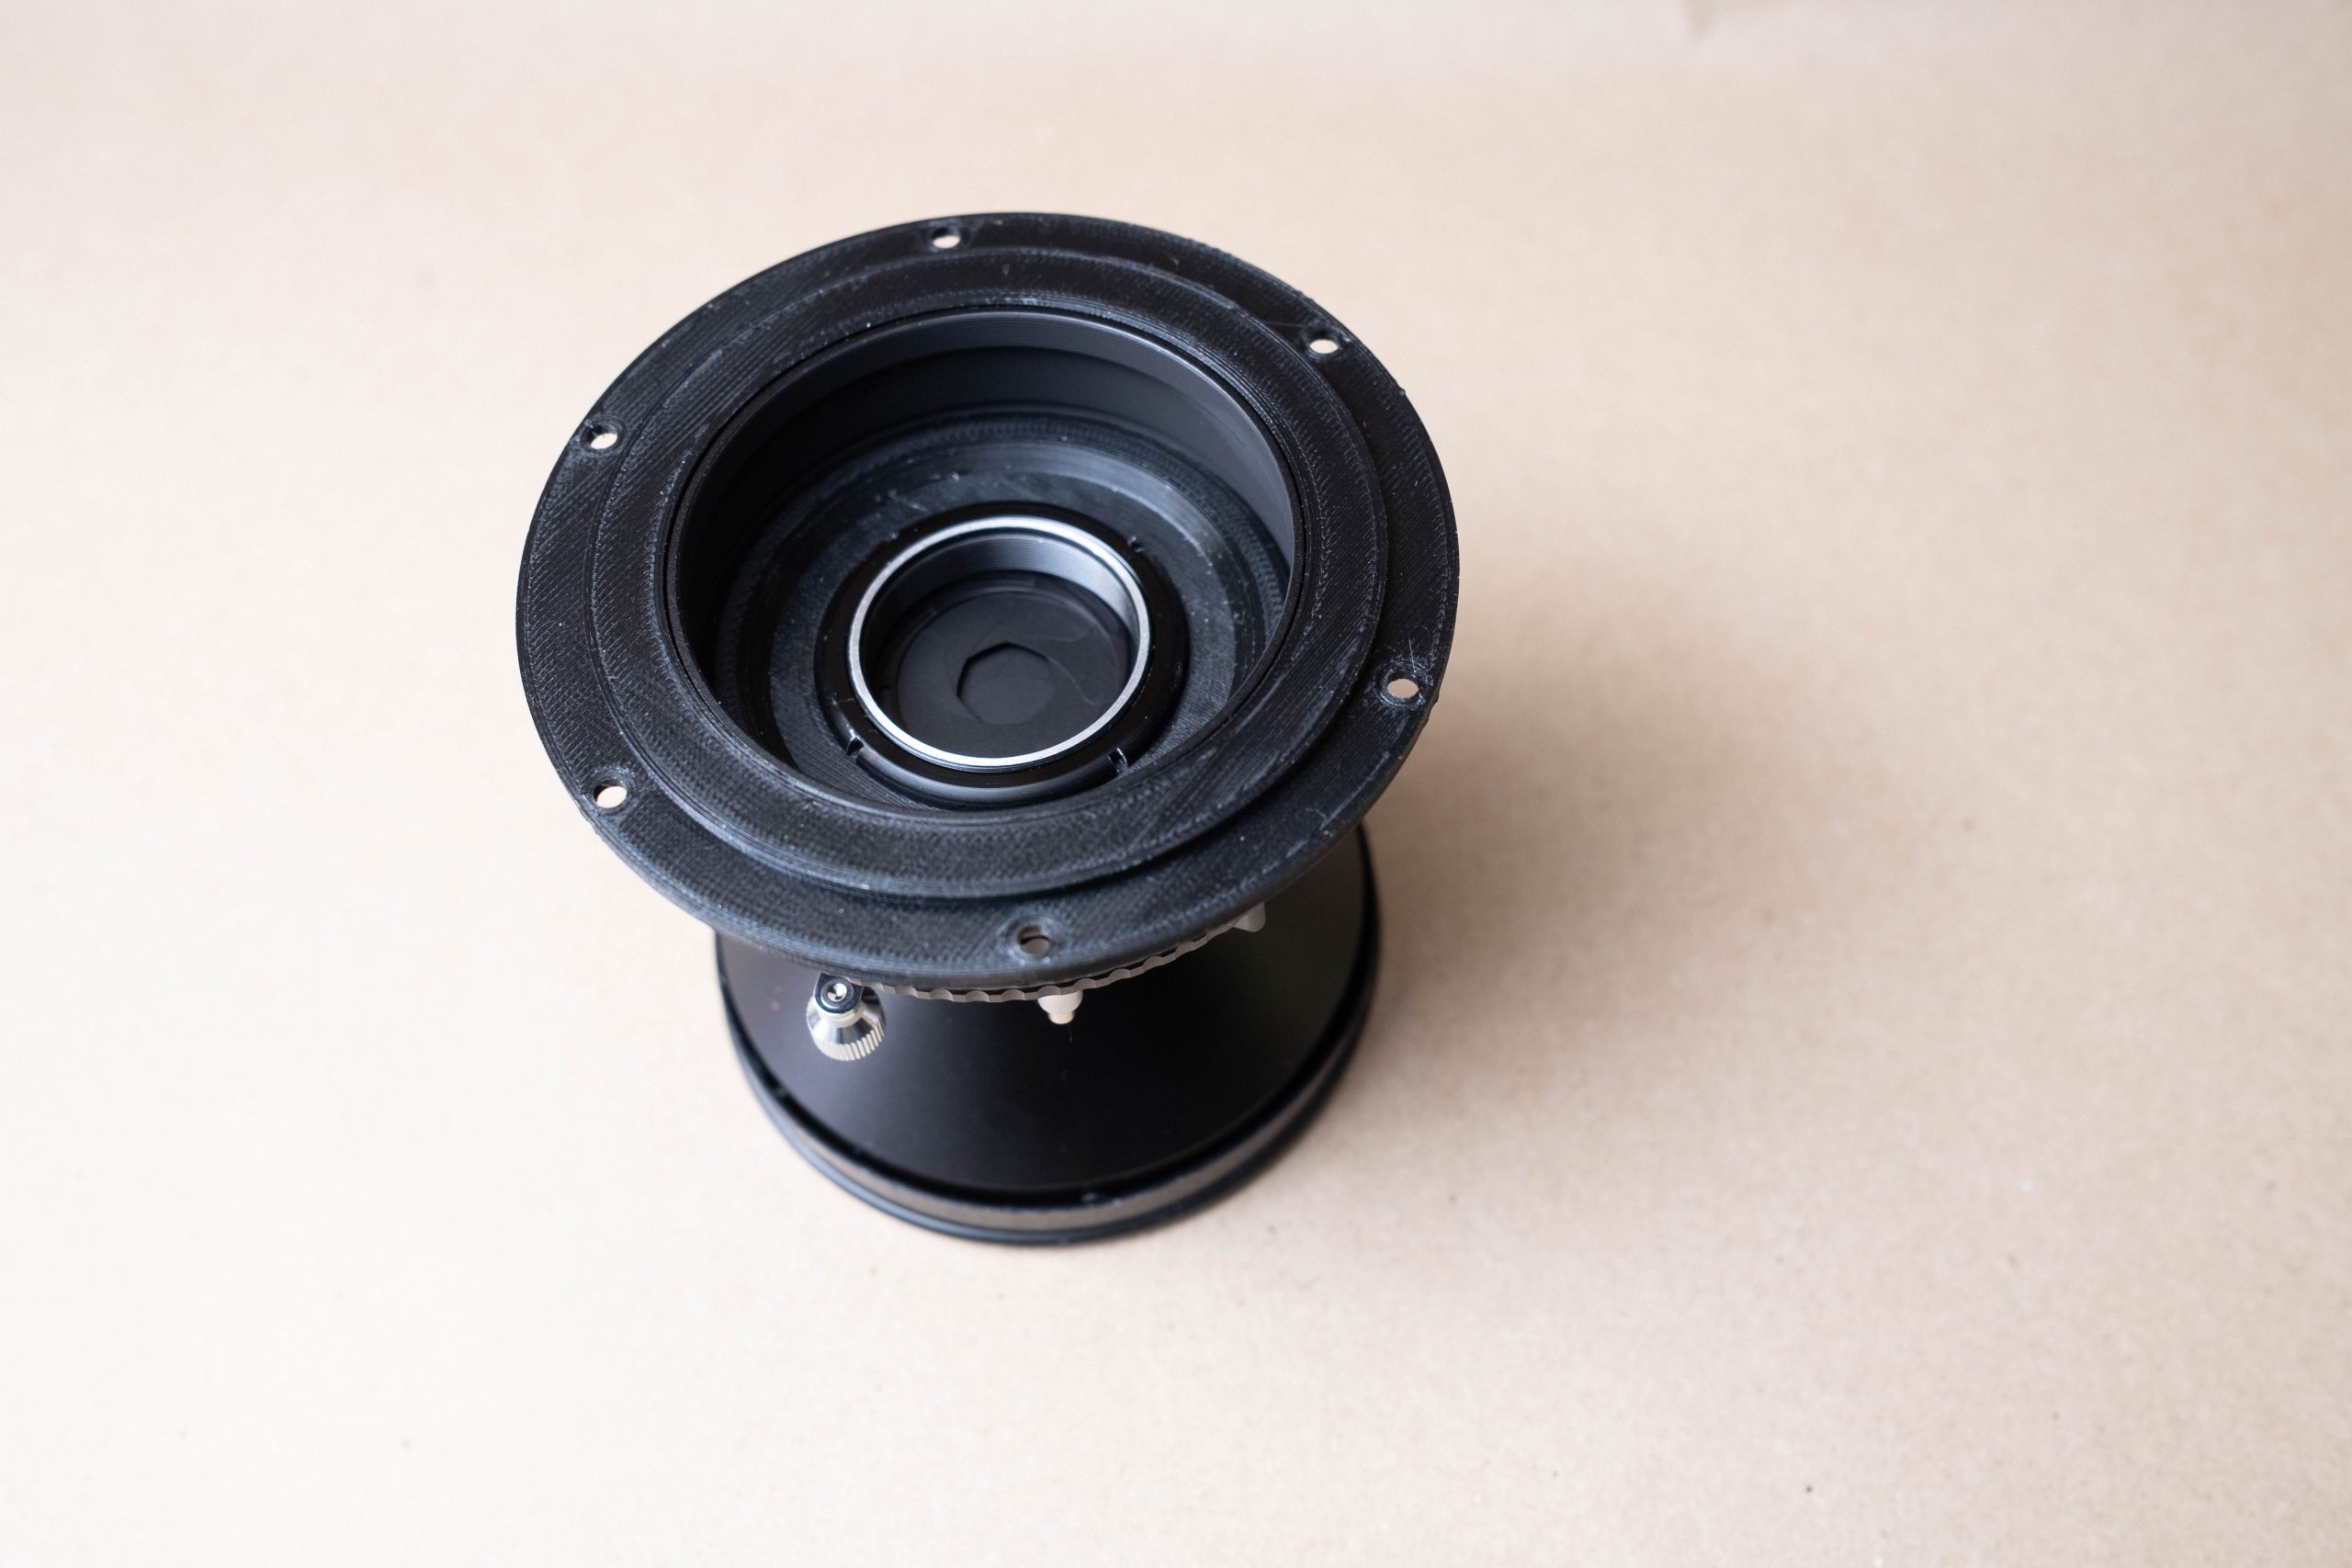
- If your M65 not is already mounted to the m65 mounting flange, ensure clean M65 threads in the 3d printed flange, if not then use deburring tool. Carefully enter the M65 Helicoid into the M65 flange threads, ensure that the two pieces are completely parallel. When correct thread engagement, fully thread the two pieces together. This might require several tries, be careful not to damage the 3d printed threads.
- Mount the lens to M65 lensboard : (again be careful to be gentle and not to damage the fine threads.)
- If you’re lens have a rear element which are larger than the lens retaining nut. Unscrew the rear lens element from the shutter.
- Unscrew the lens retaining nut.
- Mount the shutter in the M65 lensboard using the retaining nut. Tighten the retaining nut with a lens wrench or other suitable tool.
- Mount the M65 lensboard with shutter into the M65 helicoid.
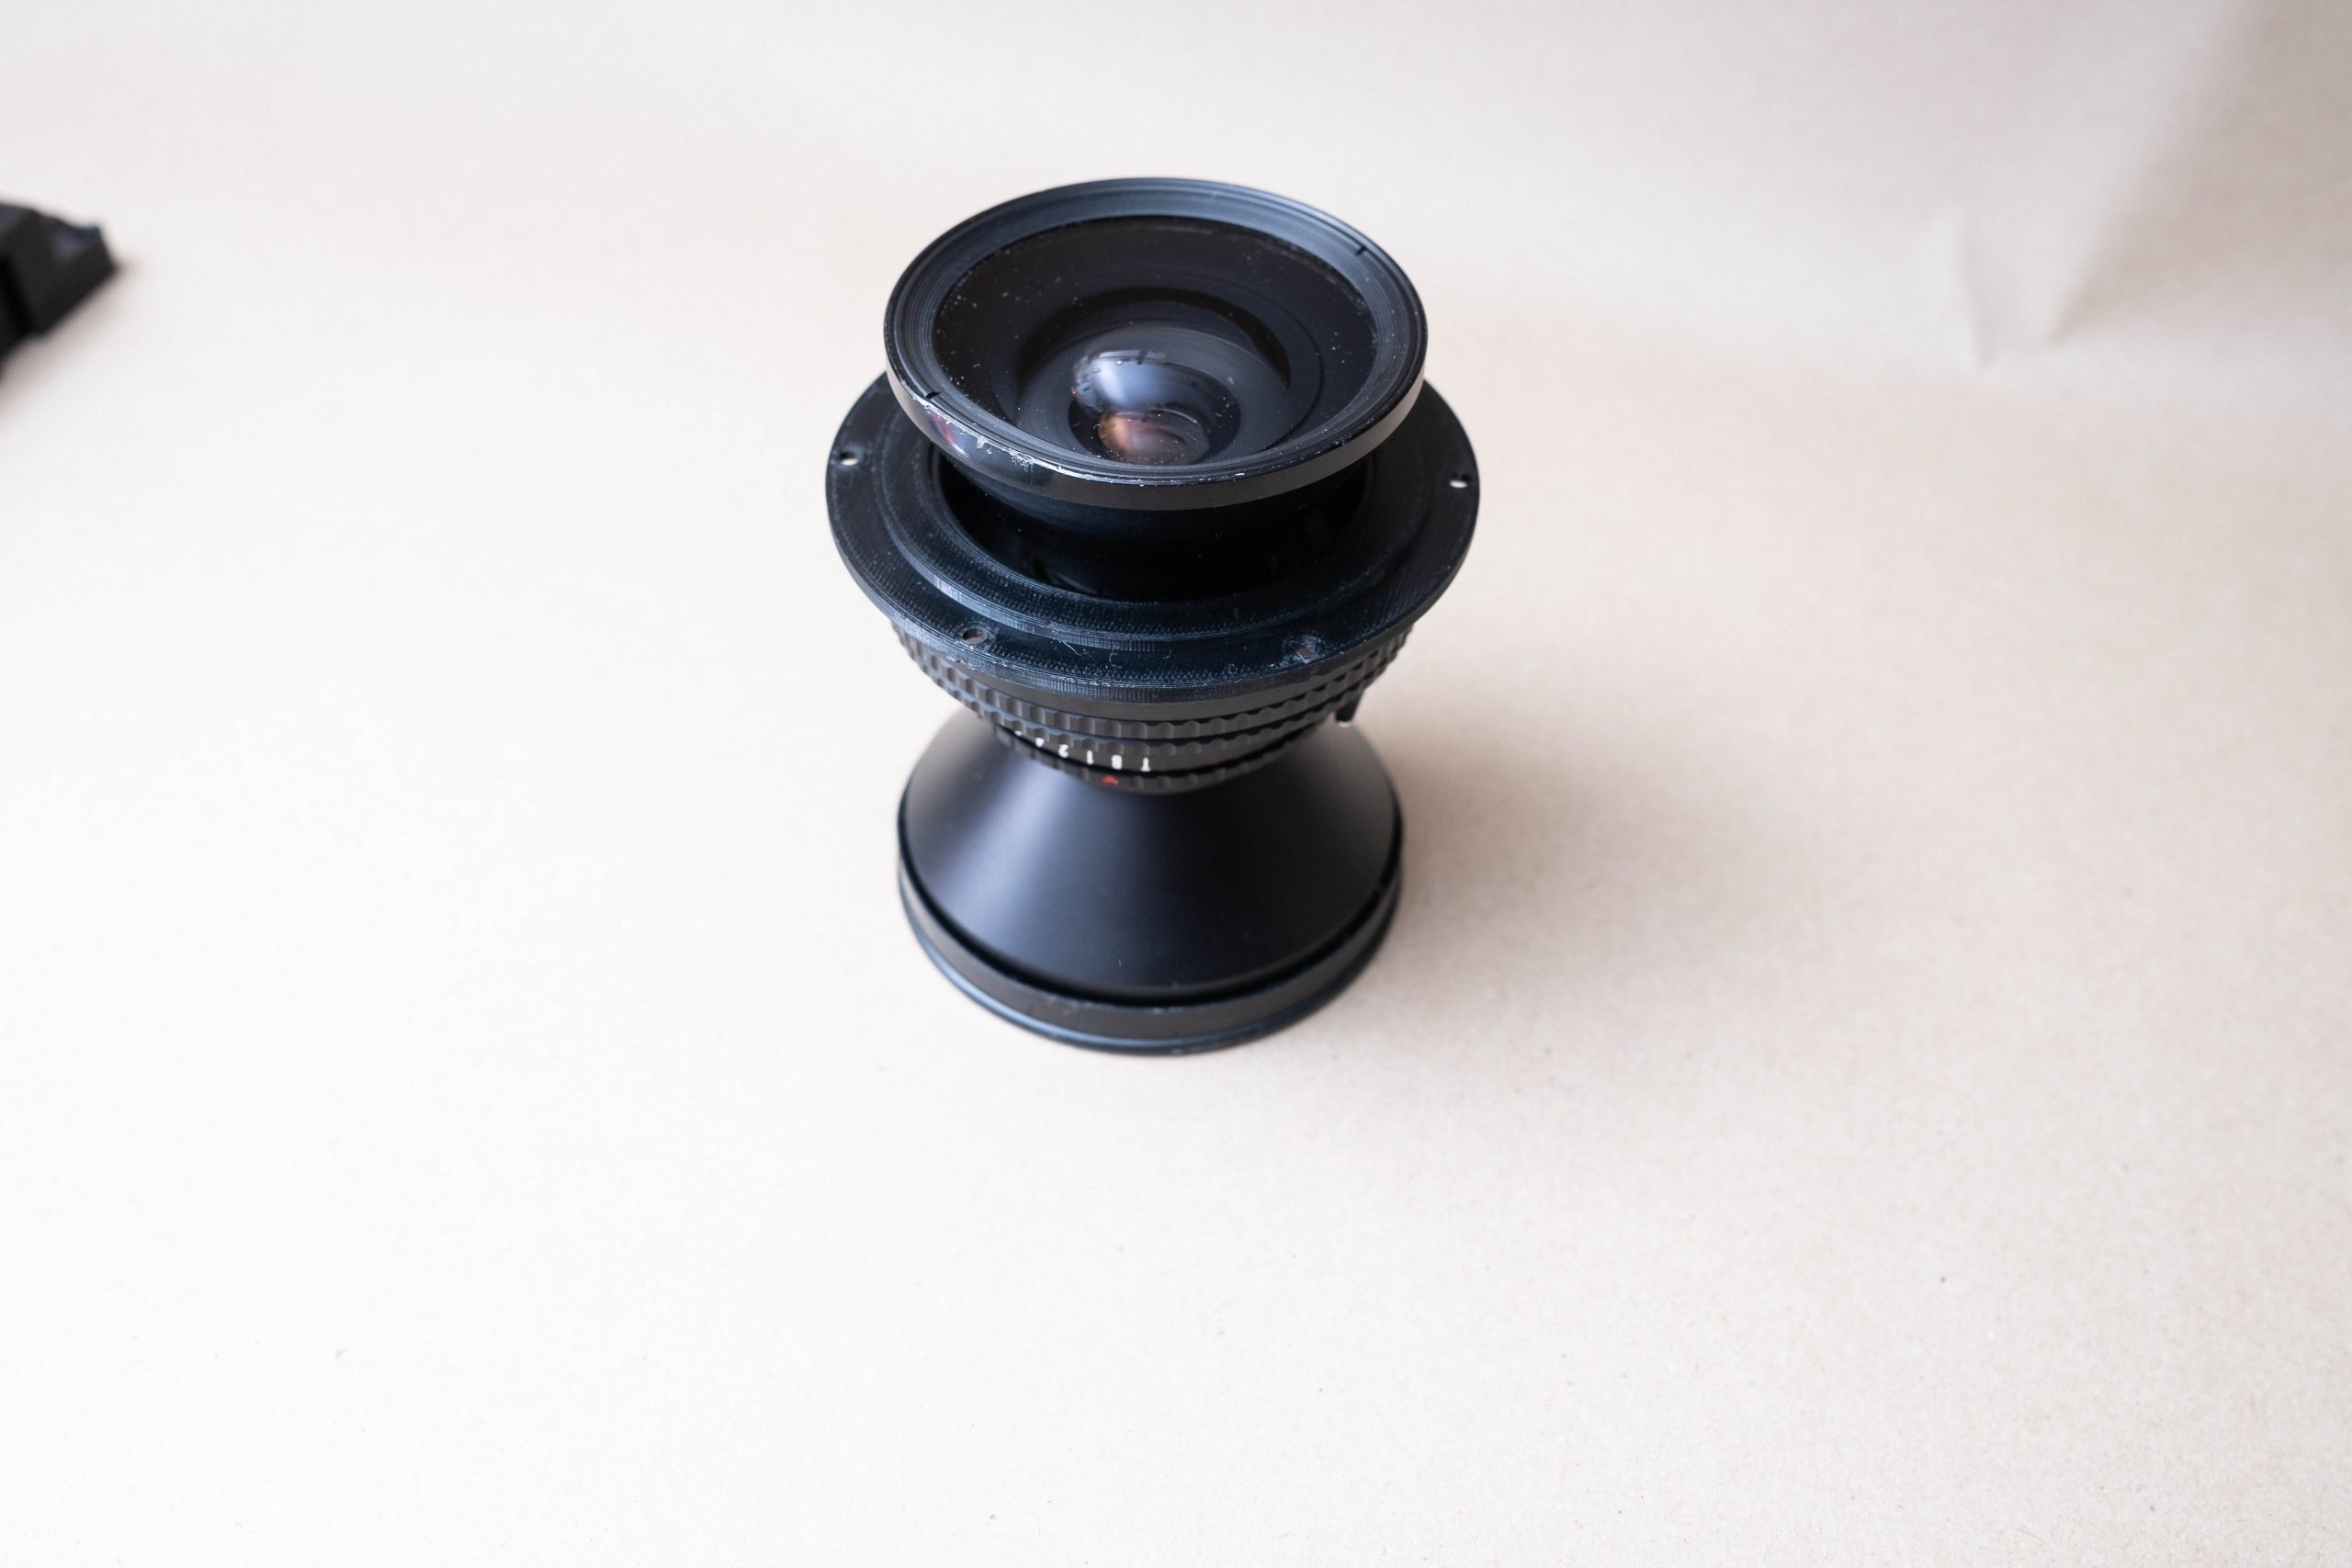
- Screw on the rear lens element. Careful with that fine thread. Also ensure that you have minimum extension on the M65 Helicoid.
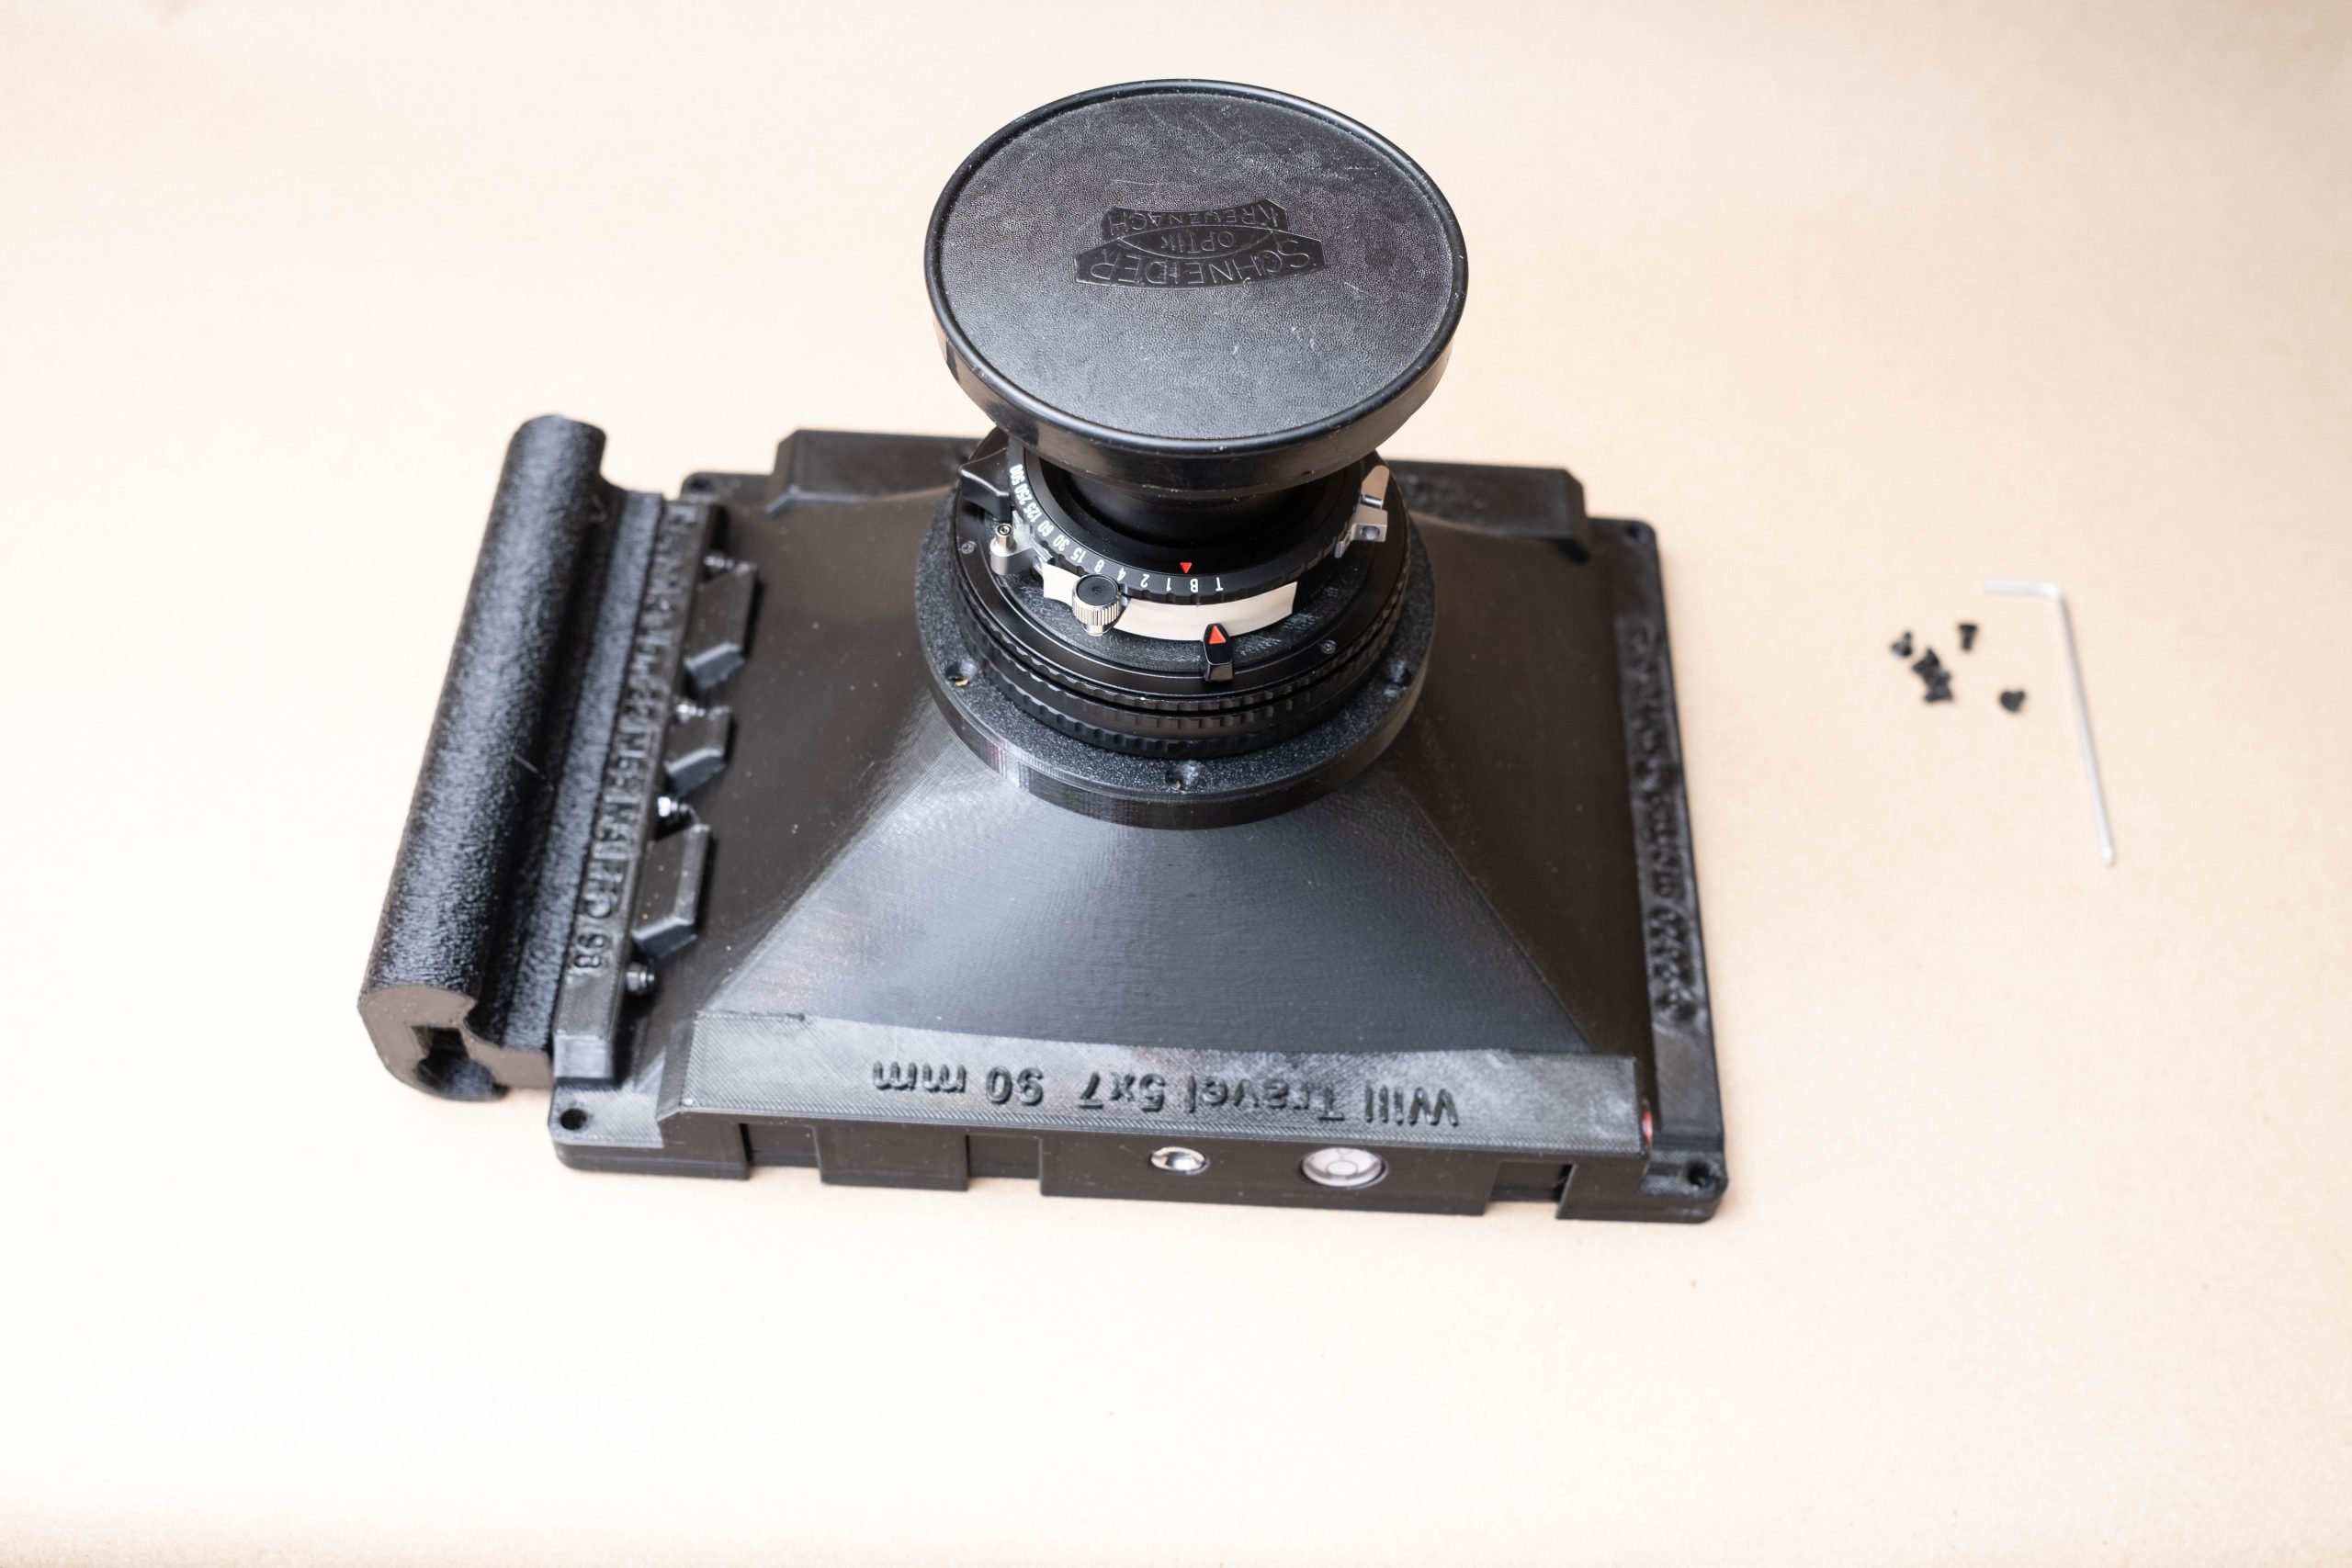
- You should now have the M65 flange, M65 helicoid, M65 lensboard and the complete lens mounted together in one assembly.
- Decide how you will operate the camera, i.e. which way the grip will be when using the camera.
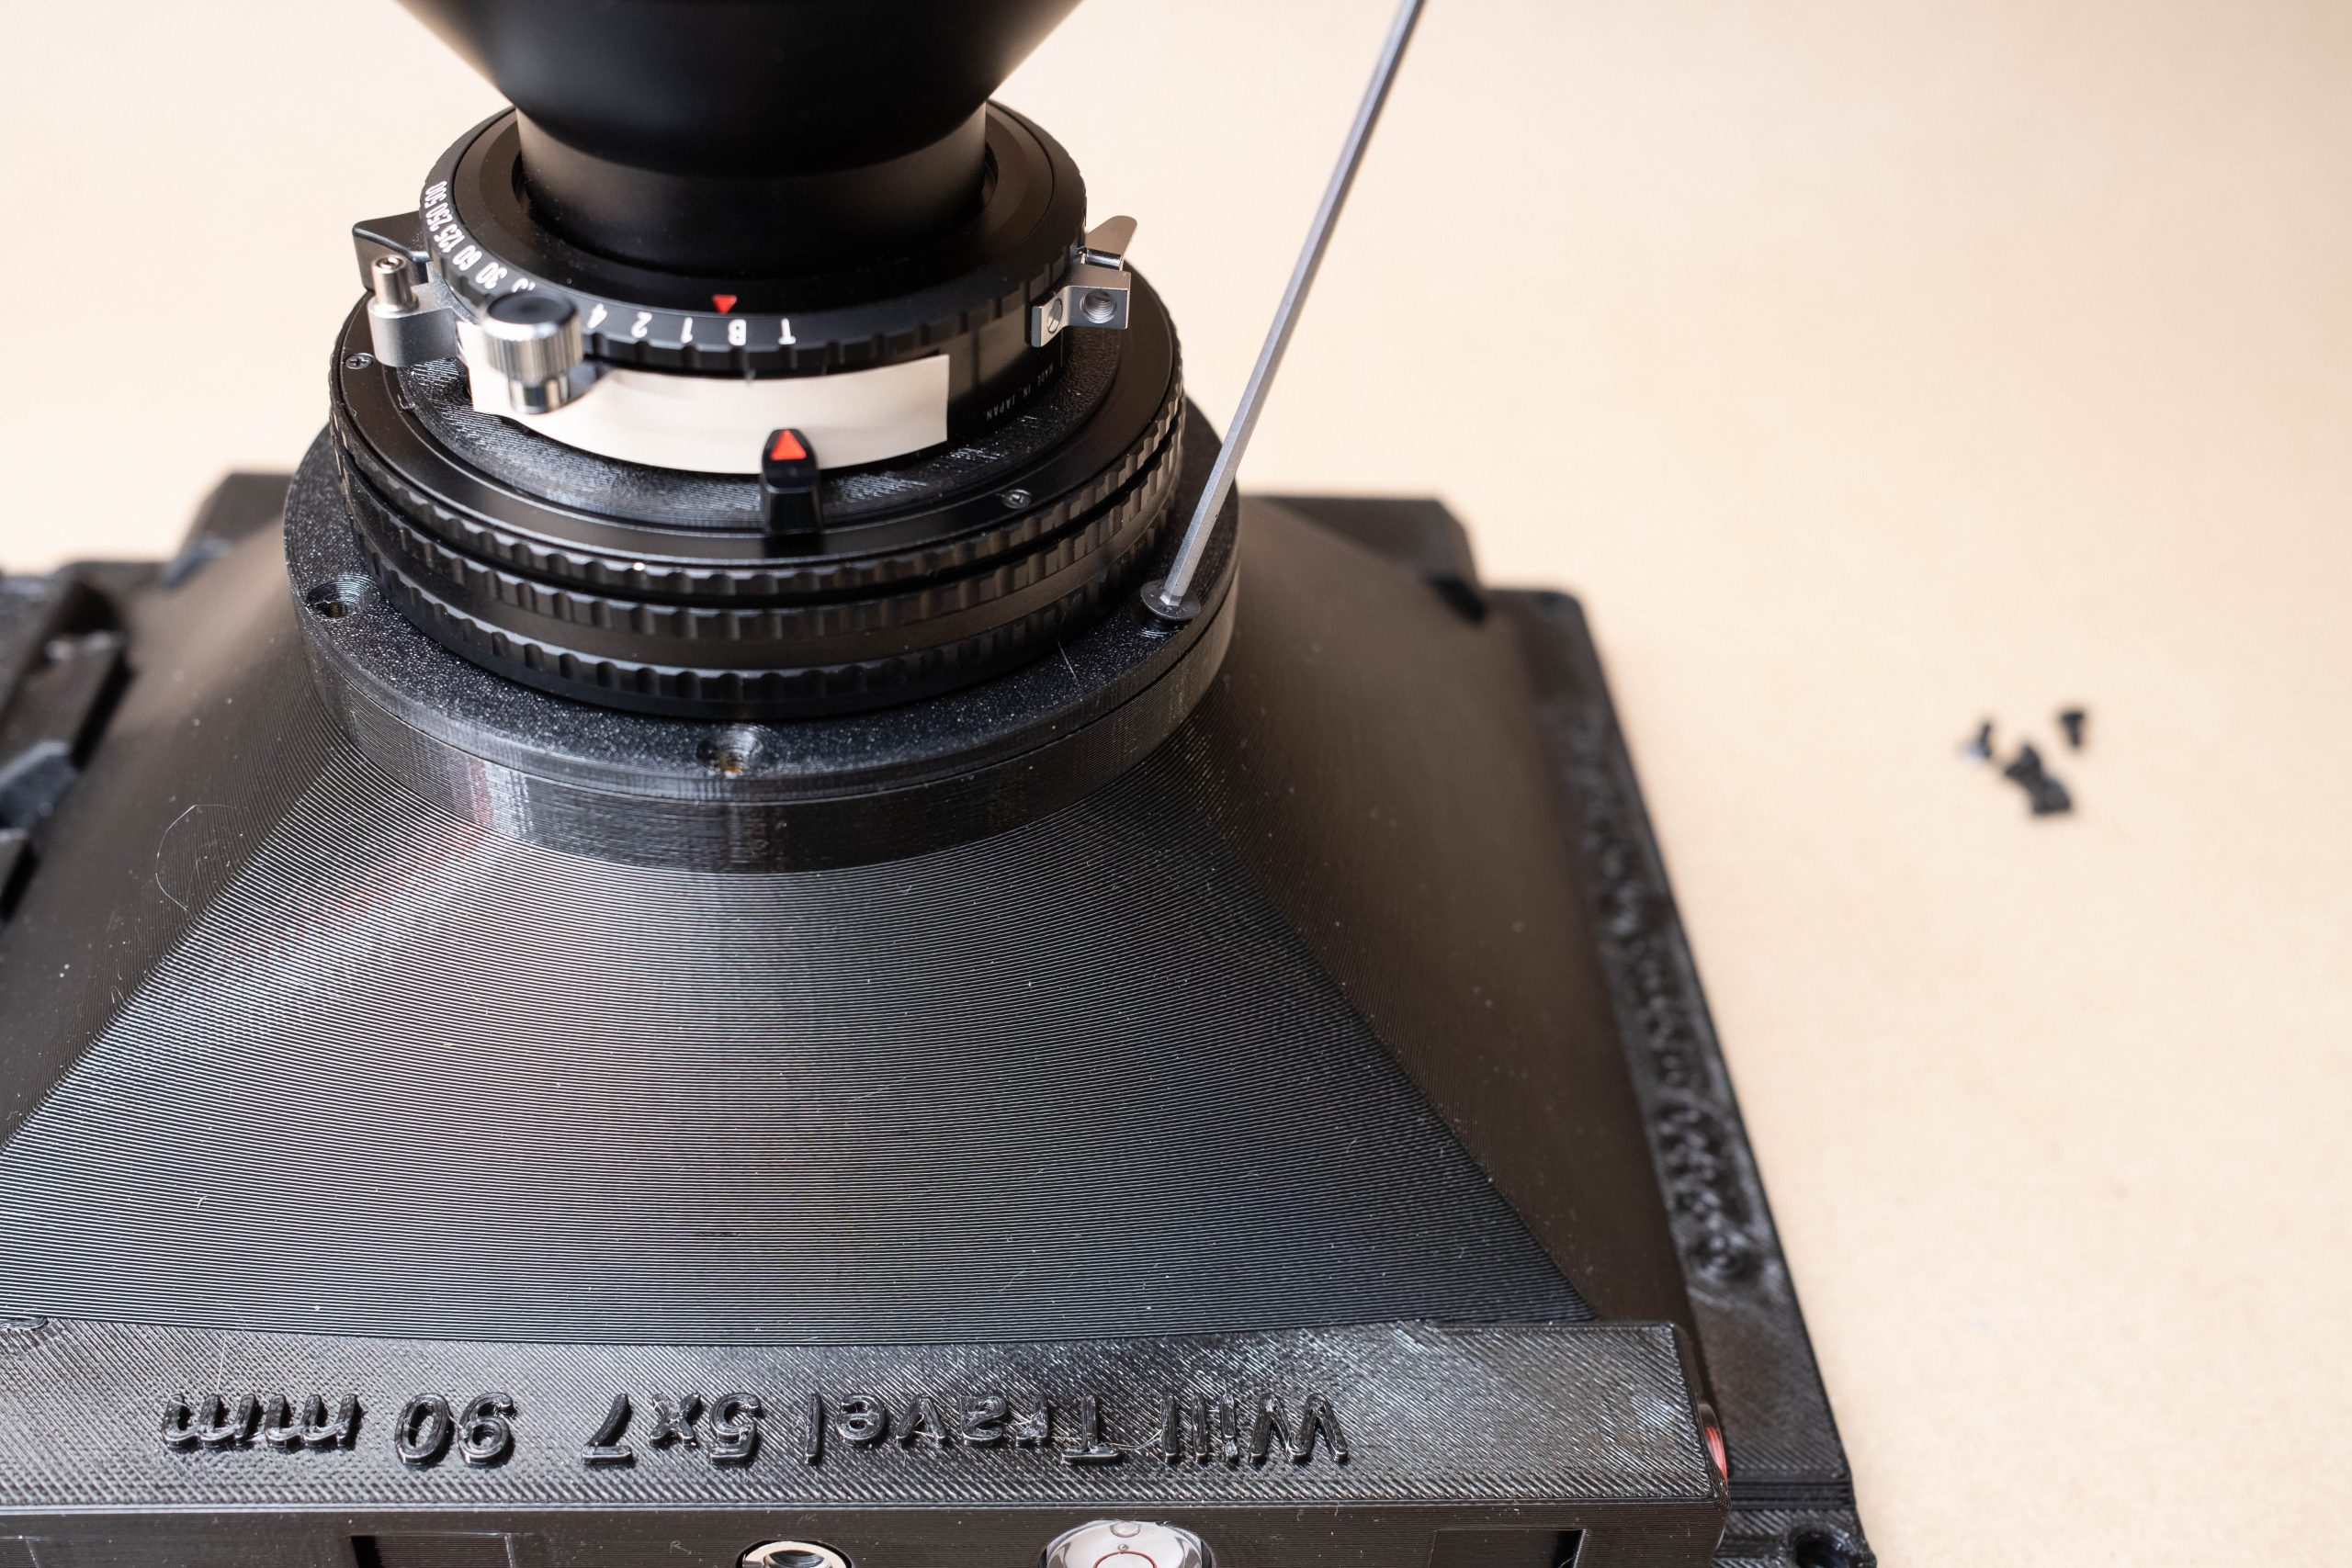
- Then position the M65 assembly on the camera in one of the six positions that line up the screw holes. (I.e. 60 degrees) Use the one that provides best visibility and access to the lens controls (shutter and aperture settings) also allowing for easy mounting of the shutter release cable.
- Screw in the six M3 screws with the 2 mm allen hex key.
- Check that the helicoid runs smoothly and all bits are tight.
- Congratulations👍 Done ! 👍
- Now you may want to set a infinity mark and a zone focus scale. See instructions here!