Once you have printed the parts its time for clean up of the 3d printed parts, paint ing of the internals of the body, glue and assembly
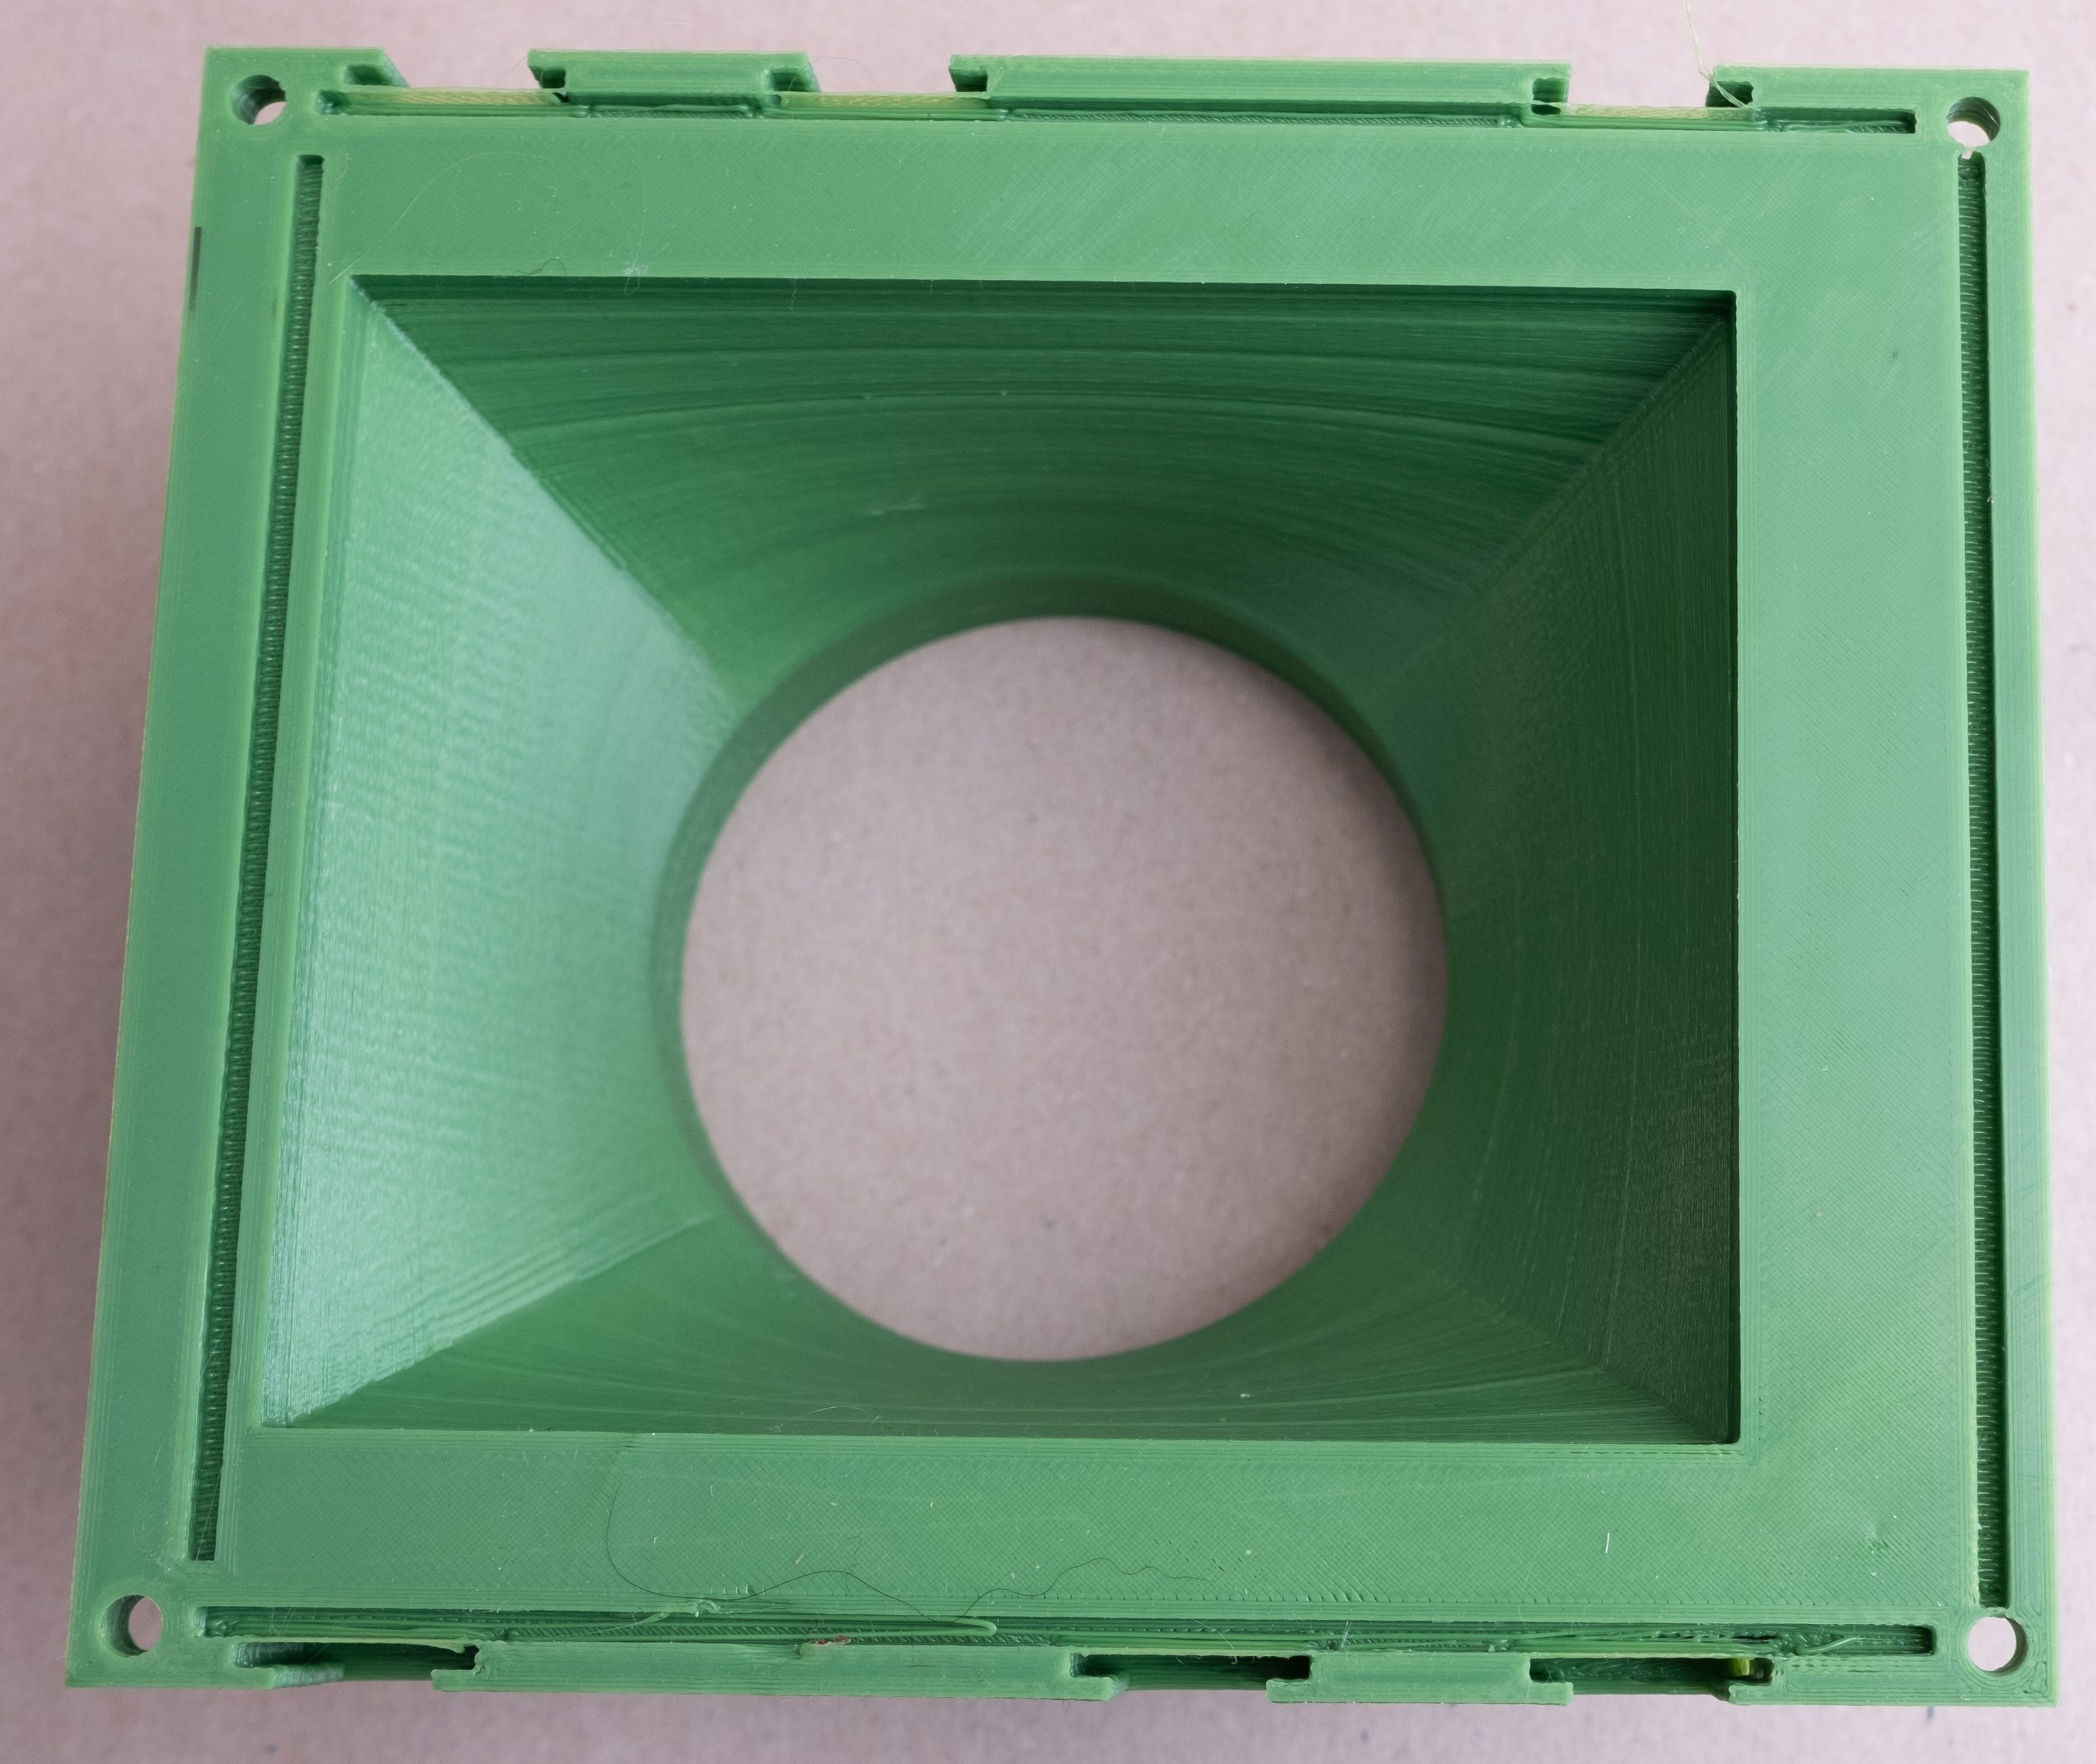
Go over all edges on the 3d printed parts with a deburring tool or hobby knife to remove any excess plastic. Also check the groves for the filmholder frame. Test that the filmholder frame snaps easily into place, then remove it.
Mask the top of the body with painters tape, same for the threads on the frontcap.

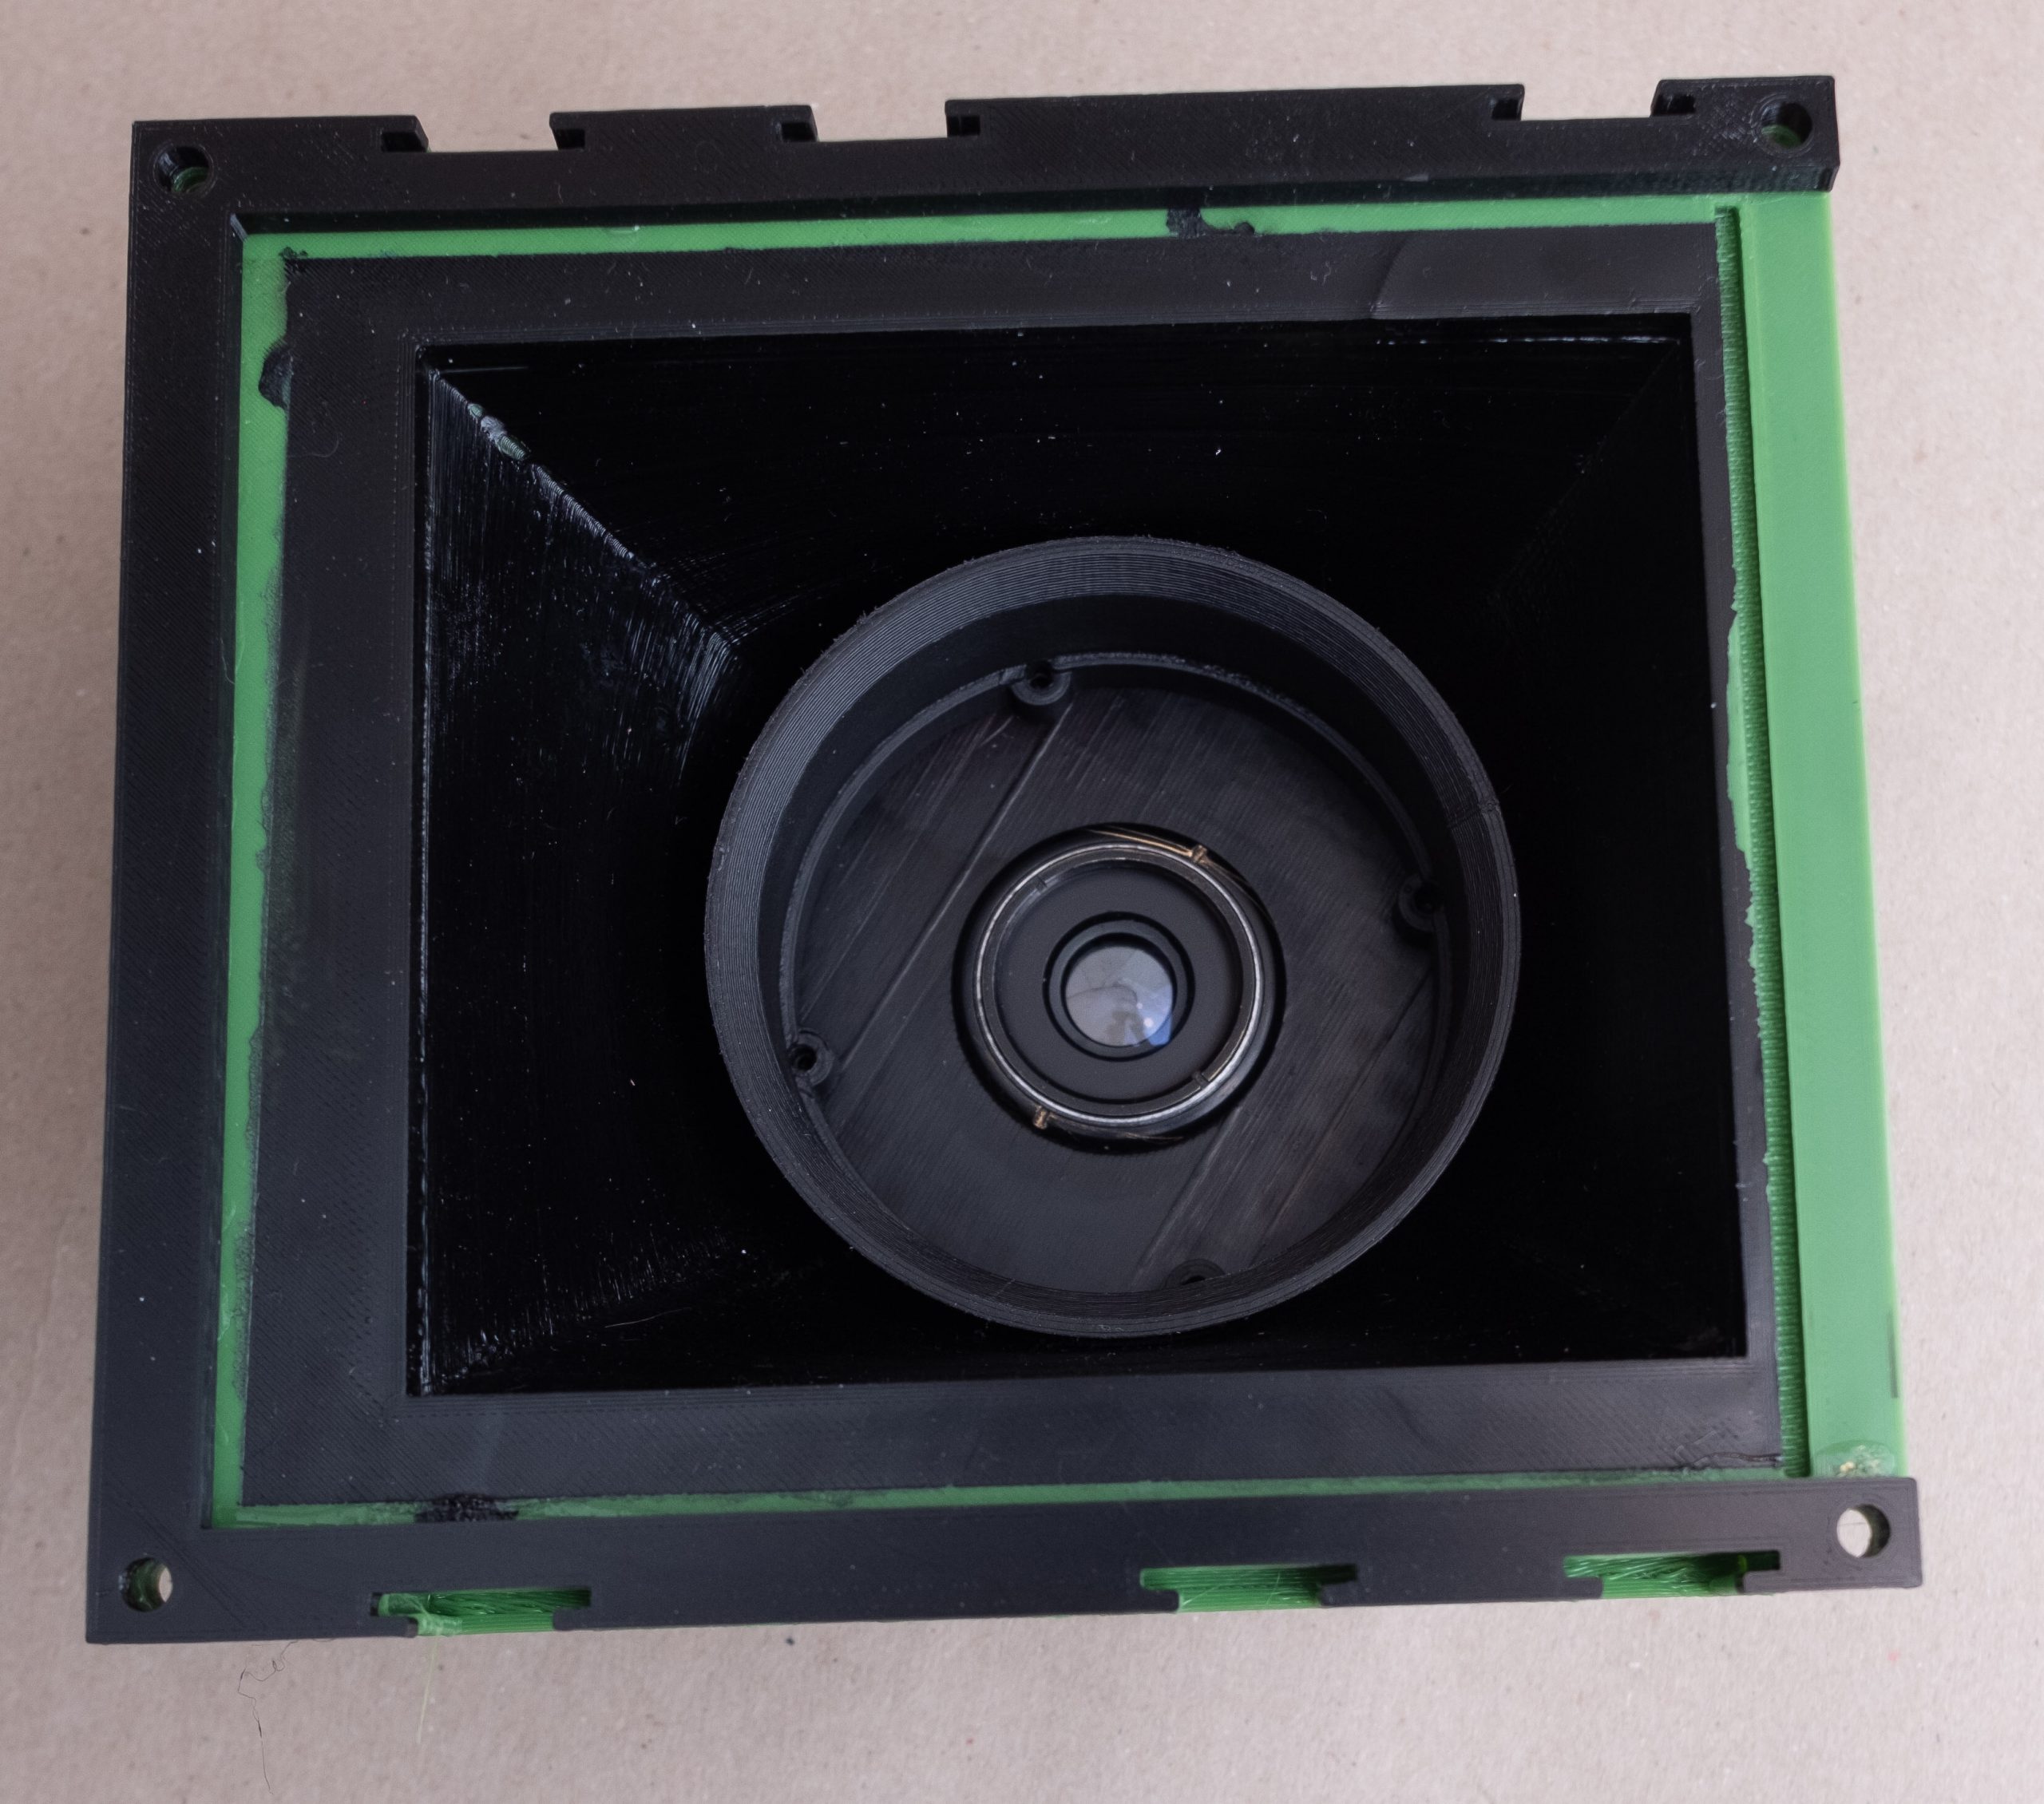
Paint the interior with flat black paint, several coats. The matt down with some abrasive like fine grain sandpaper to reduce any internal flare and reflections.
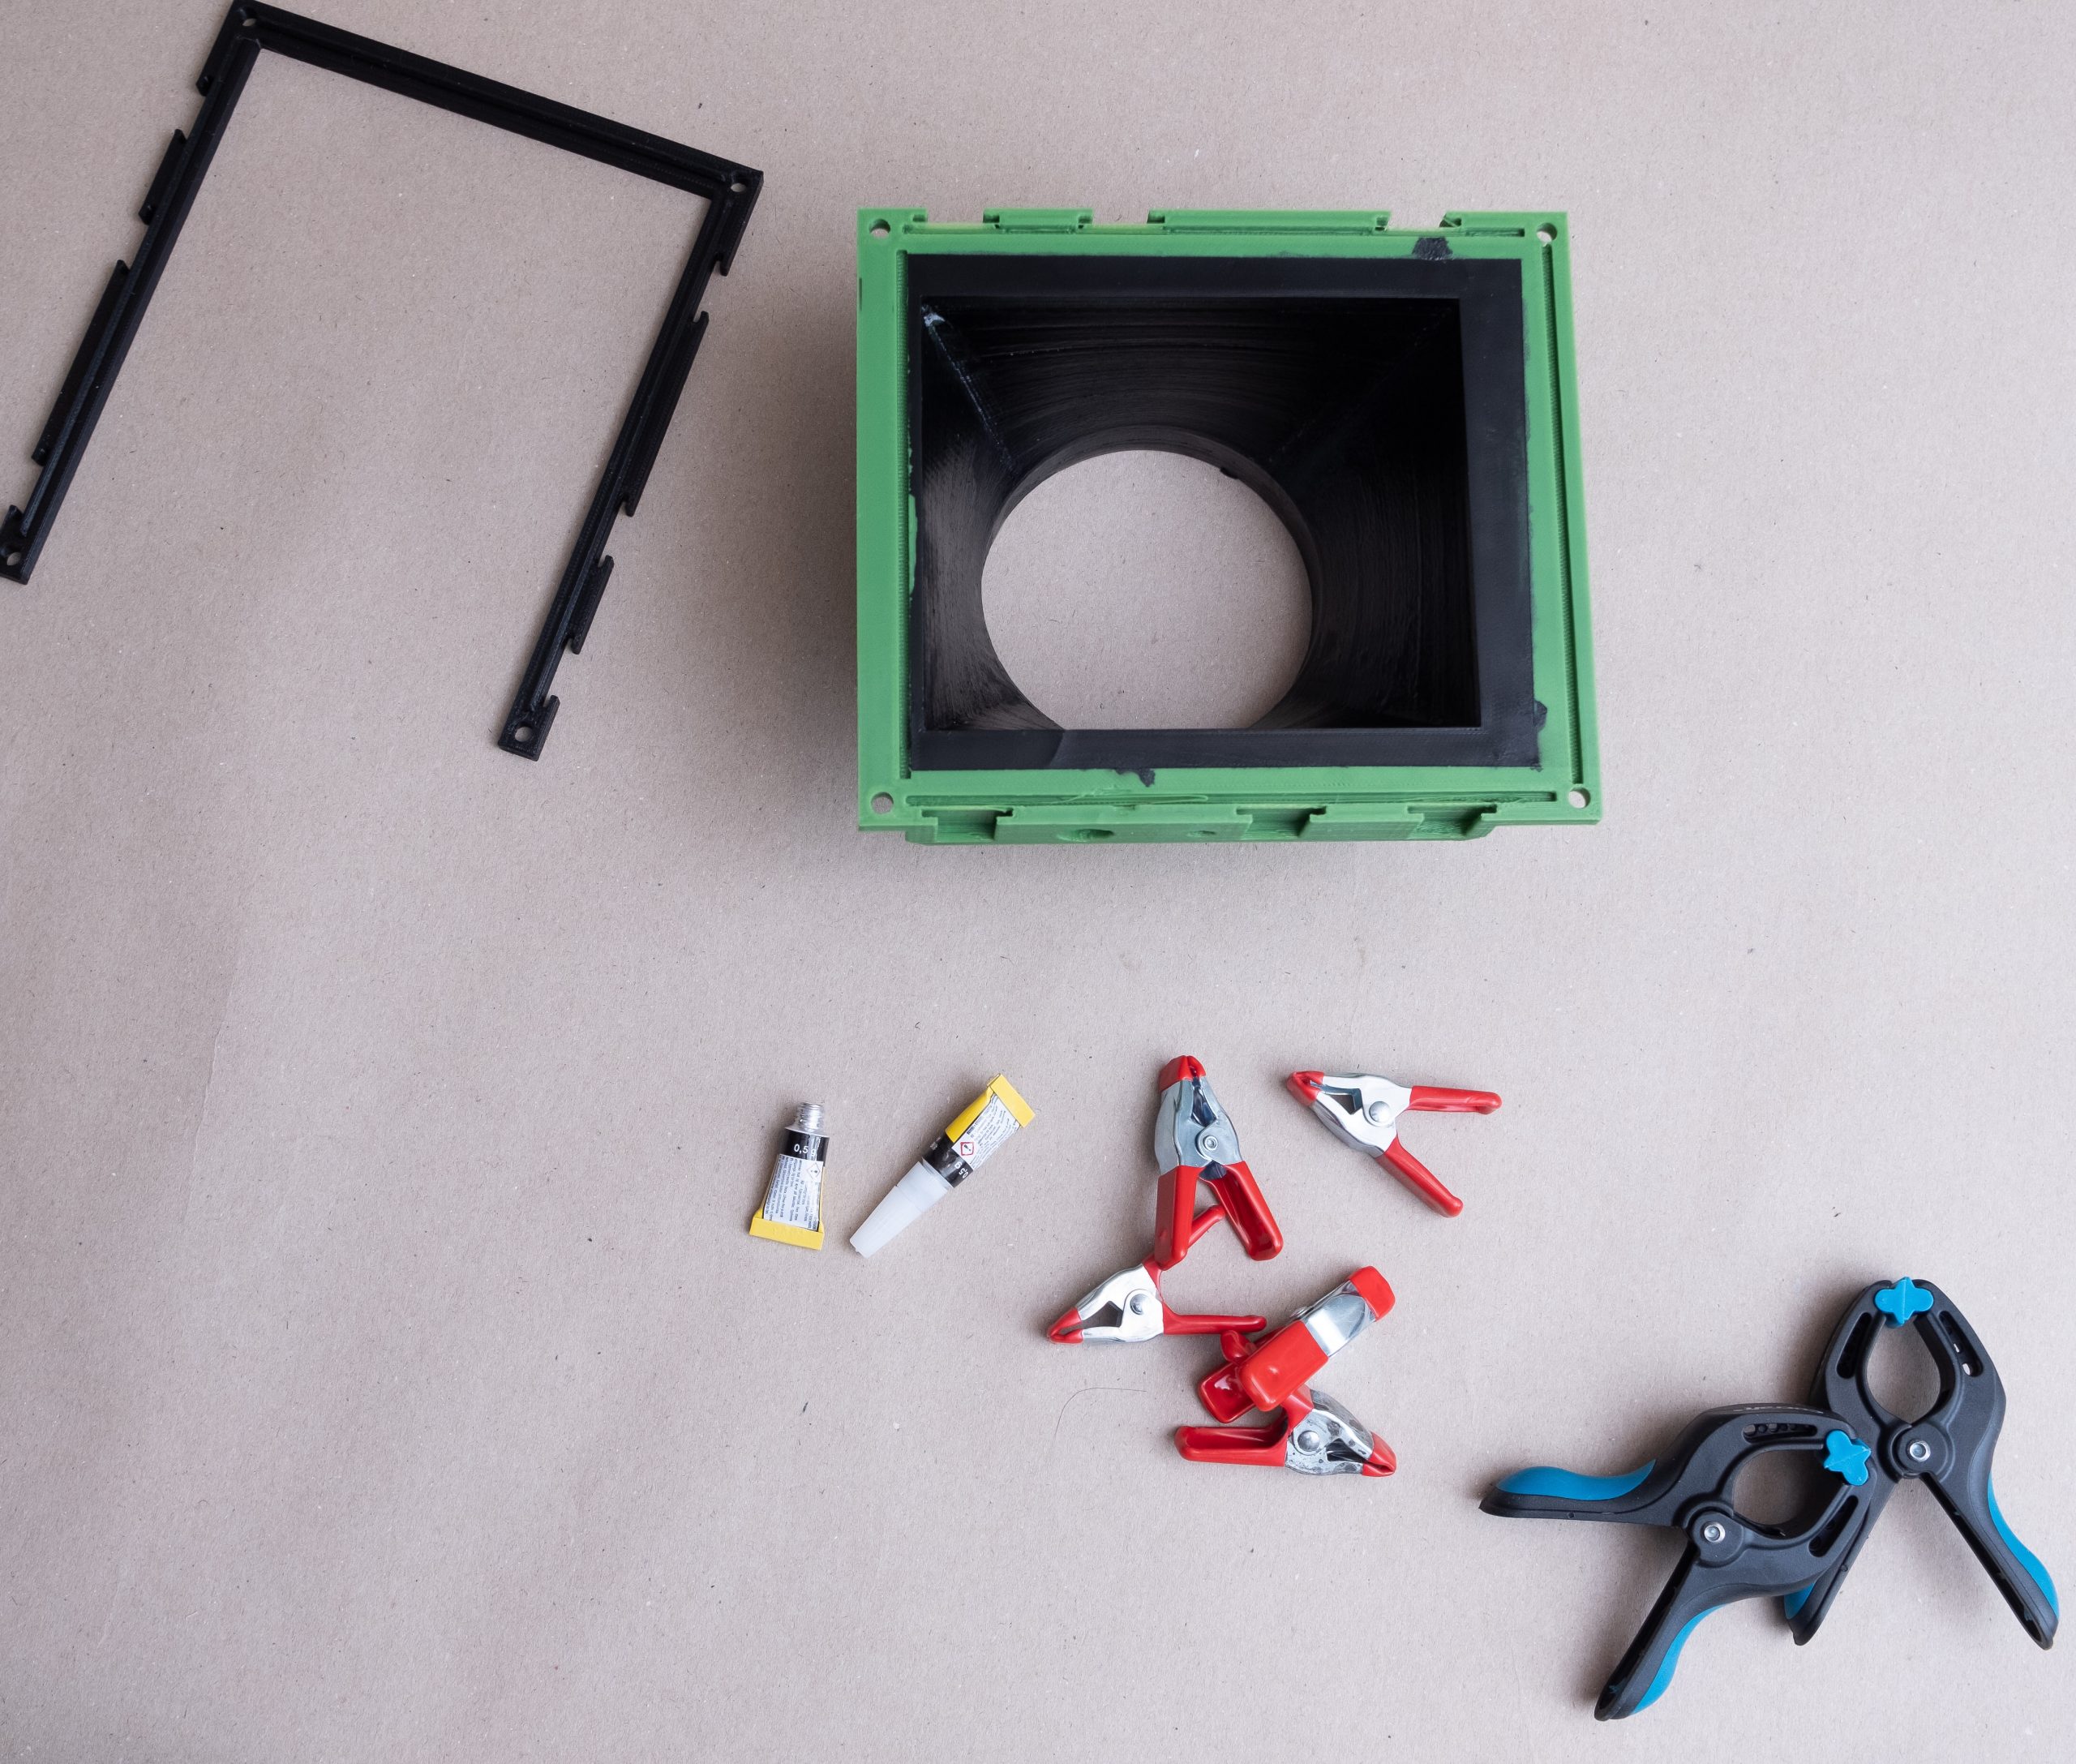
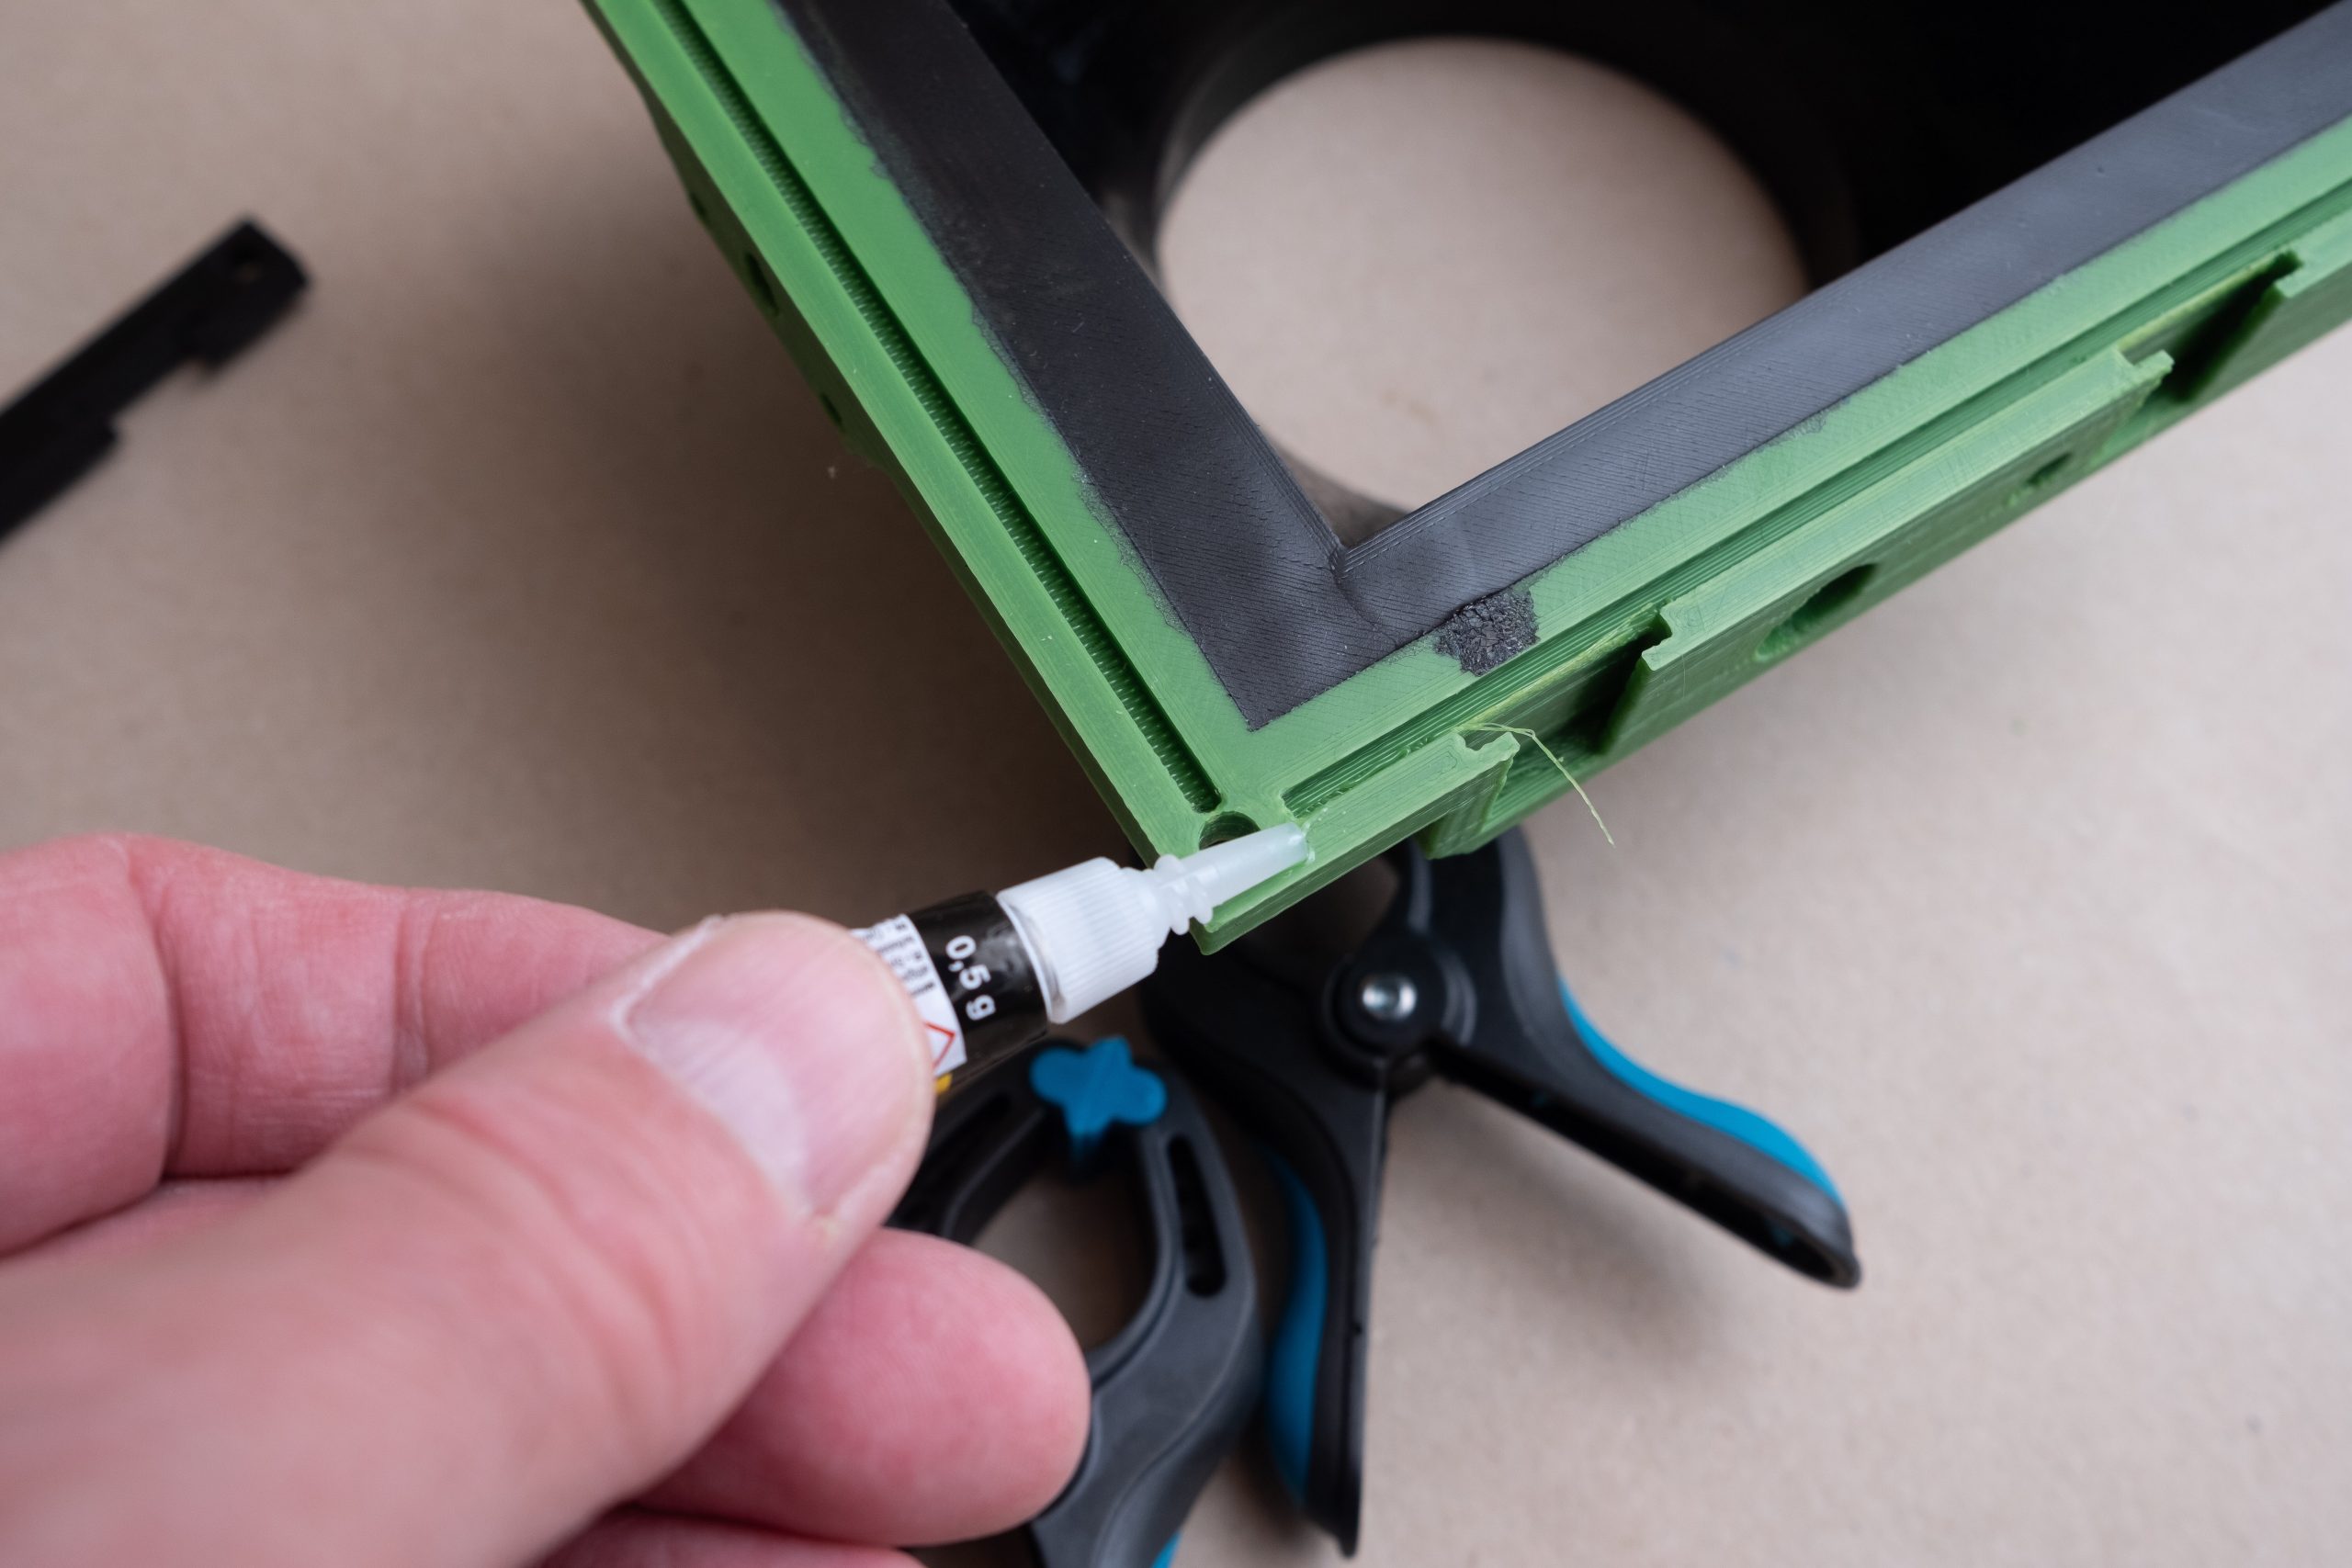
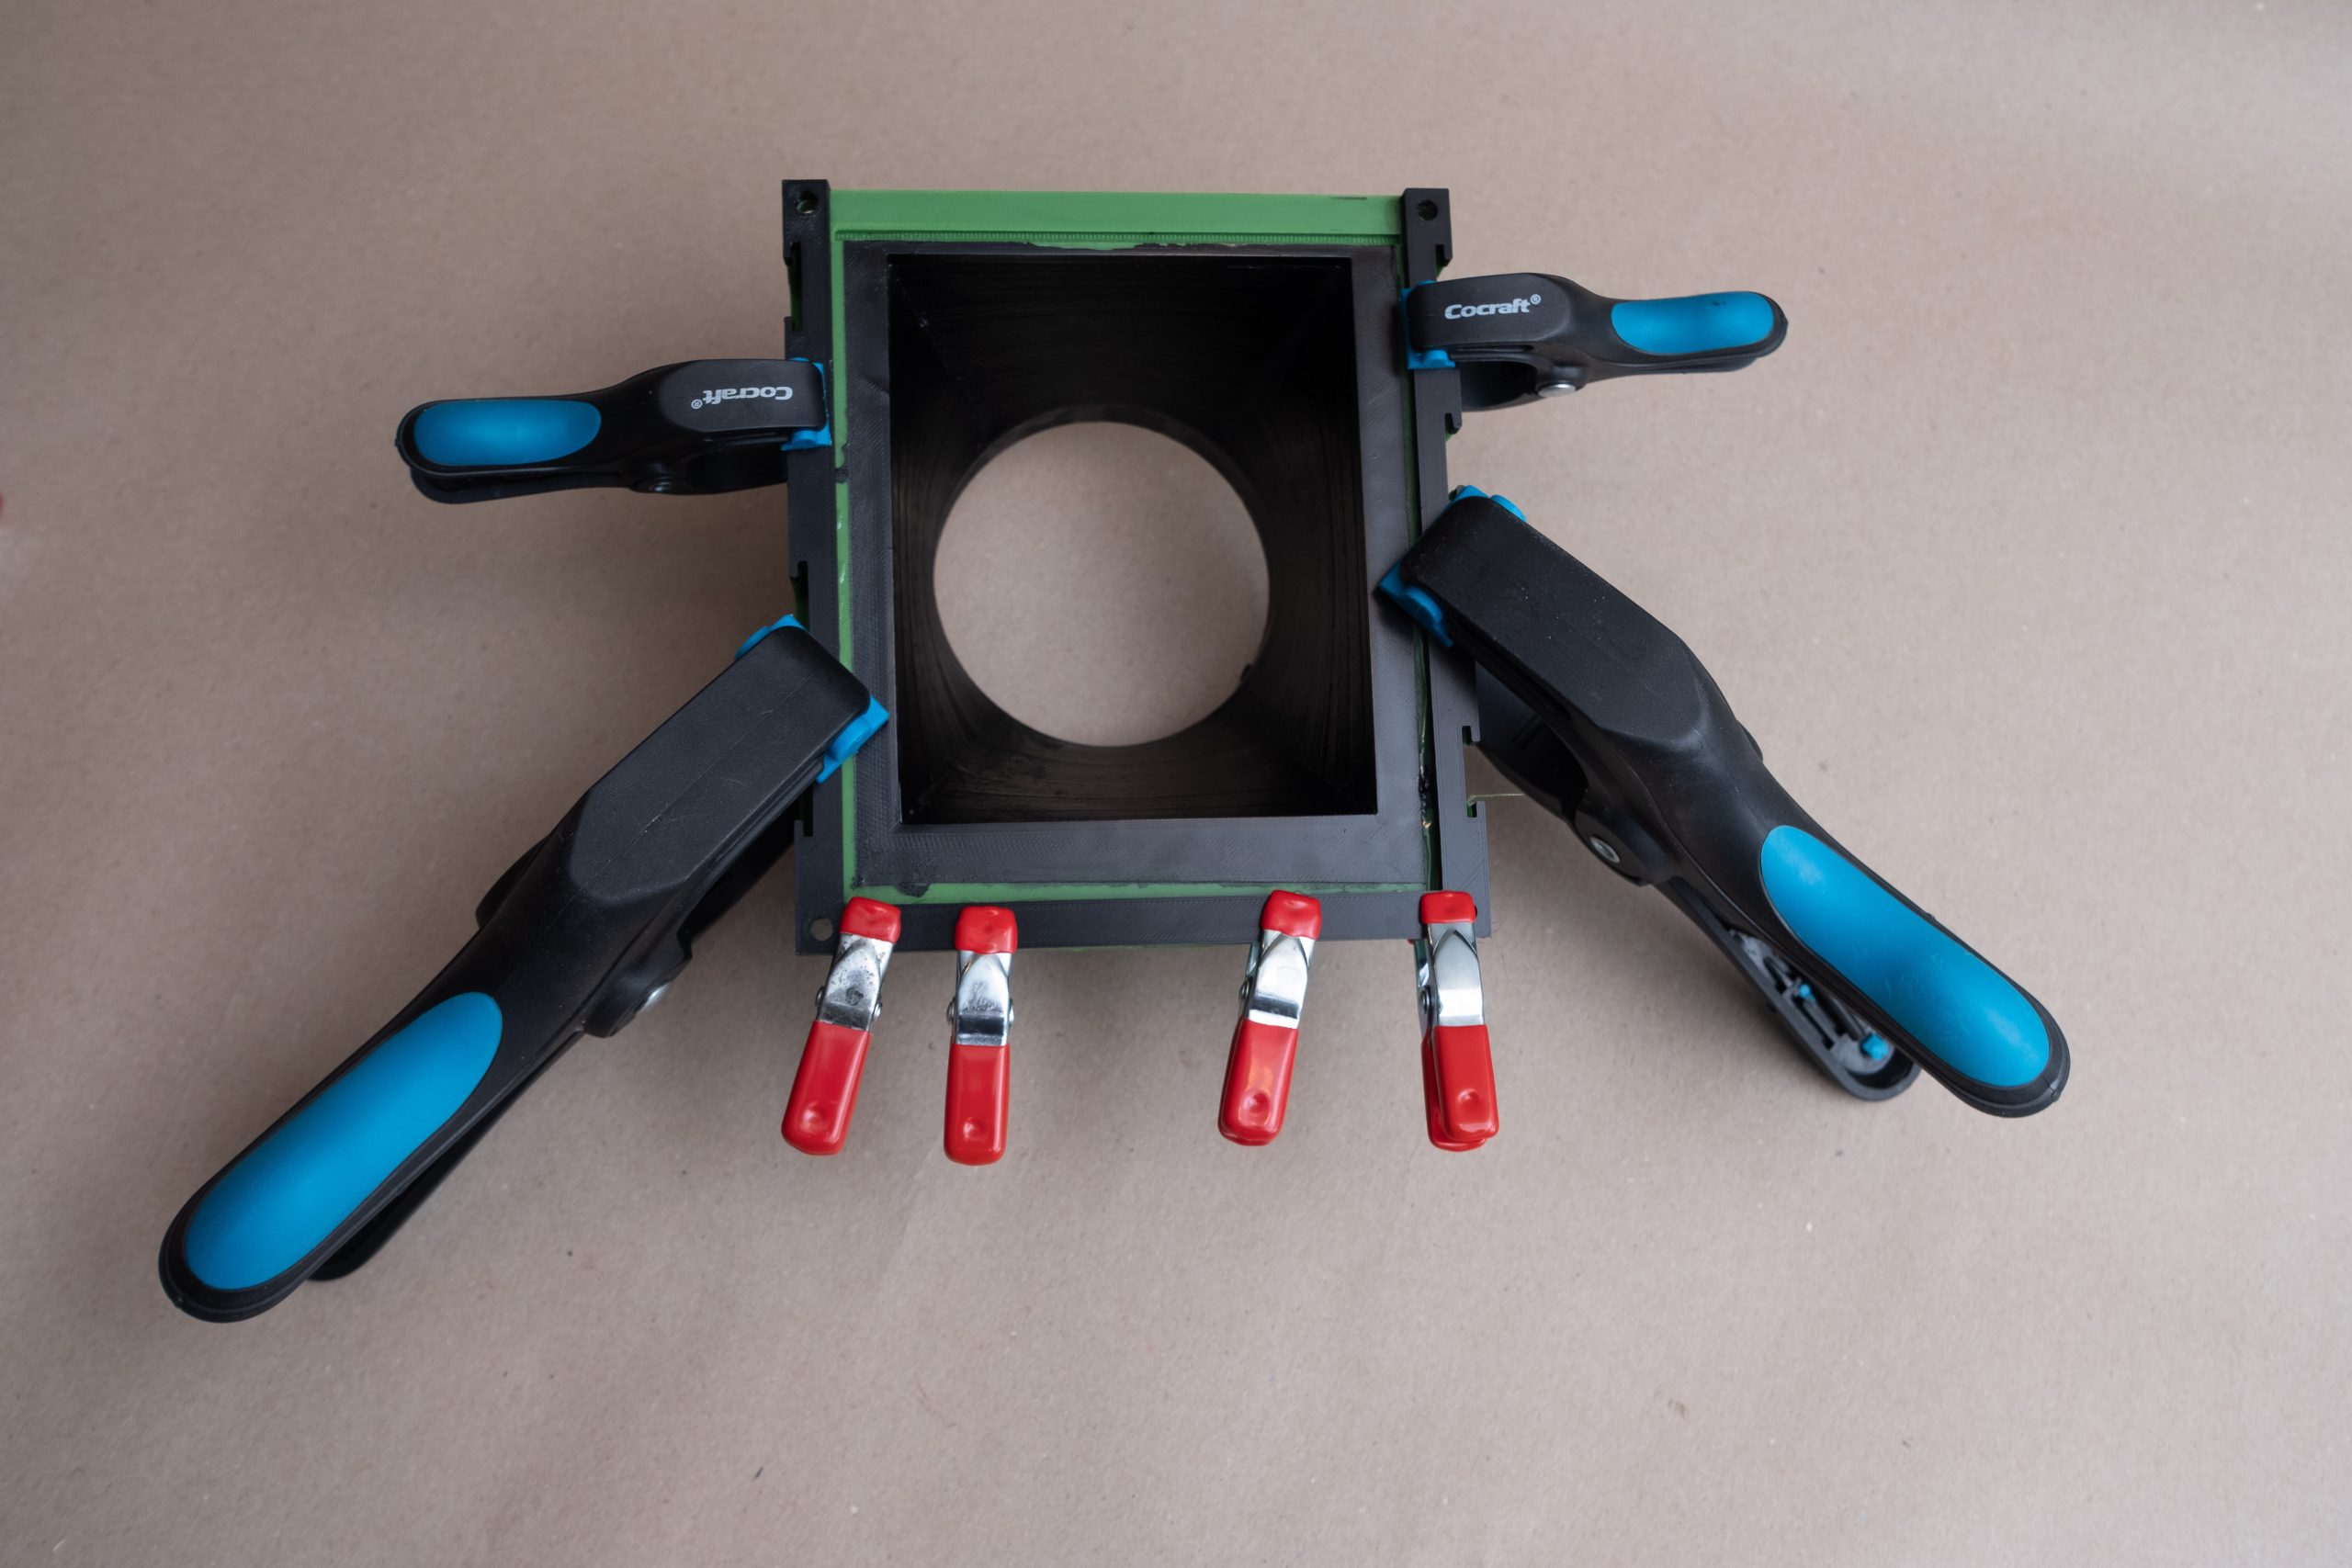
Glue in the filmholder frame with super glue, secure in place with clamps as it dries.
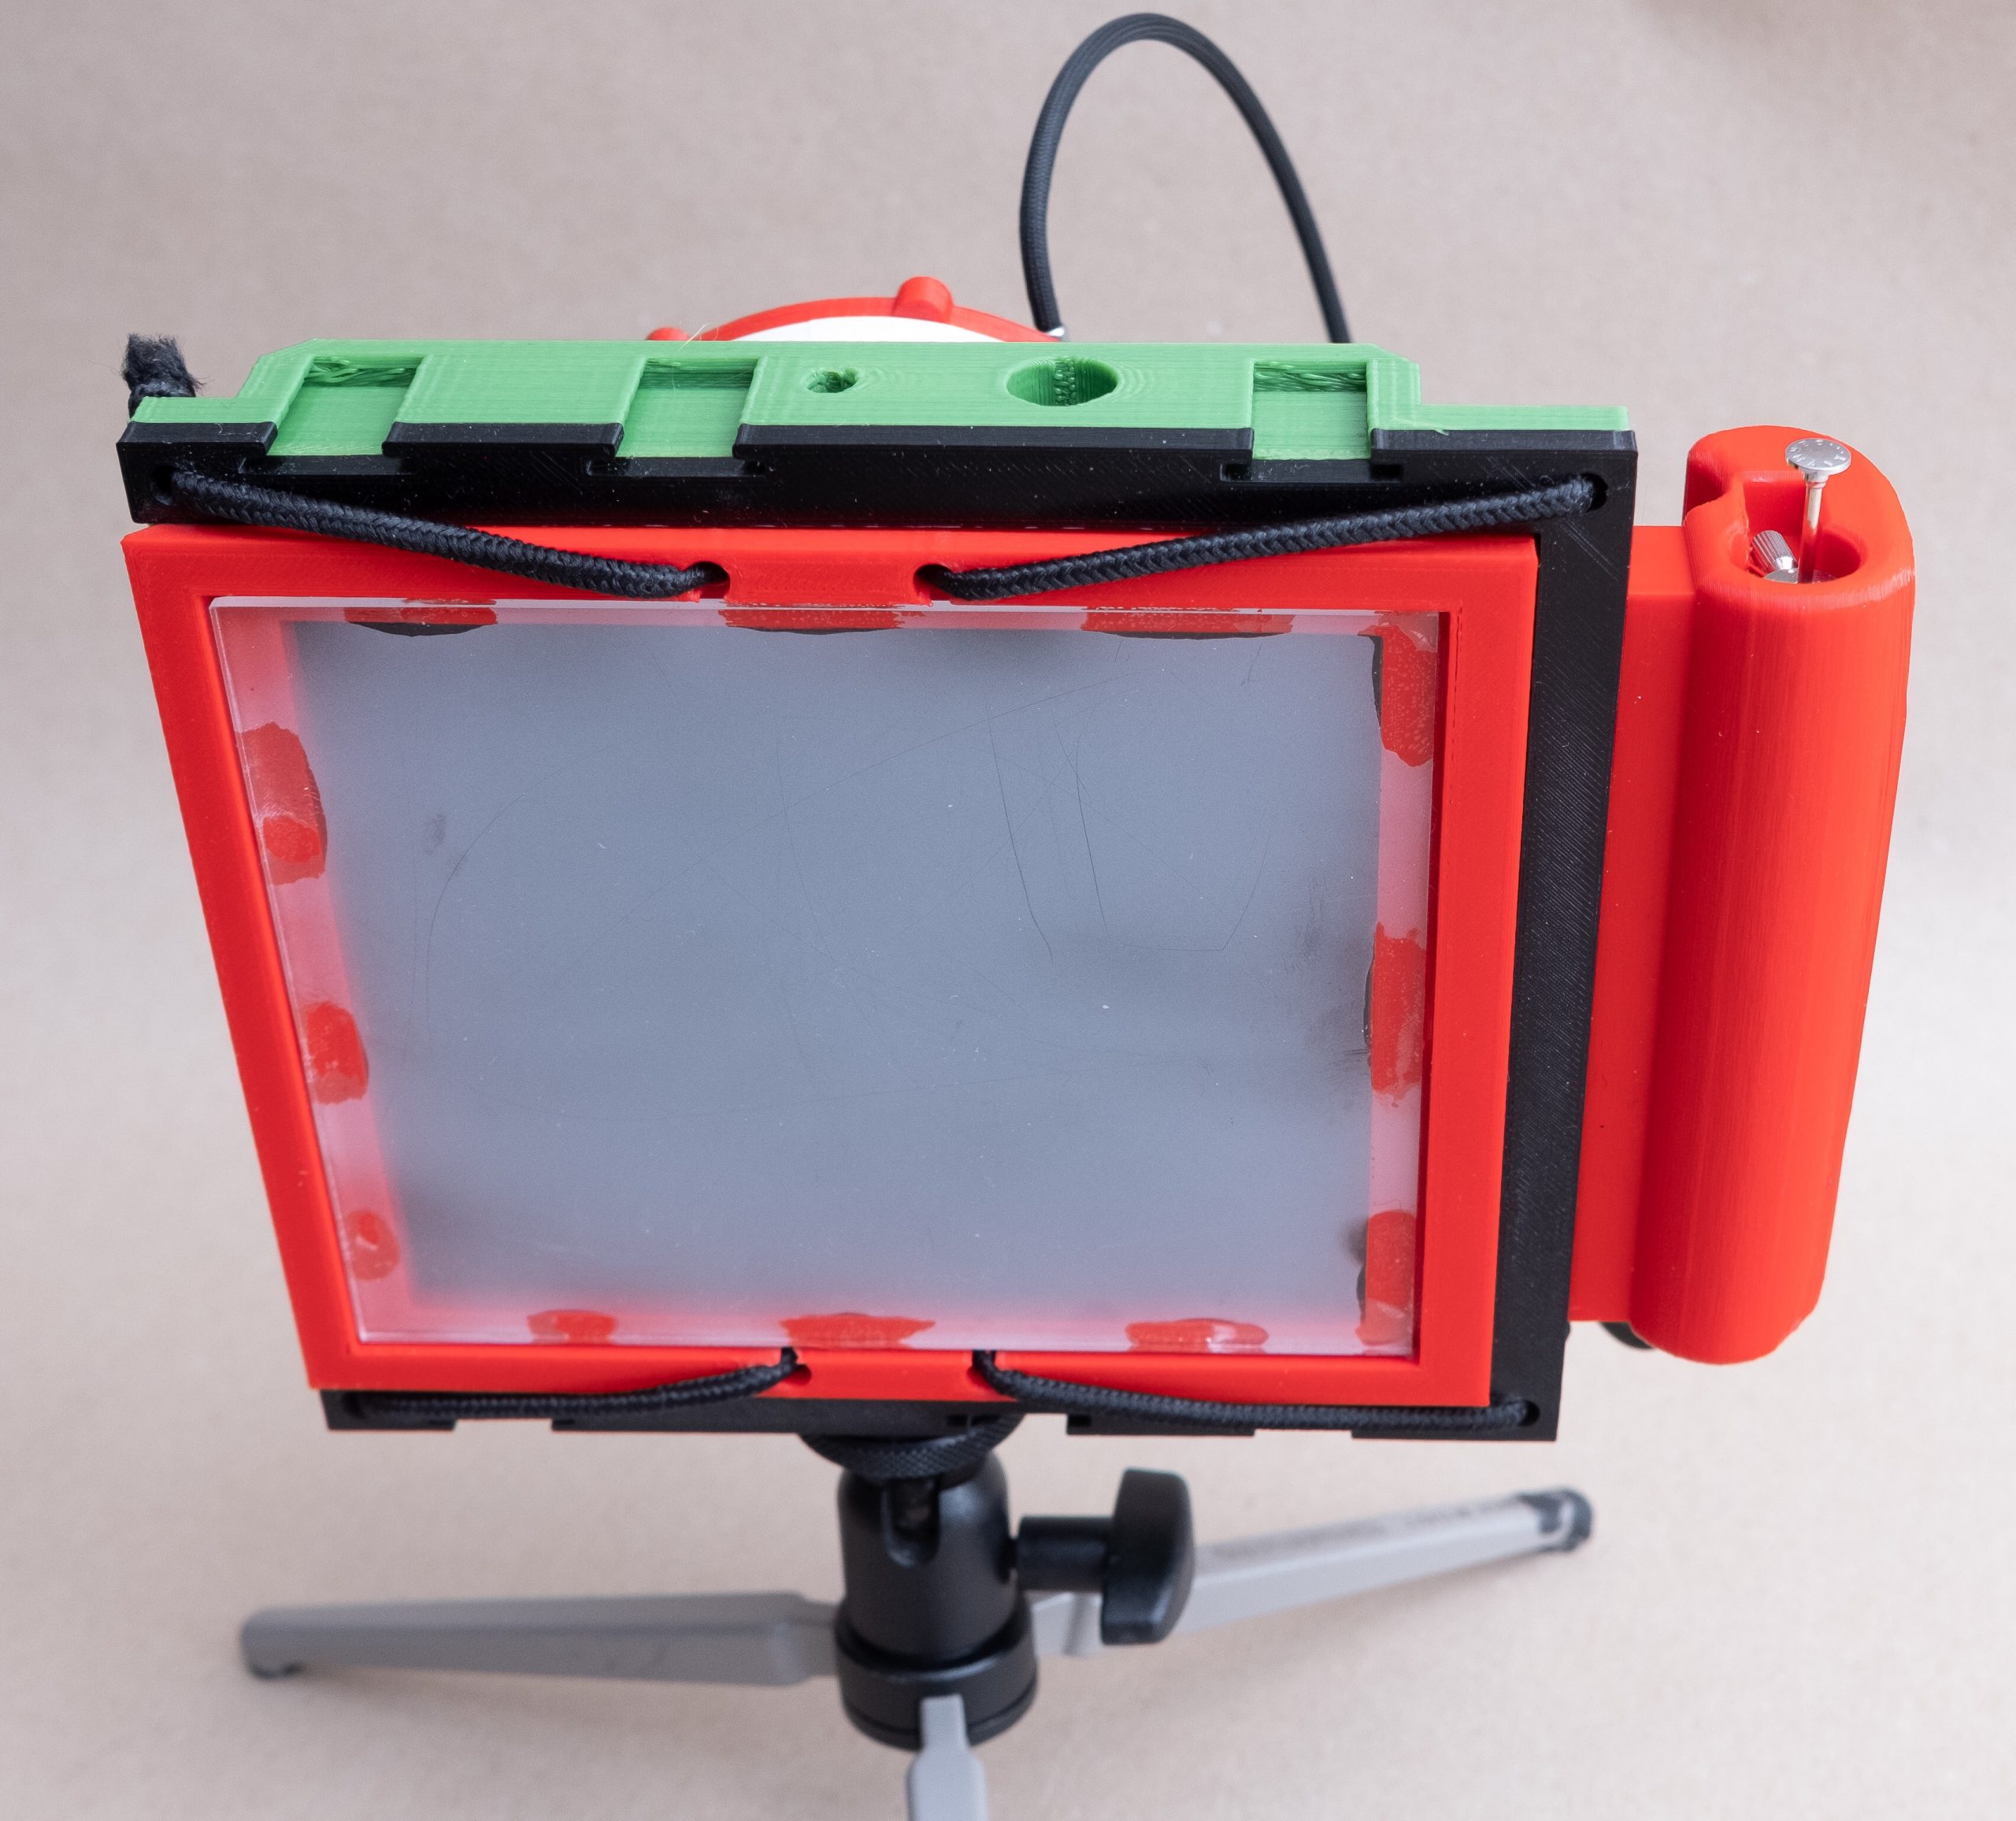
Matt down your groundglass and fasten it to the groundglass frame. Matt side towards lens! For the Acrylic groundglass I have used superglue. Note groundglass frame for clampdown of real glass groundglass is planned. Ask me if you need it.
If you are using the melt-in inserts for the grip now is a good time to fit them.
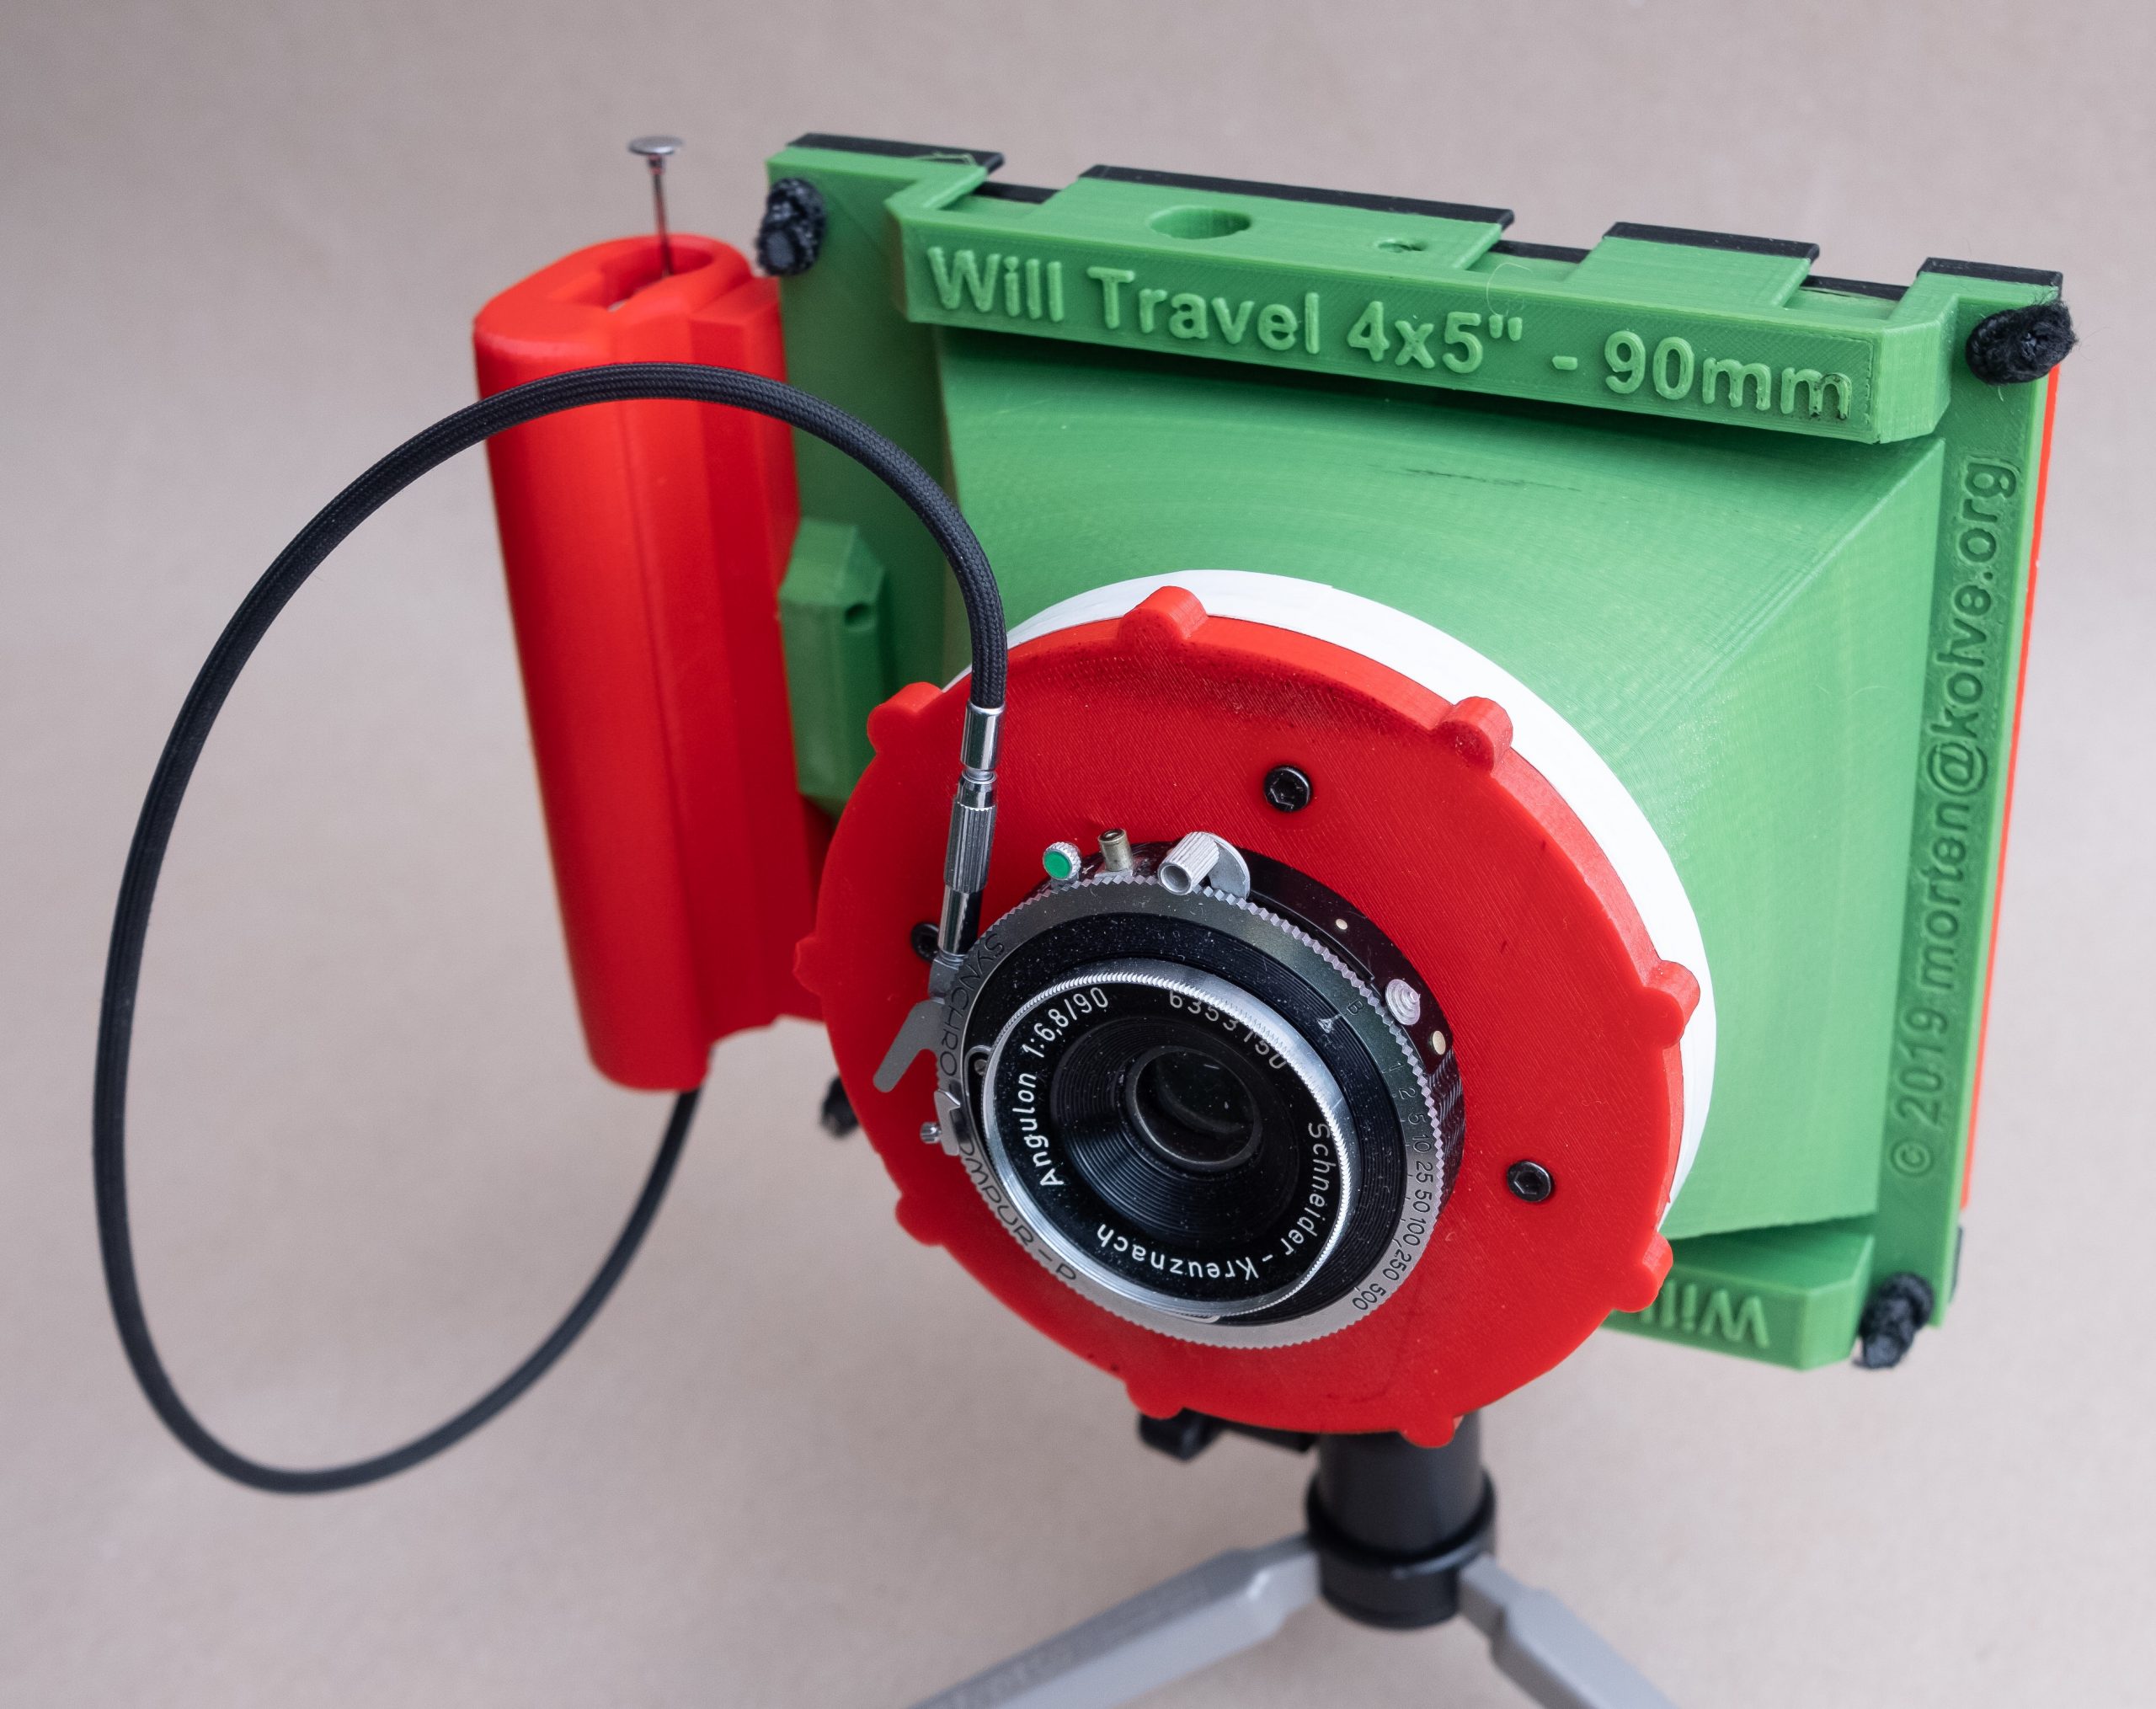
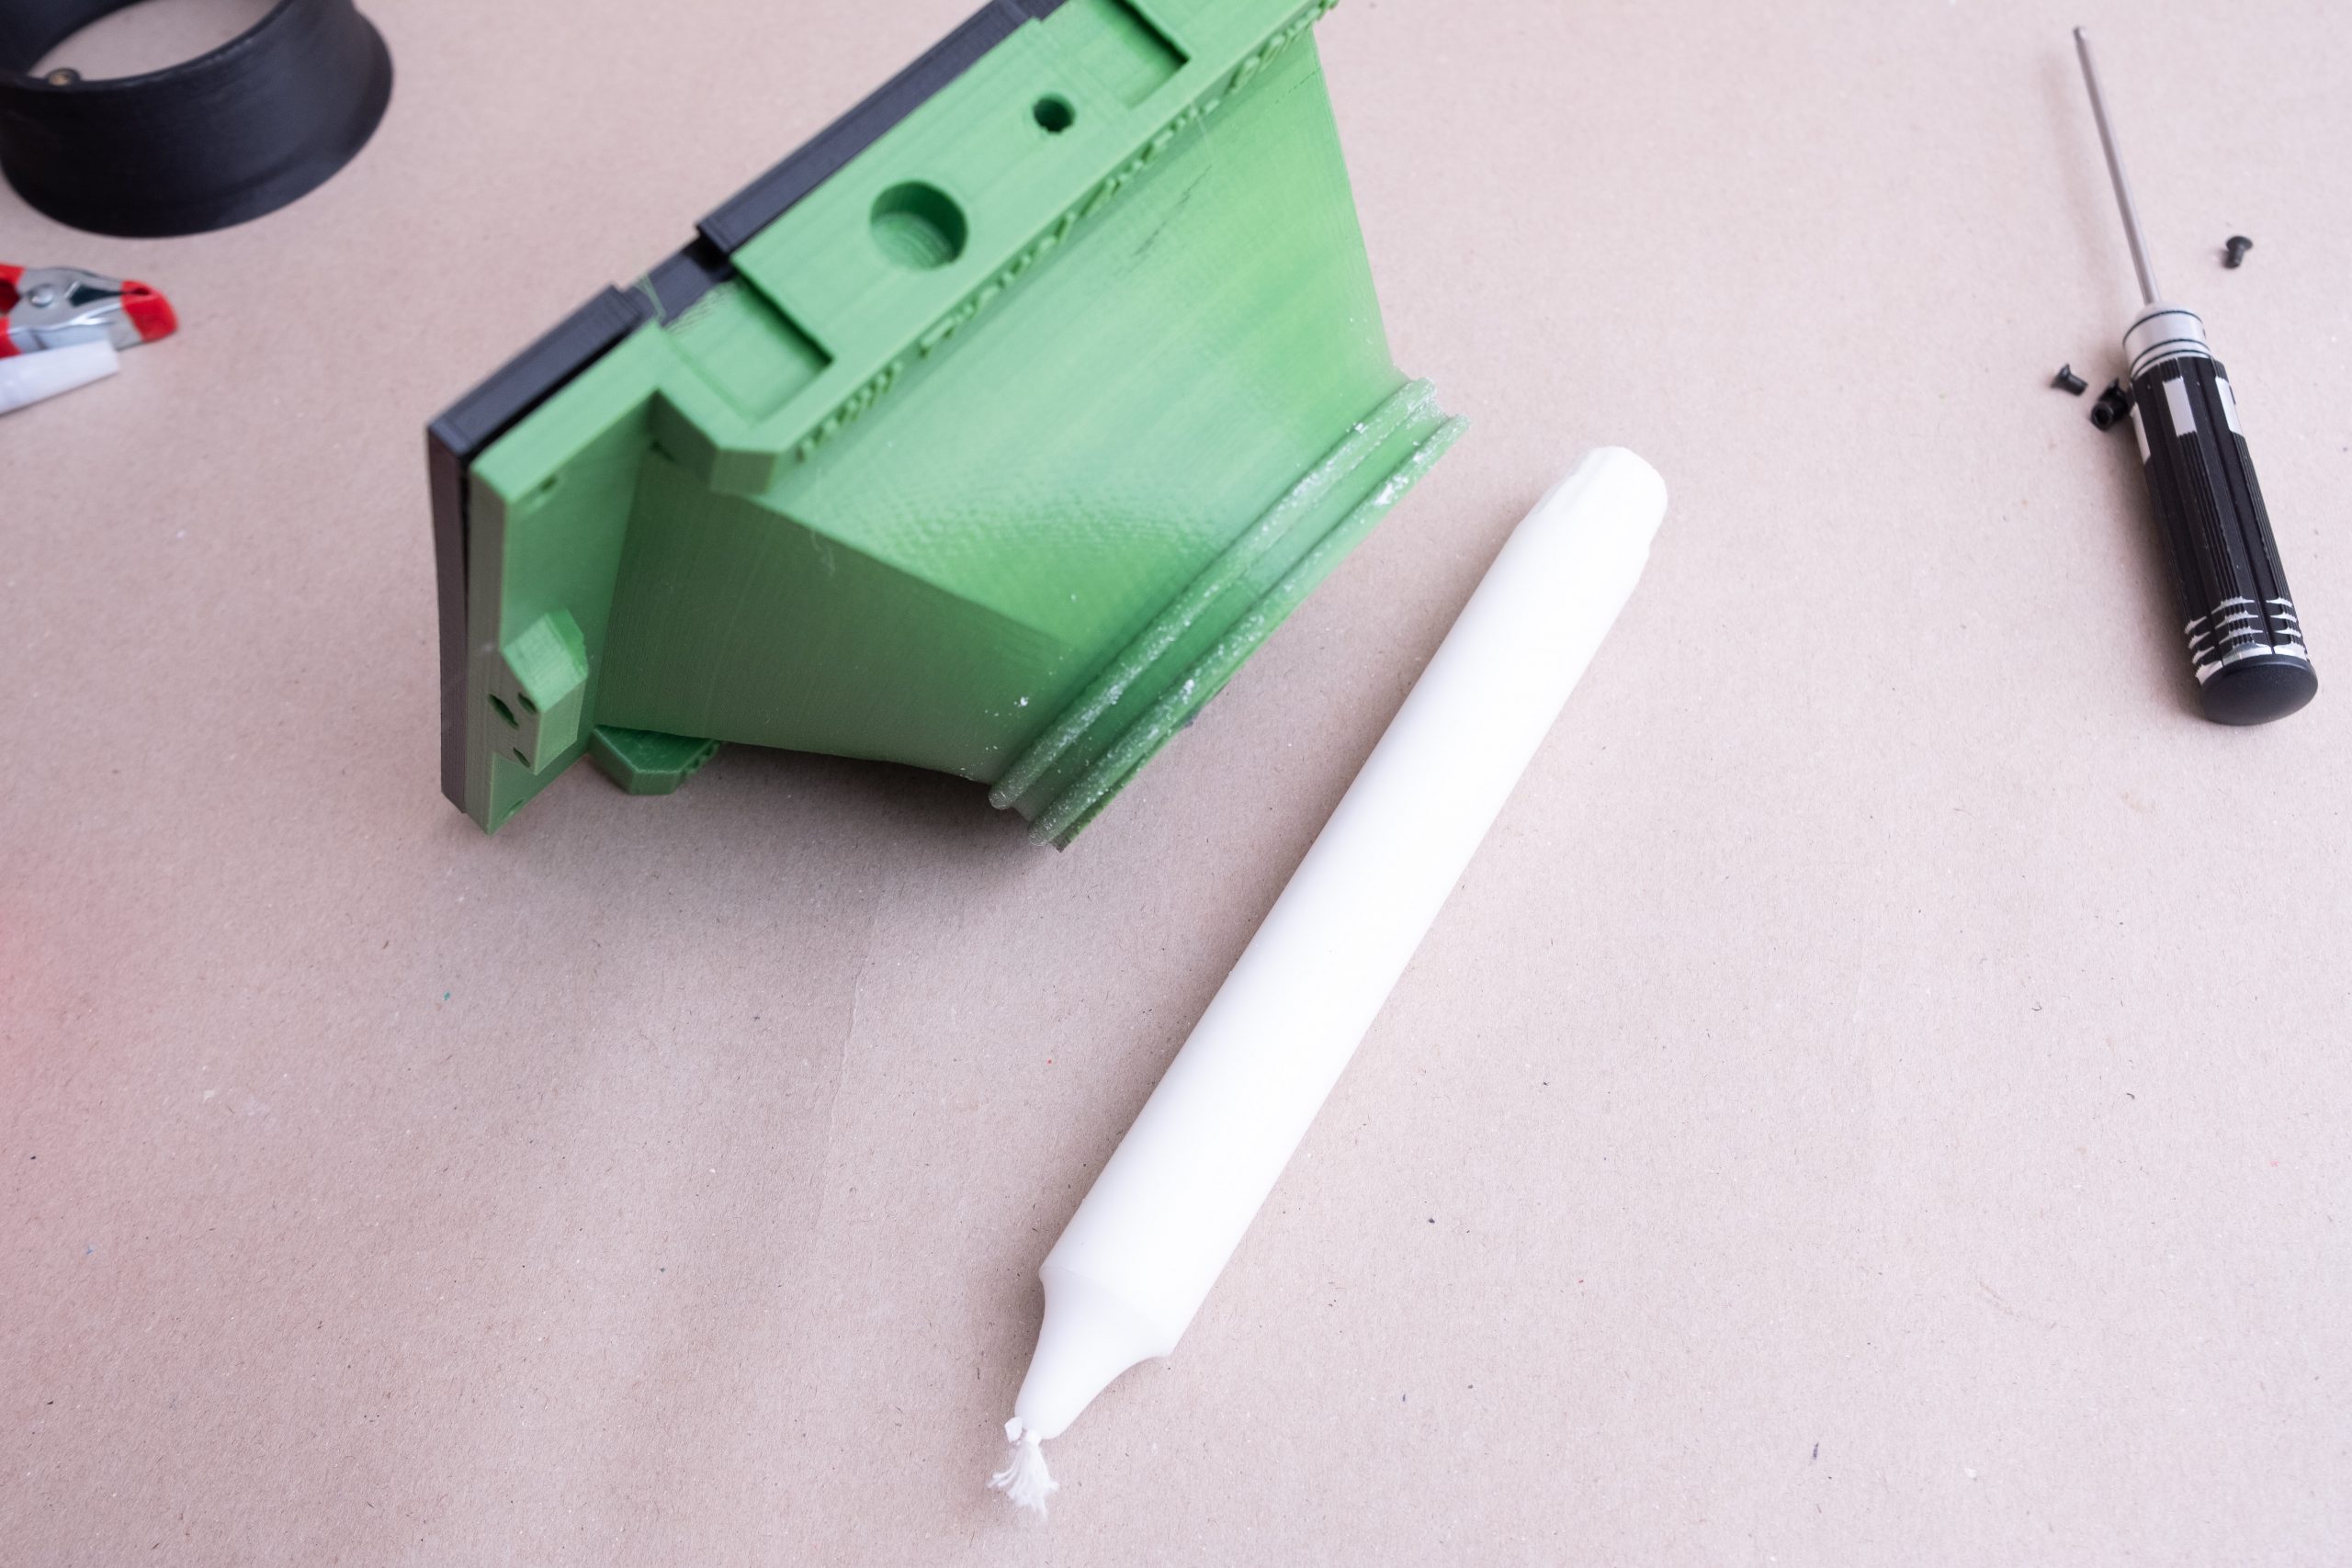
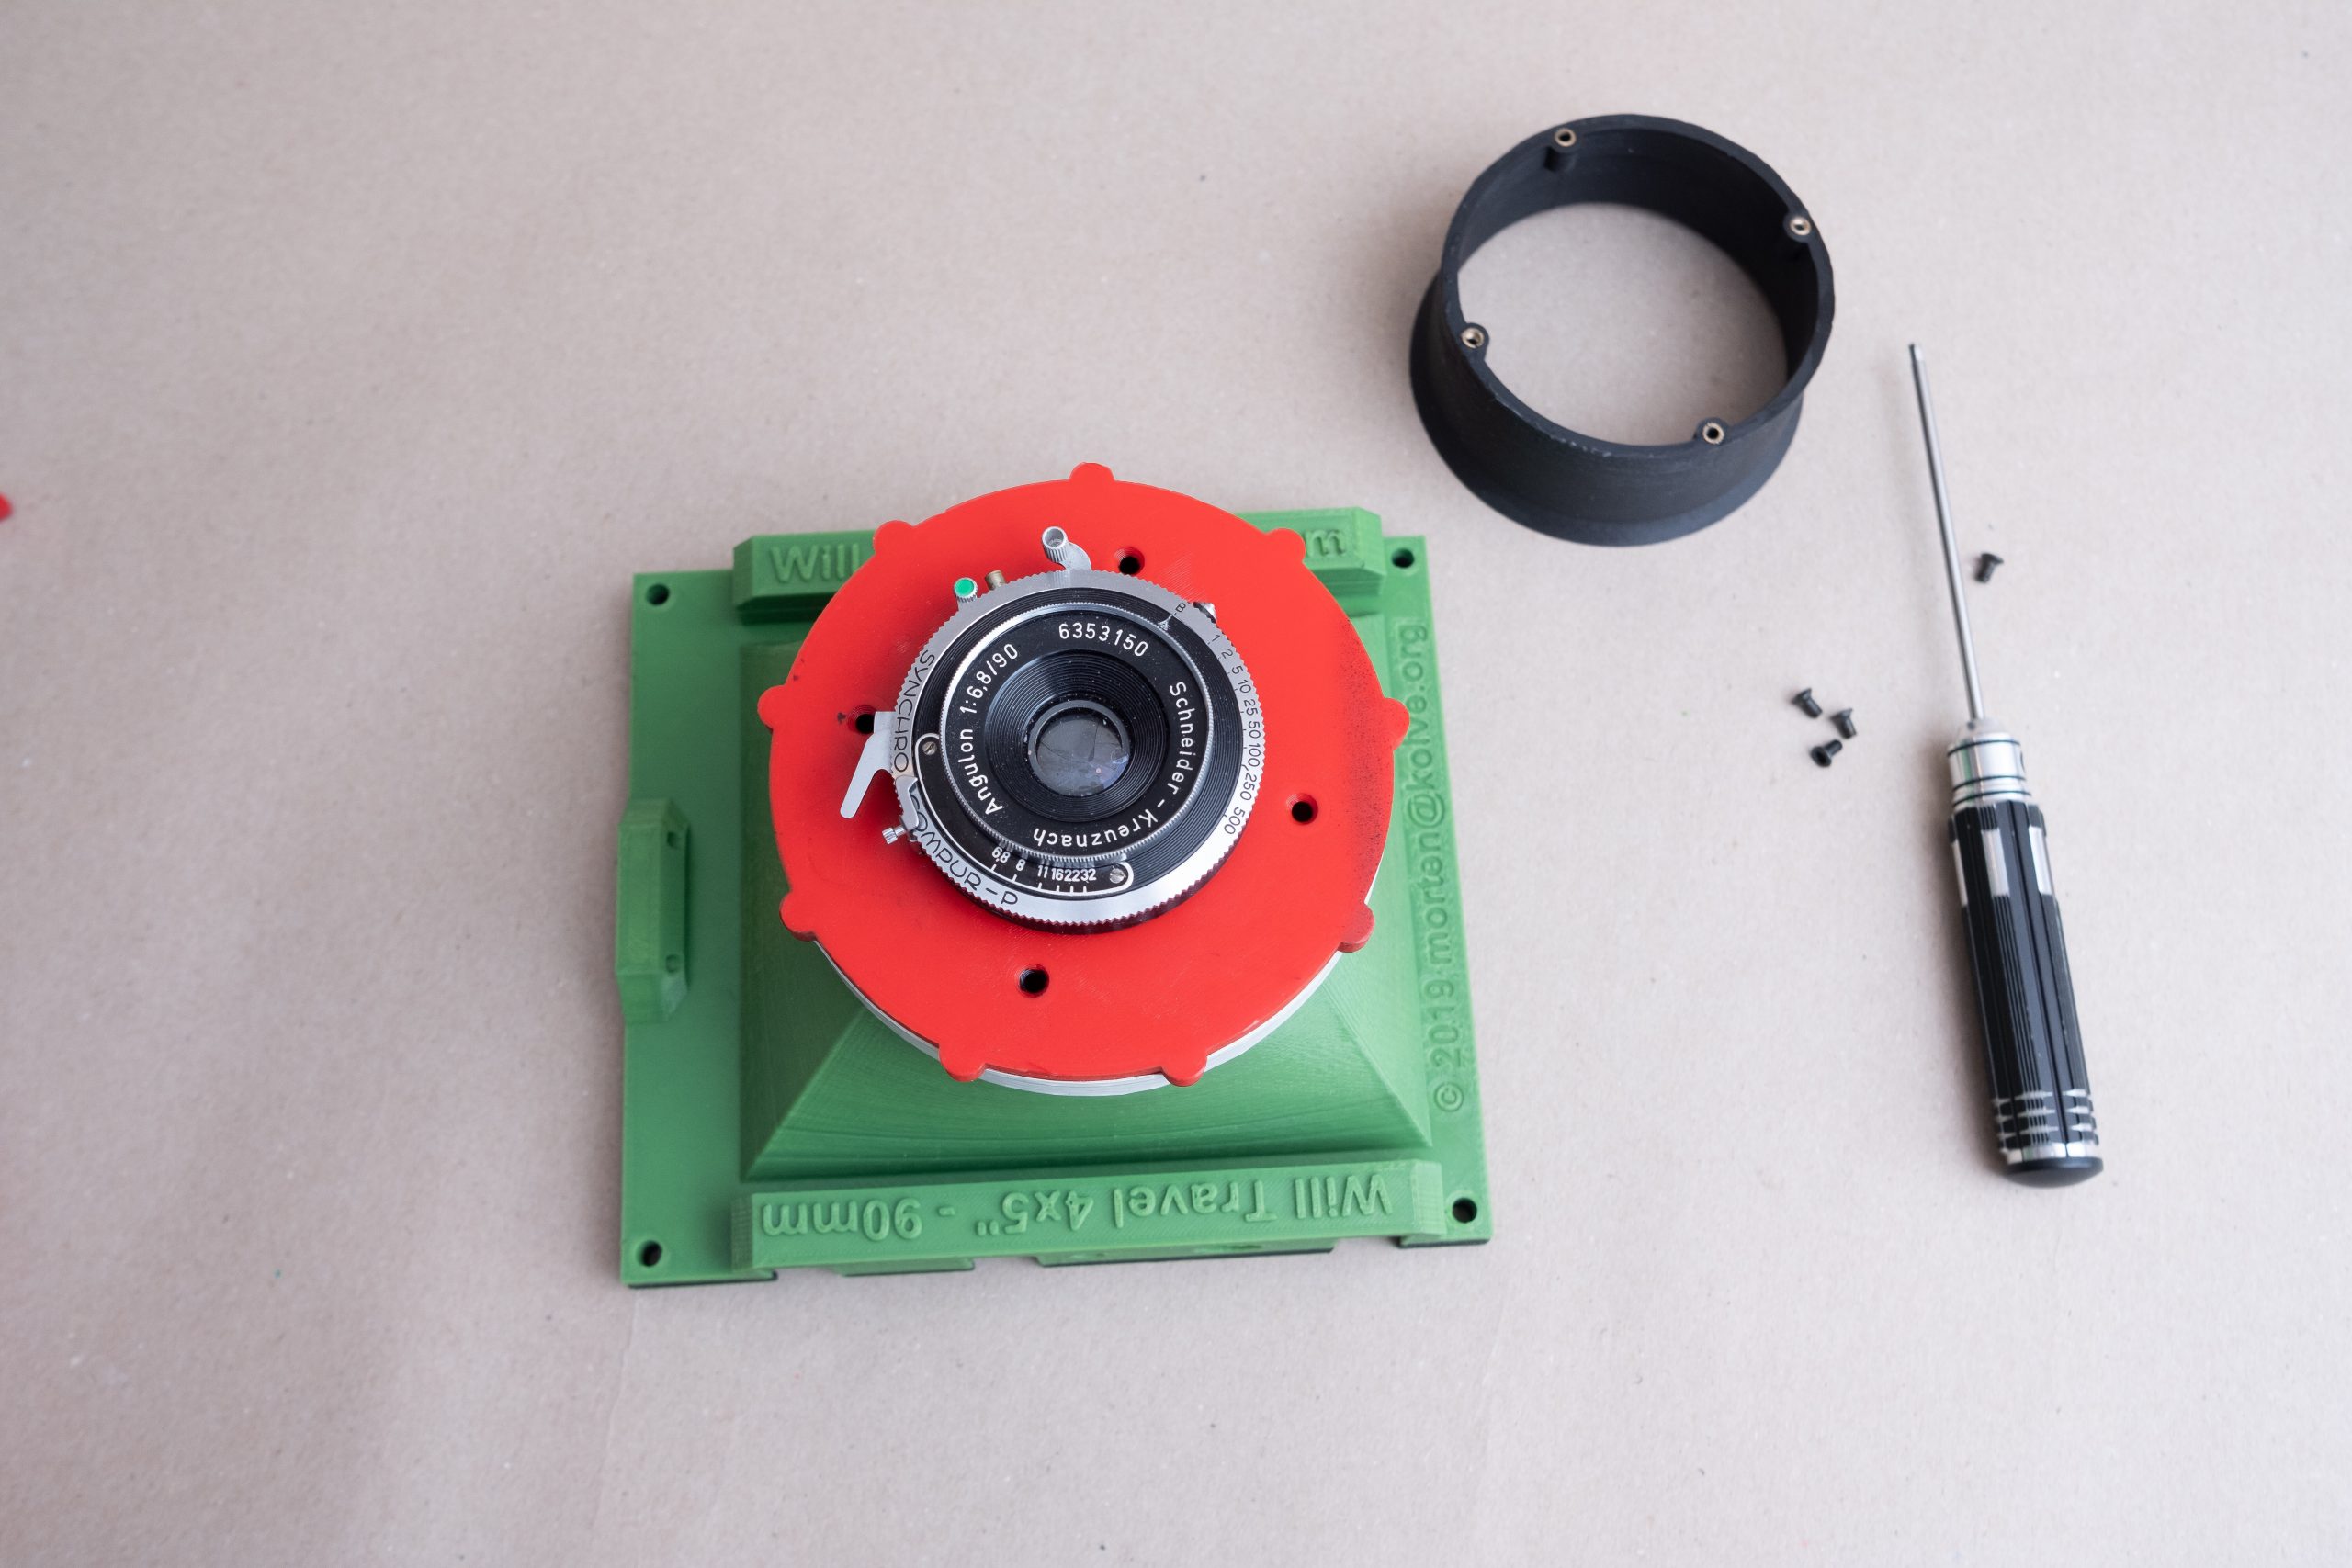
Apply some (candle) wax on the front threads for lubrication.
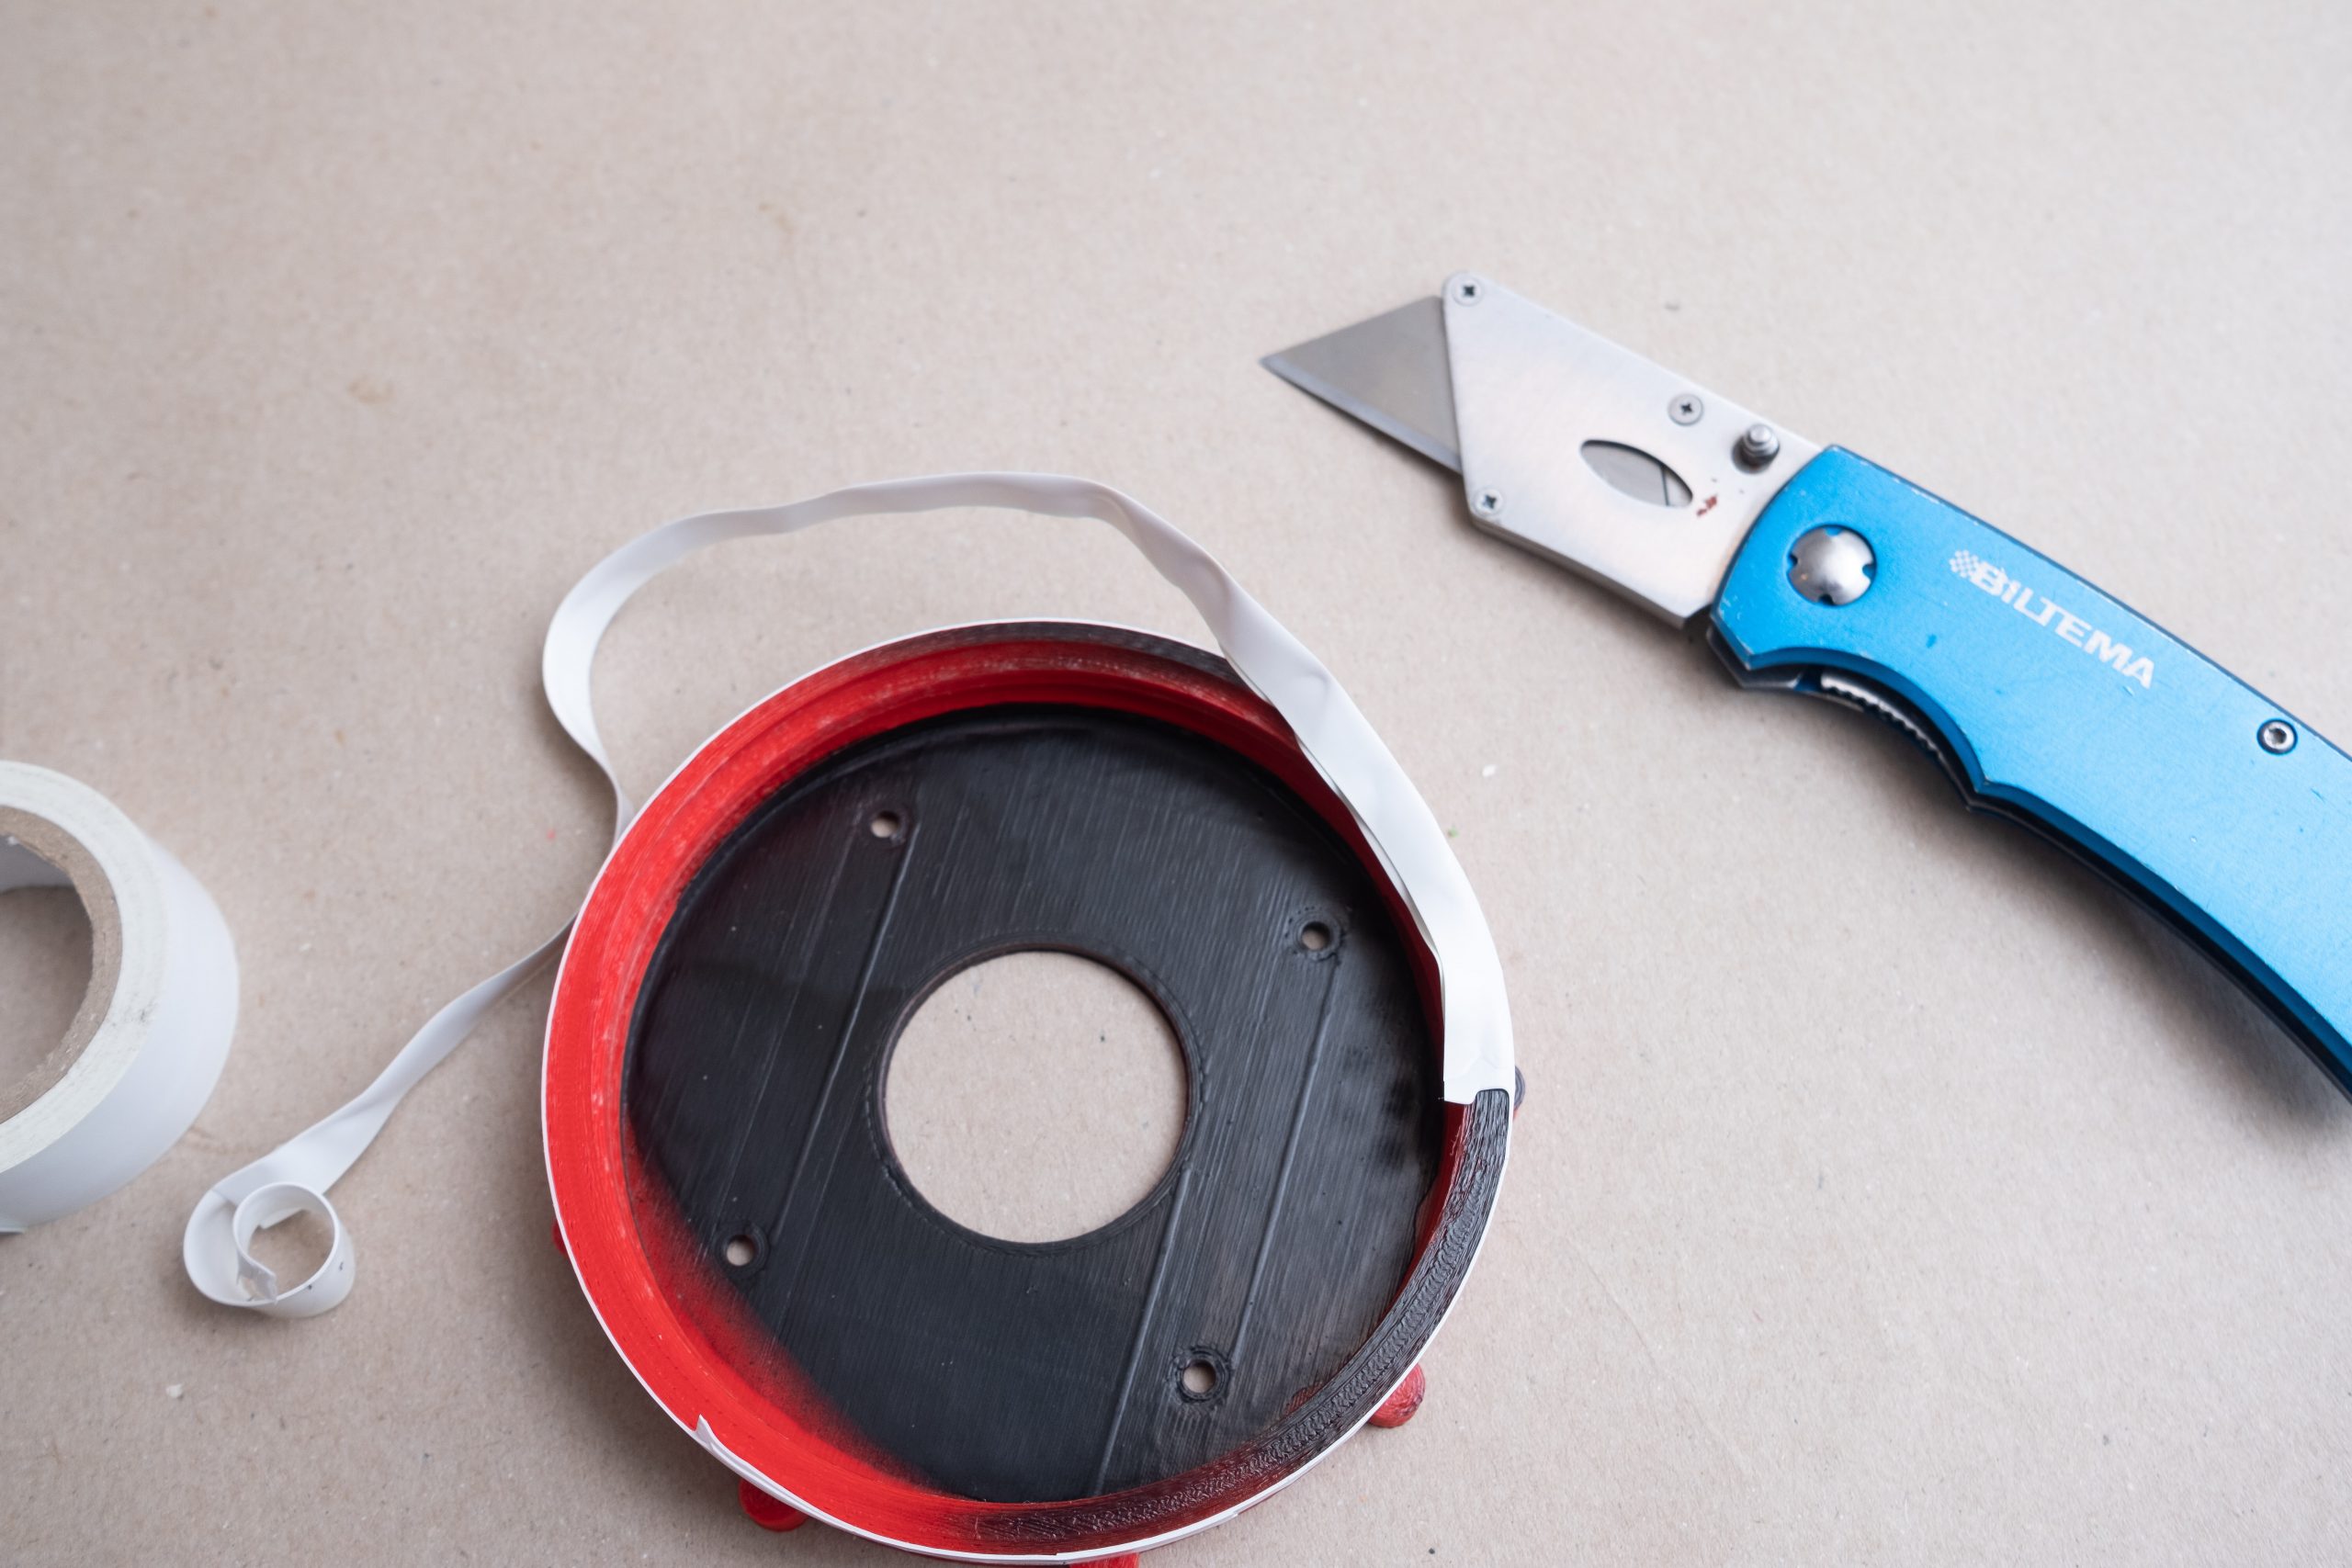
Wrap a round or two of white electricians tape on the inner part of the frontcap. Cut off excessive tape.
Mount the lens on the frontcap.
Mount frontcap cap on camera body.
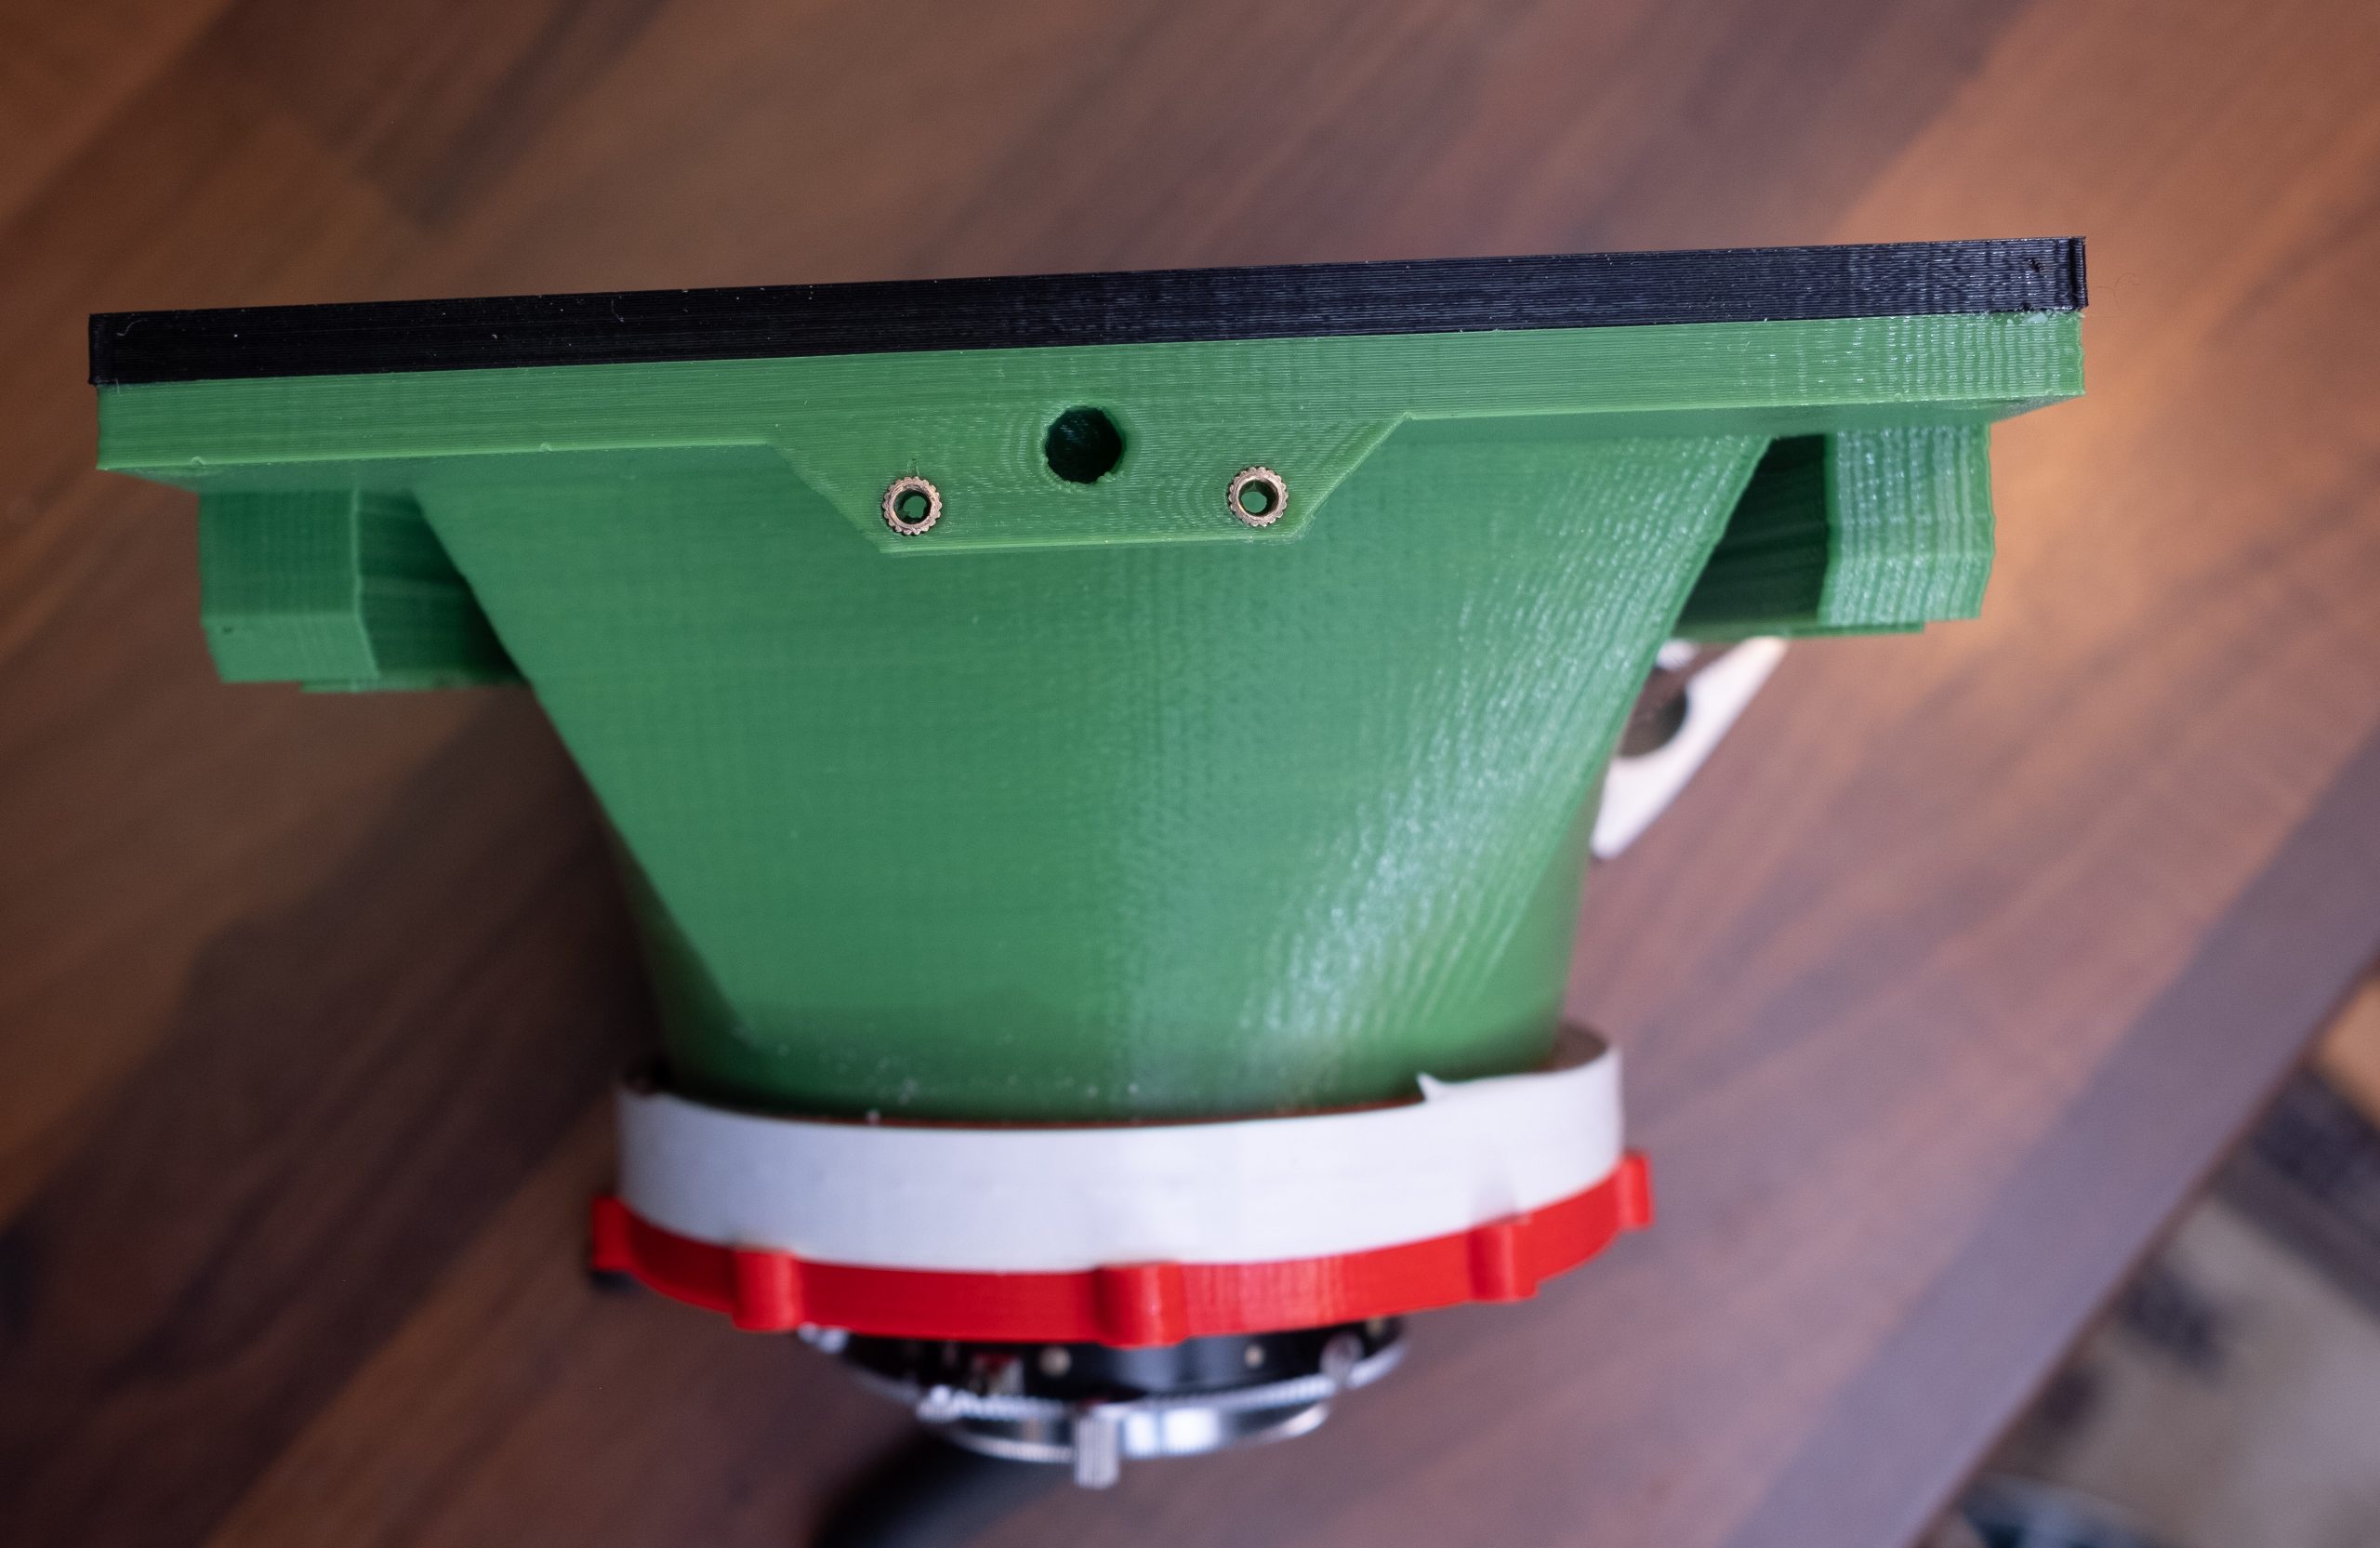
Mount funnel to the frontcap through the camera body.
Thread bungee coord through the groundglass frame, tighten to lock it in place.
Thread the ends of the bungee cord through the holes on the camera body, tighten and make a knot. (Figure 8 knot is good)
You are ready! (to set up the zone focus scale ?)