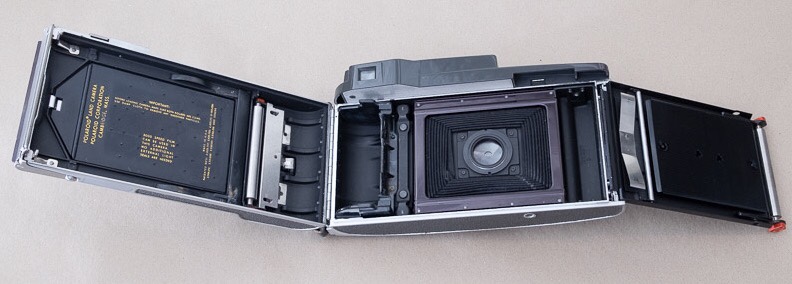
As a starting point for your Polaroid 110 4×5 Conversion some parts of the camera back has to be removed! This is a destructive process which once complete is tricky to reverse! So ensure that you are comfortable with this before proceeding!
Here is a short (fast) video of the process!

Now this is what needs to be done!

This was the the order I did it in, could be done in any order, its the end result that matters. See the more detailed pictures below.
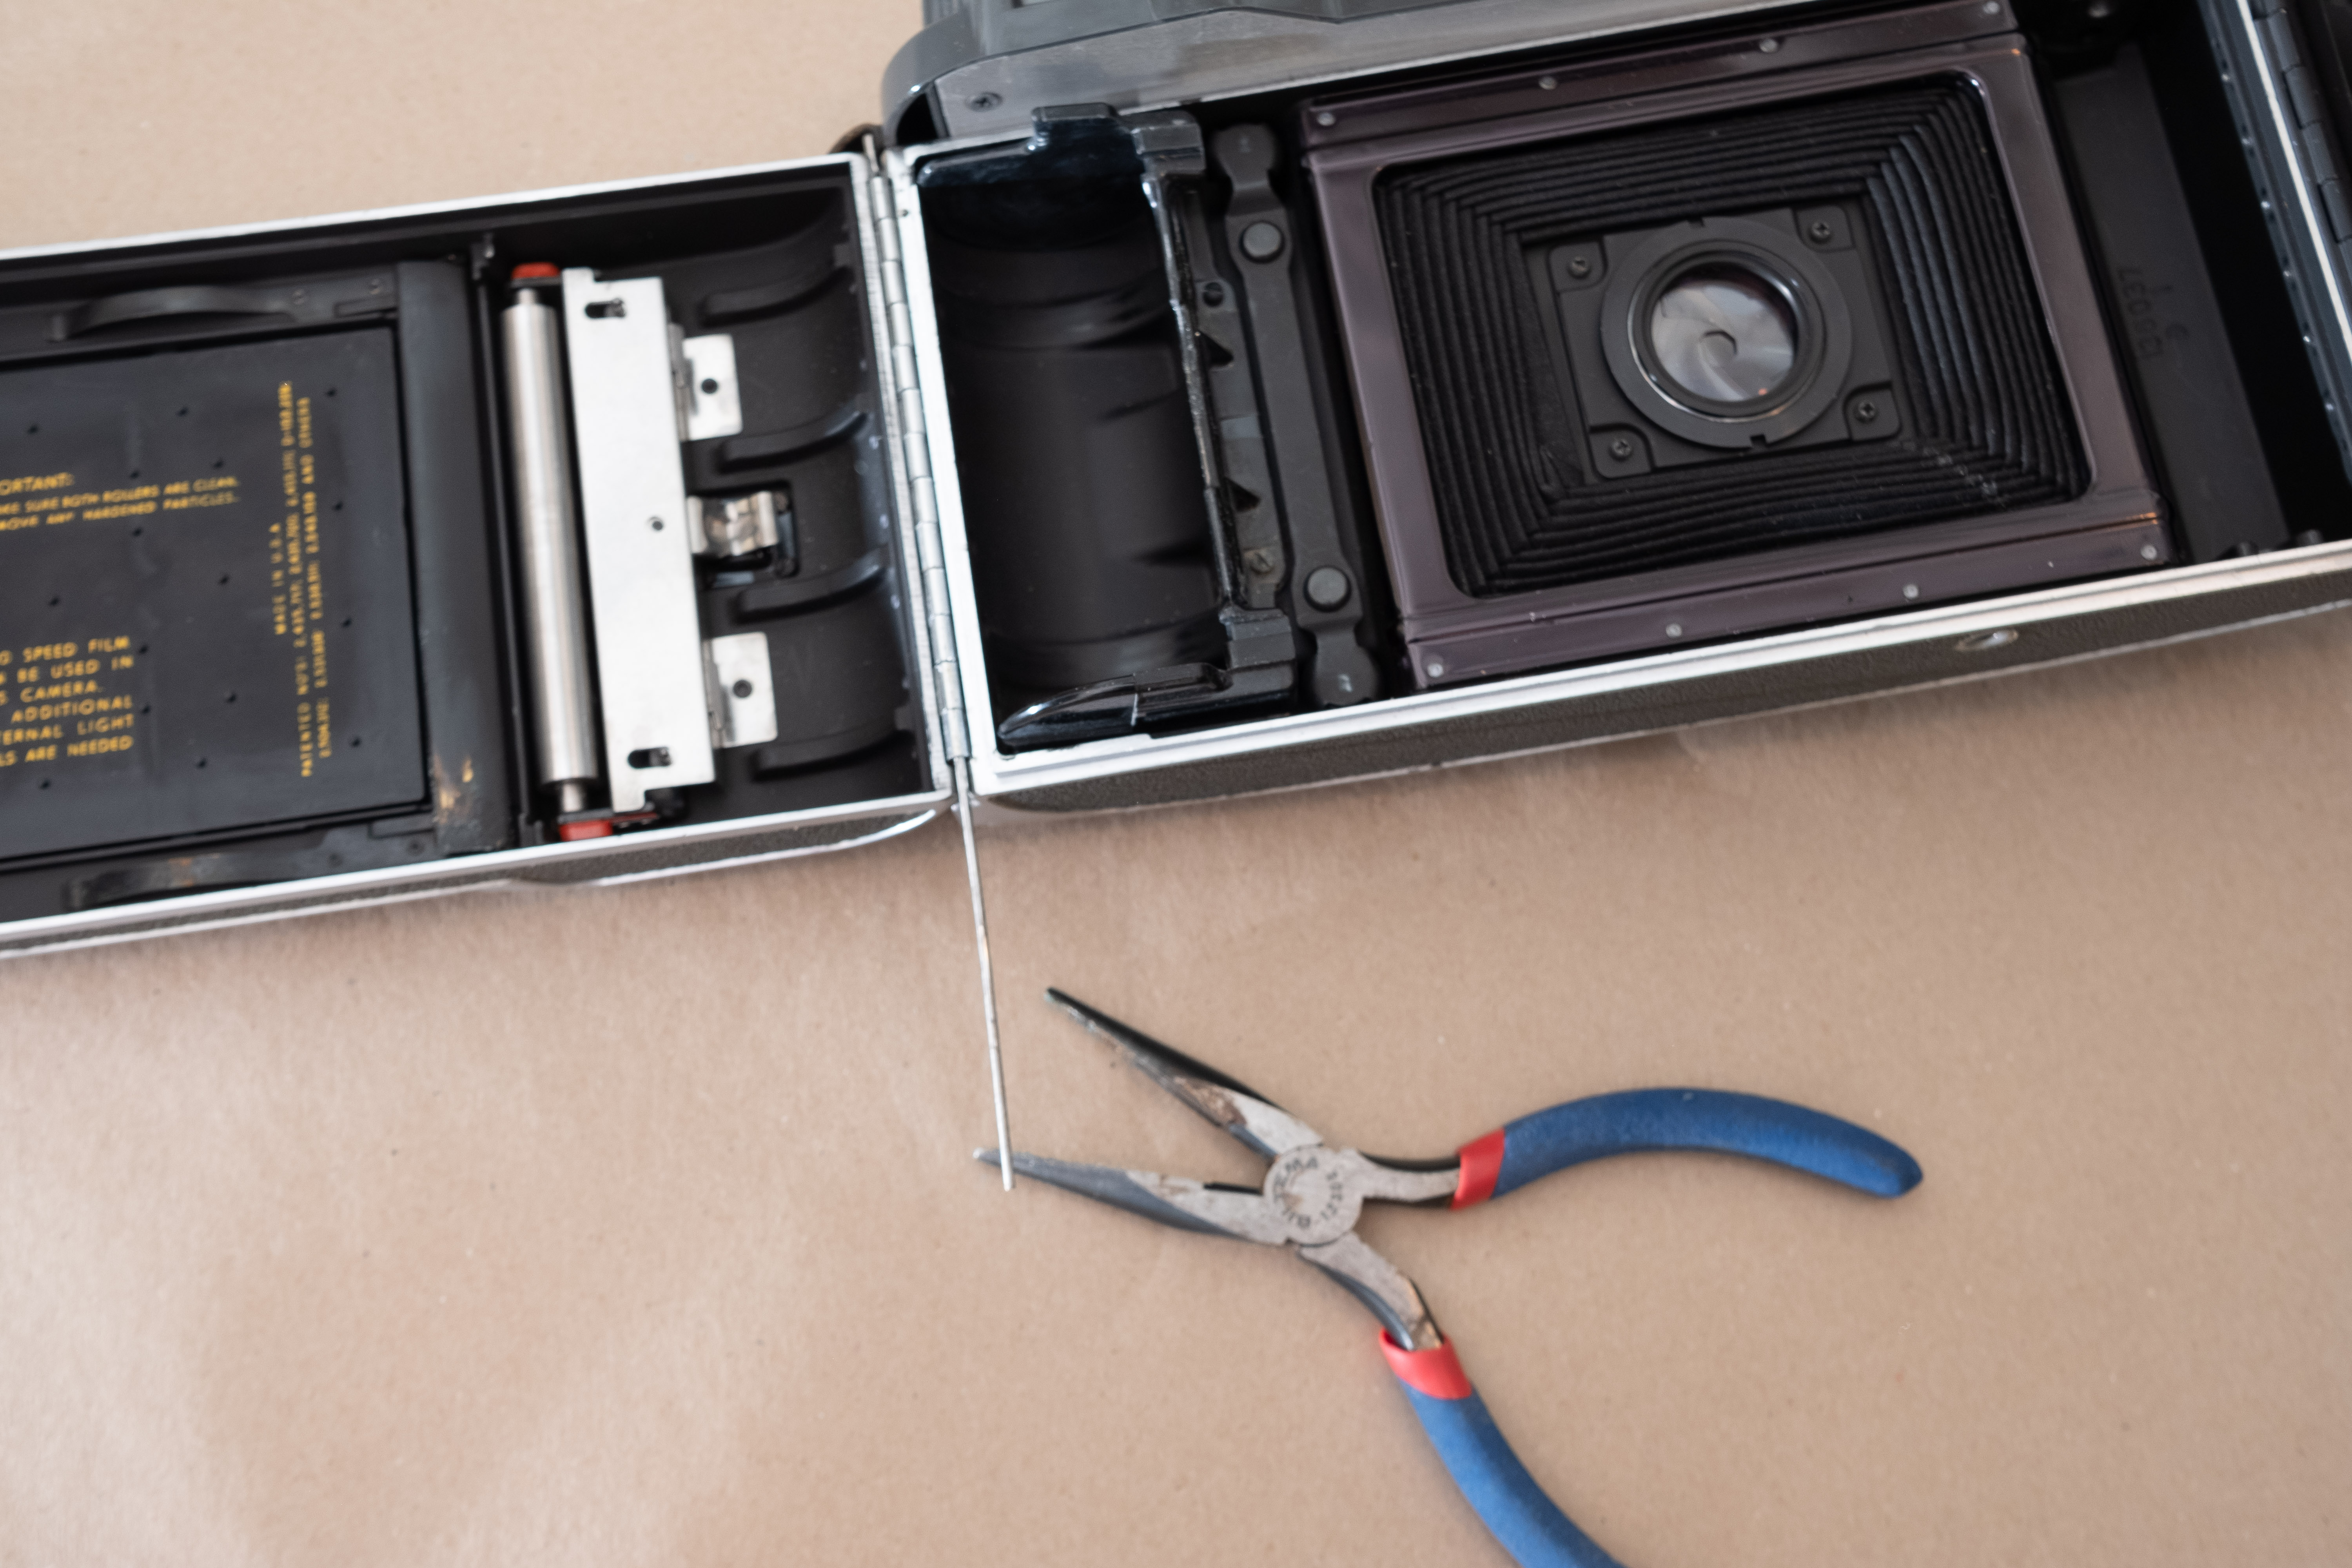
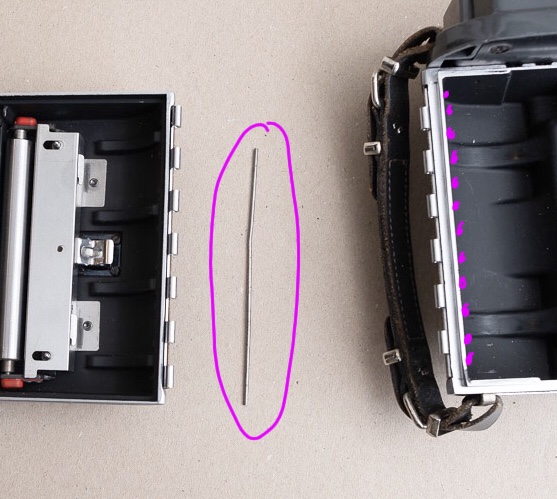
- (A) Remove the camera back by pulling out the hinge pin with a plier. Move it the first bit by insert a pointy thingy on the other side. ( thin nail, screw driver, another pin etc)
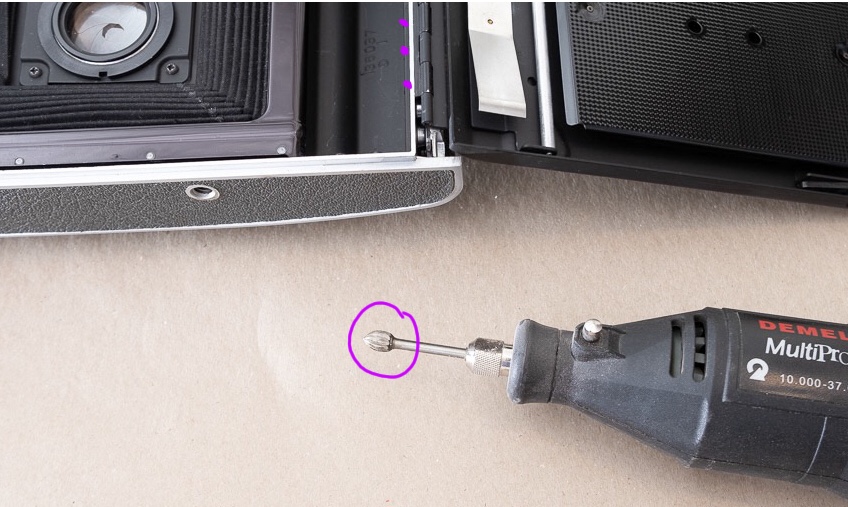
- Now the remaining hinge on the camera body needs to be removed.
- Do this by drilling/ dremel’ing away the rivet heads.
- The remove the leather on the hinge in order to remove it from the camera body. Or cut with a sharp knife just below the hinge to remove it.
- (B) Then remove the right hand part, with the film pressure plate, by drilling (or dremel’ing) out the rivet heads.
- This part then normally needs some physical encouragement on each rivet to be removed due to camera body construction. Use a large screw driver to leverage out one and one rivet.
- Then its the parts on the left hand side looking at the camera body from behind.
- Remove the screws for the film spool.
- (May not be needed on your camera) on one of the 110As the film spool holder was riveted in place. Drill out the two rivet heads.
- Remove spool holder.
- The parts will the two springs are removed by drilling out the two rivets from the lens well. Be careful as this will be part of the camera fastening later.

Parts to be removed in the camera body (7-11 in list above)
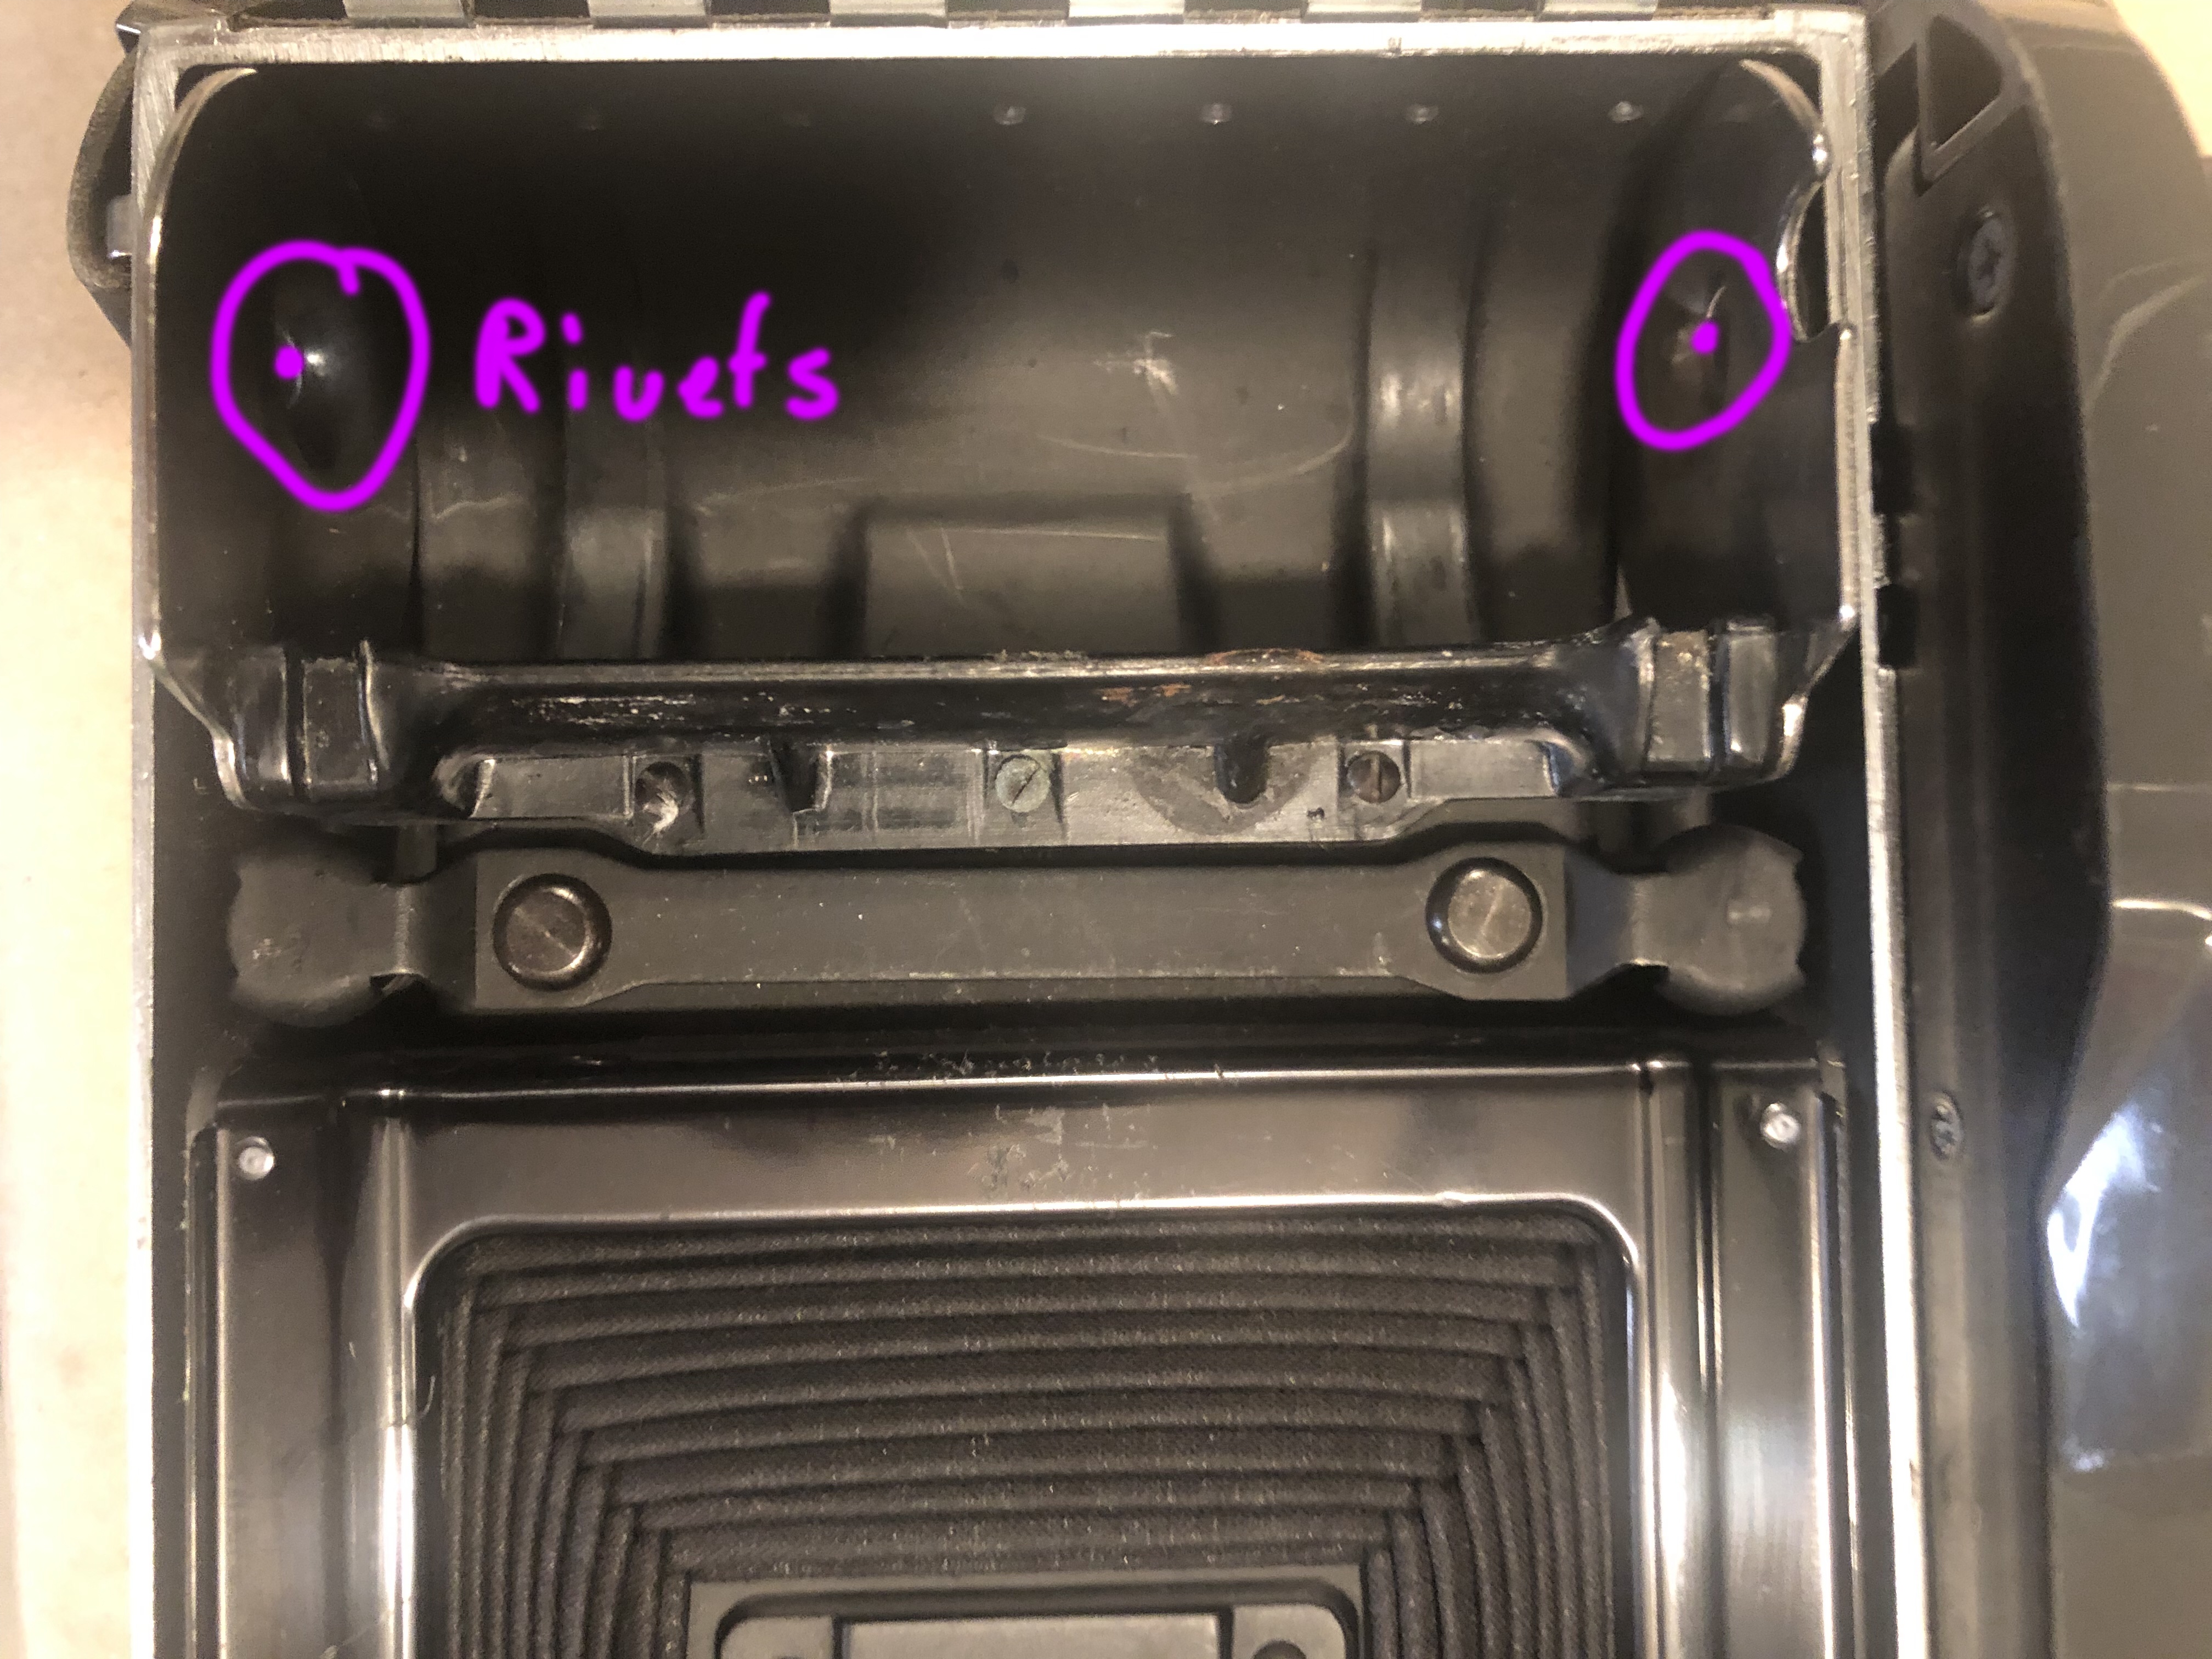
Extra stuff, rivets to be removed, found in a fairly “new” Polaroid 110A (item 10 in list above)
UPDATE (Nov2020); the reflective / shiny metal around the bellows should be painted flat black to avoid reflection on your negatives. Reported by a very observant user, and confirmed when looking at my negatives. There was a horizontal line / slightly lighter area which I had written down to sloppy development / handling or air port x-ray. Would suggest a light sanding and clean before you paint over with a flat Black paint.
The camera back should now look like the picture below! Move on to next section!
Now is a good time to check if you rangefinder patch is overlapping correctly at infinity, and if not reset it before you proceed.
Any comments or questions? Please contact me on email morten@kolve.org